
Lana Del Rey’s husband claps back at troll predicting their marriage will fail
"You're just jealous of what I have and you don't."


The Latest
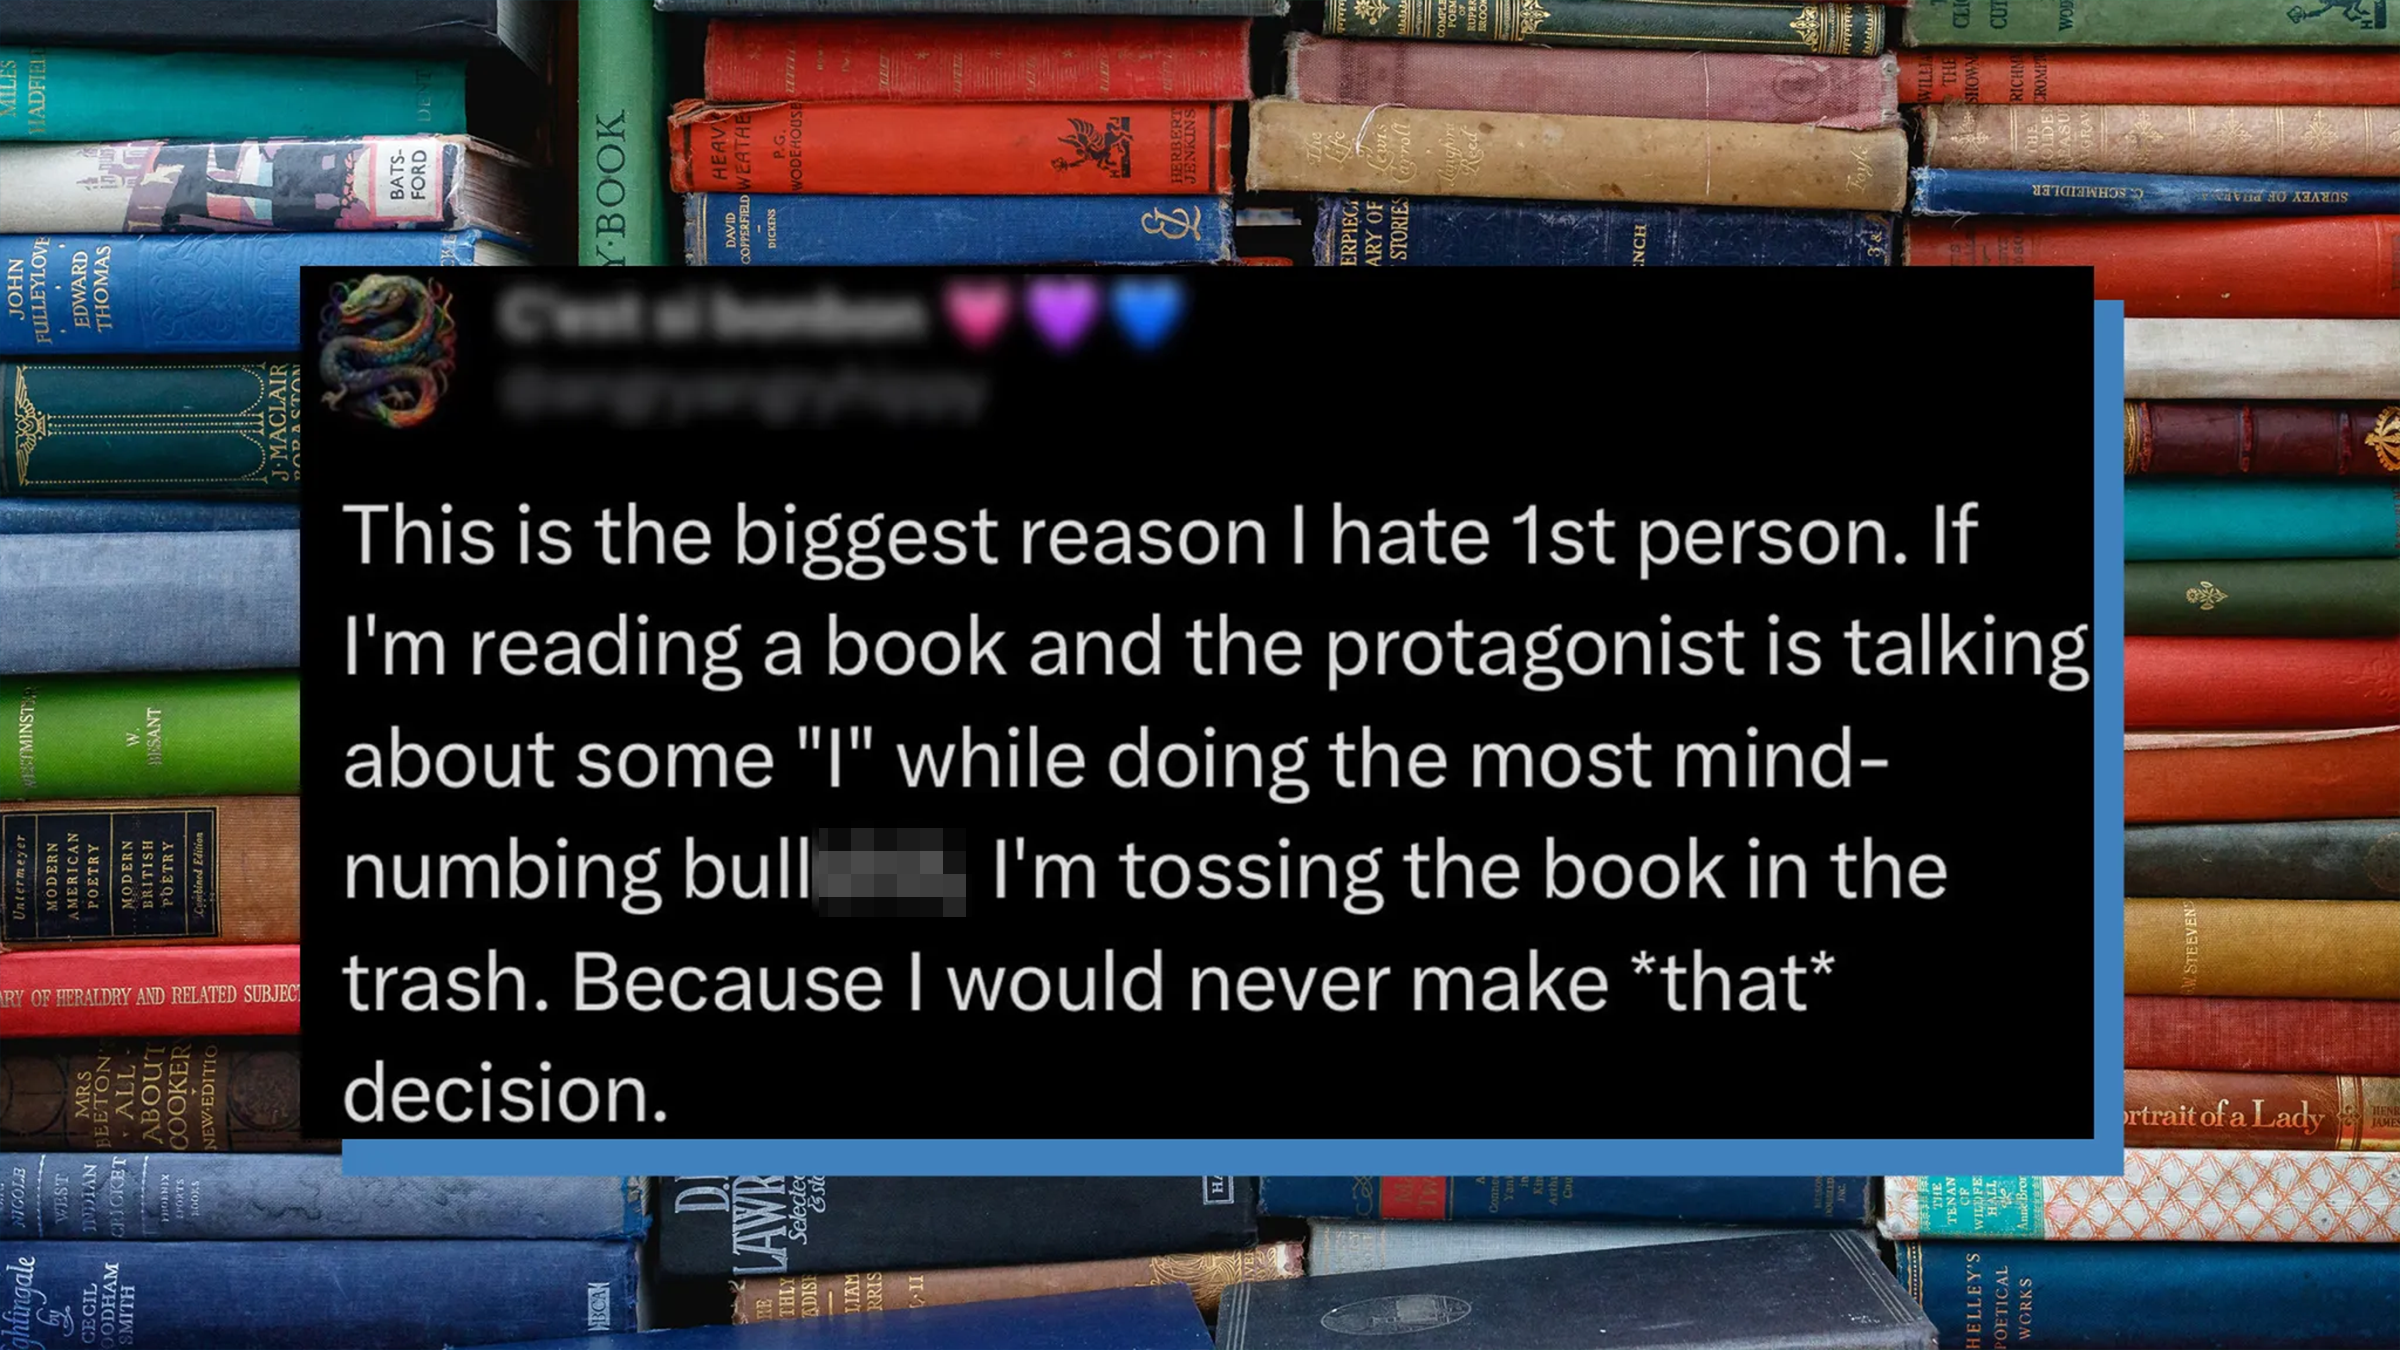
See all postsGen-Z readers are revealing a bizarre misunderstanding of first-person POV
"Never thought I’d say this, but I think fewer people should read books."
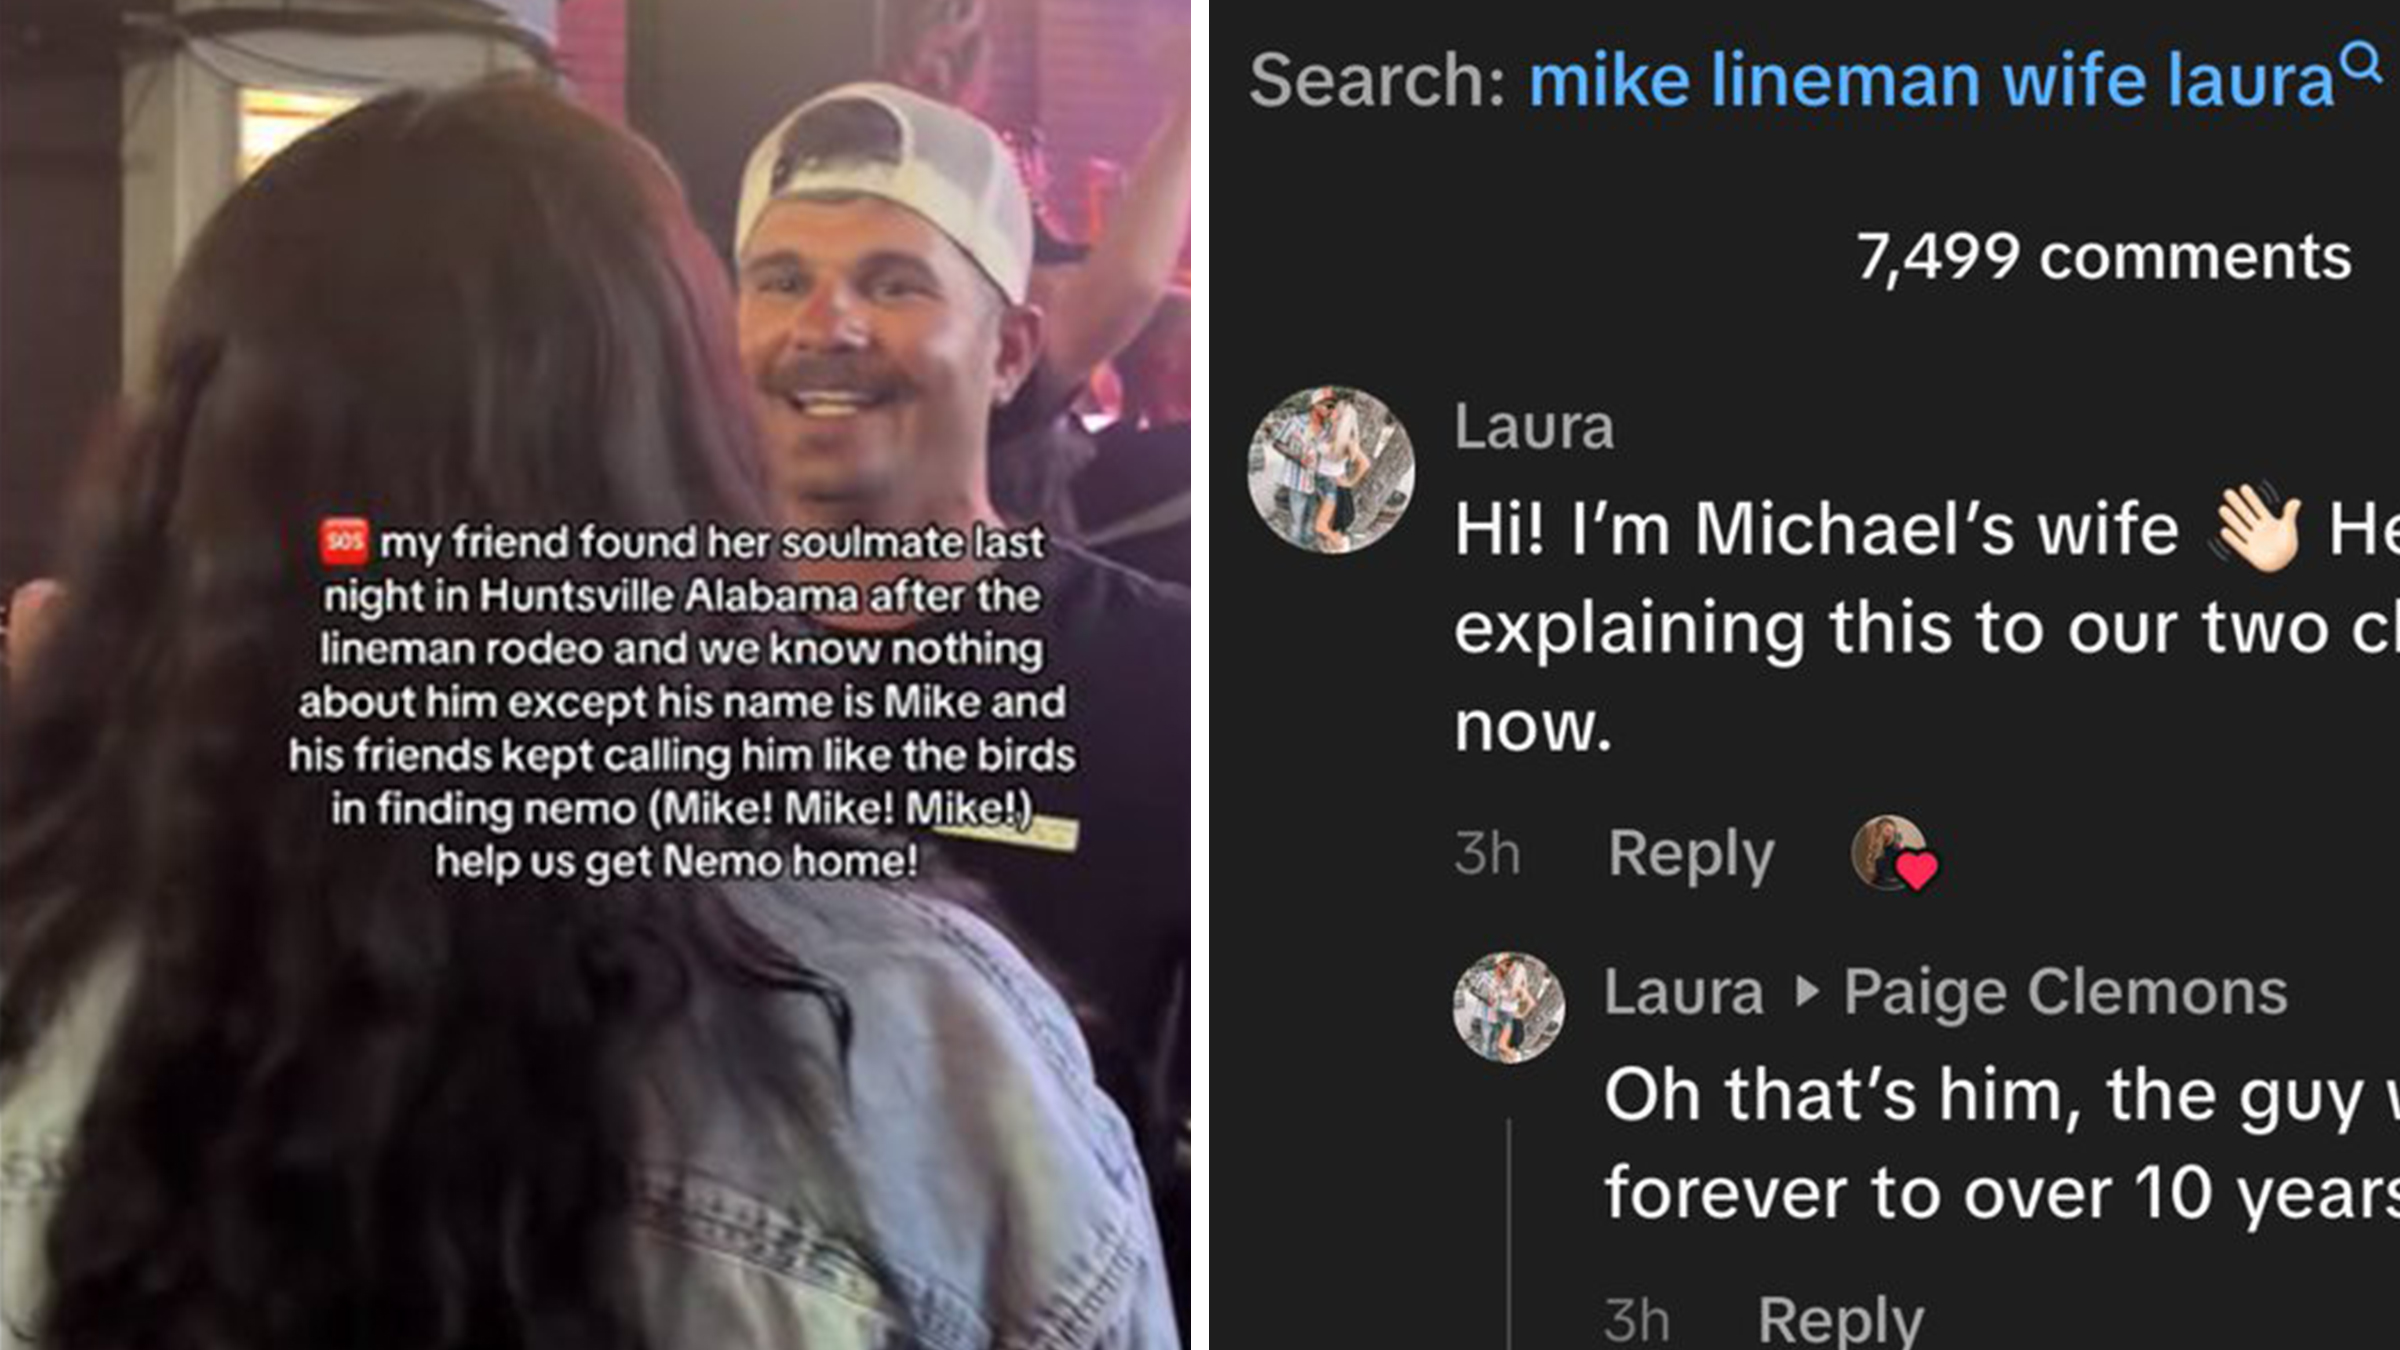
TikTok hunt for mystery man backfires when his wife shows up in the comments
"He was just smiling and having a GOOD OL TIME!"
“Comedy gold”: Disney’s animitronic Olaf snowman hilariously malfunctions in front of park visitors
"No way they could’ve scripted a funnier shutdown for Olaf."

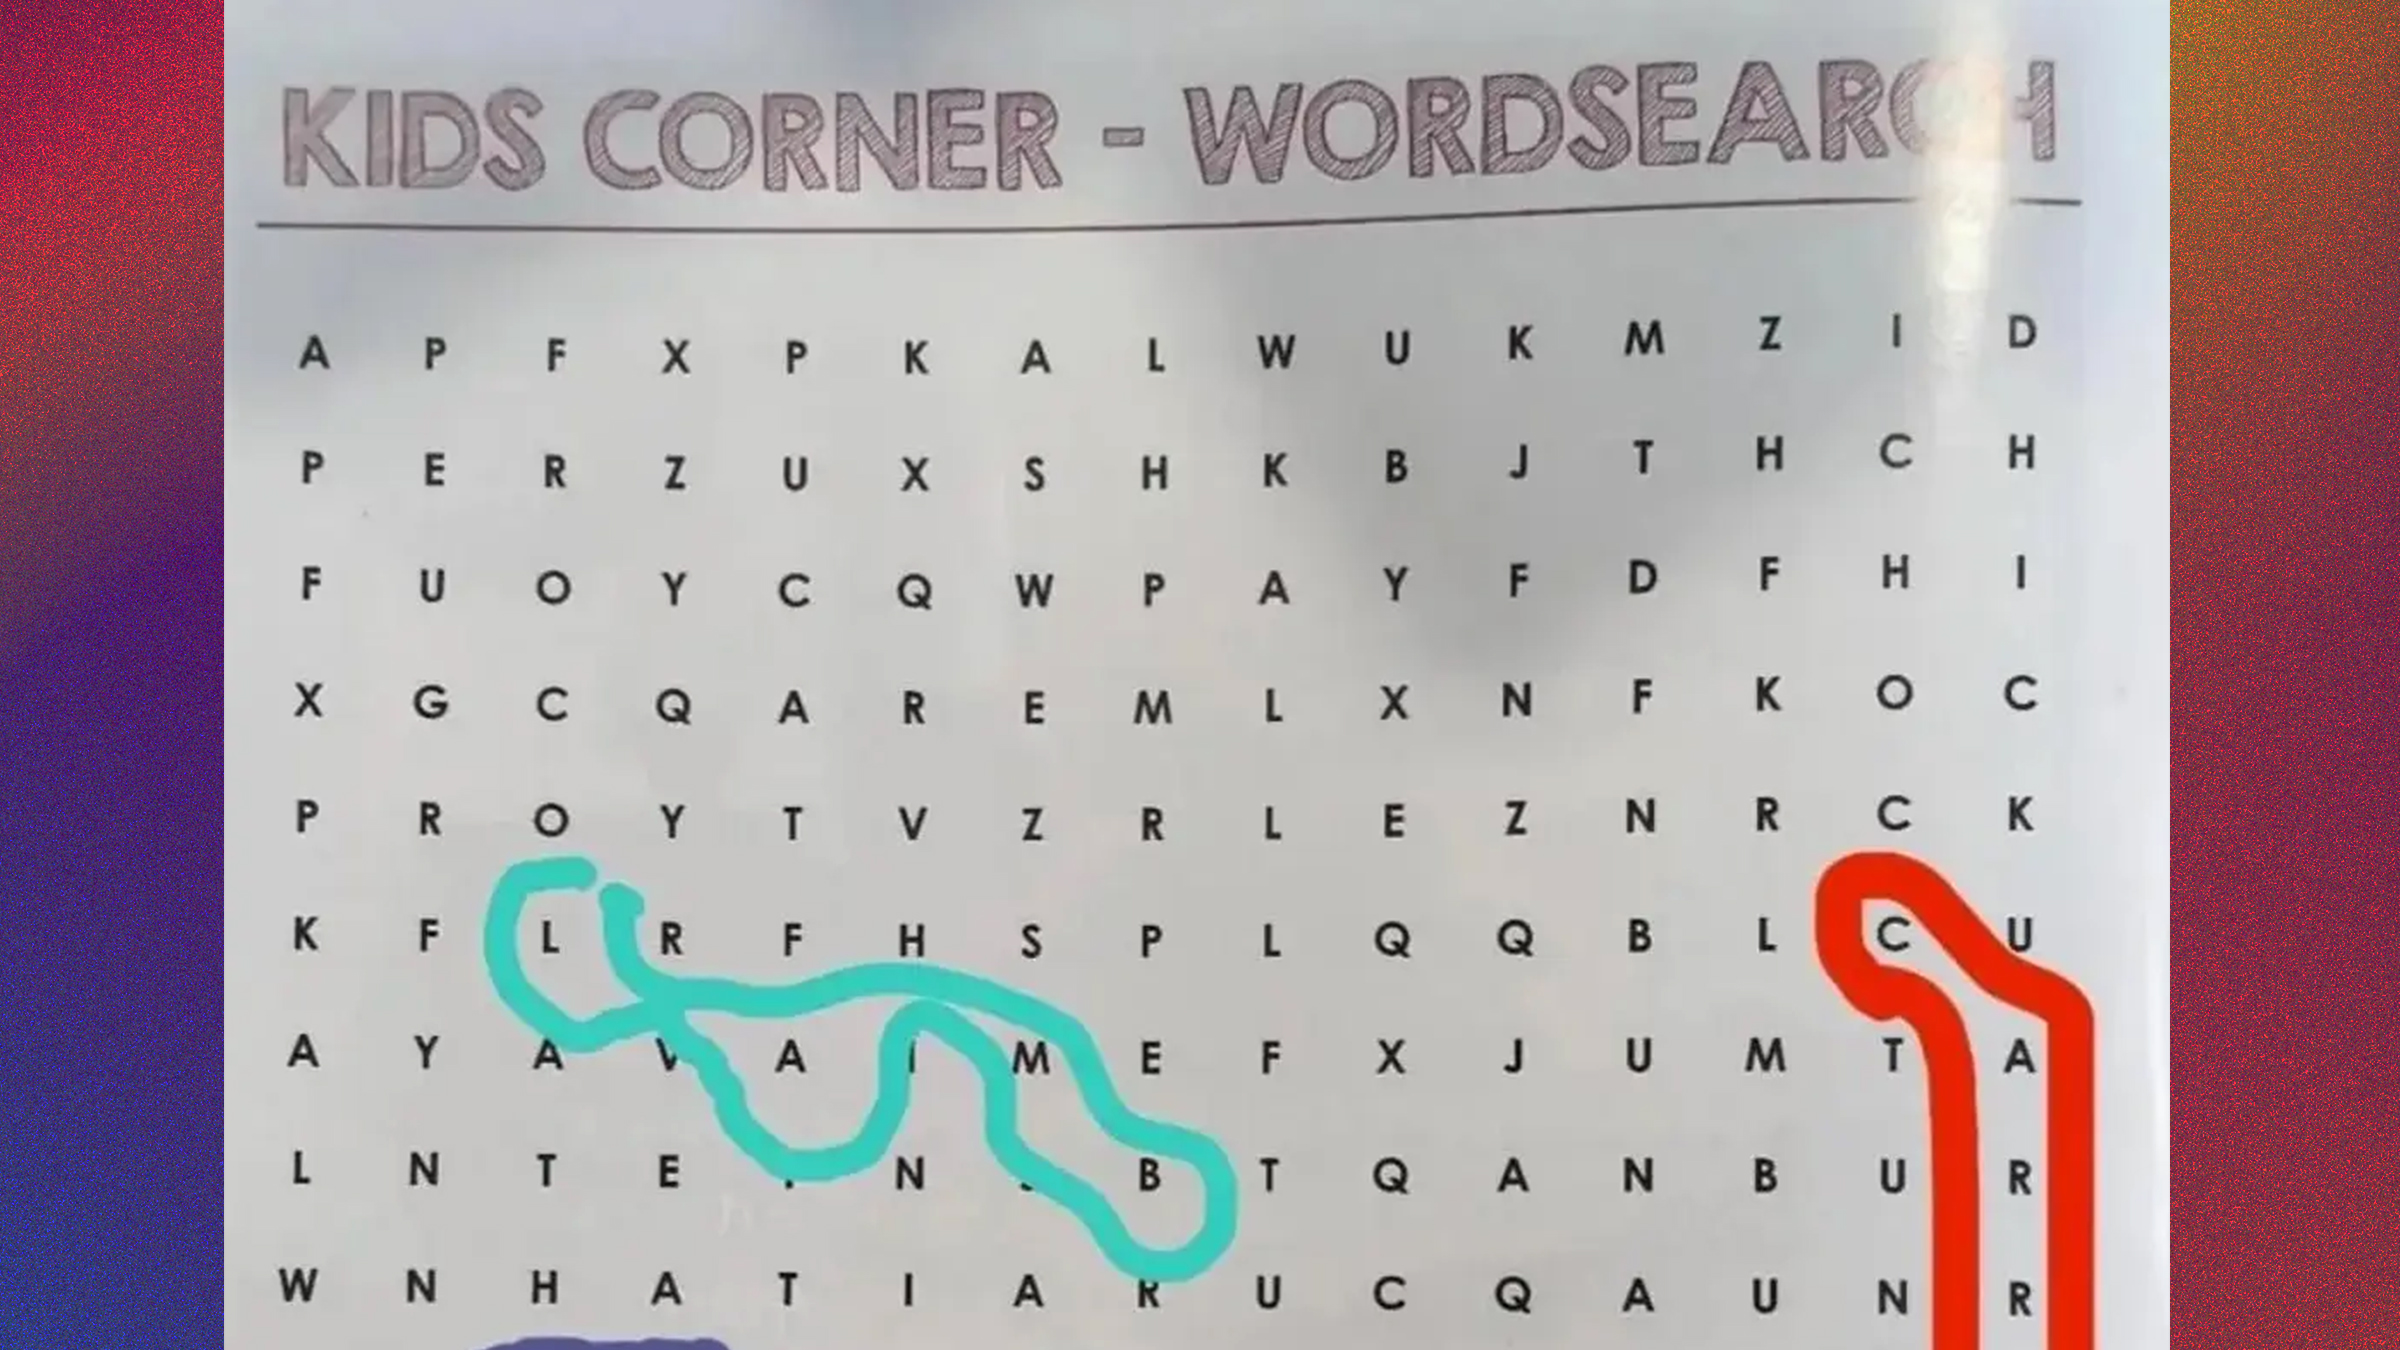
Nobody can find a single real word in this chaotic kids word search
AI is not at the cutting edge of word search technology.
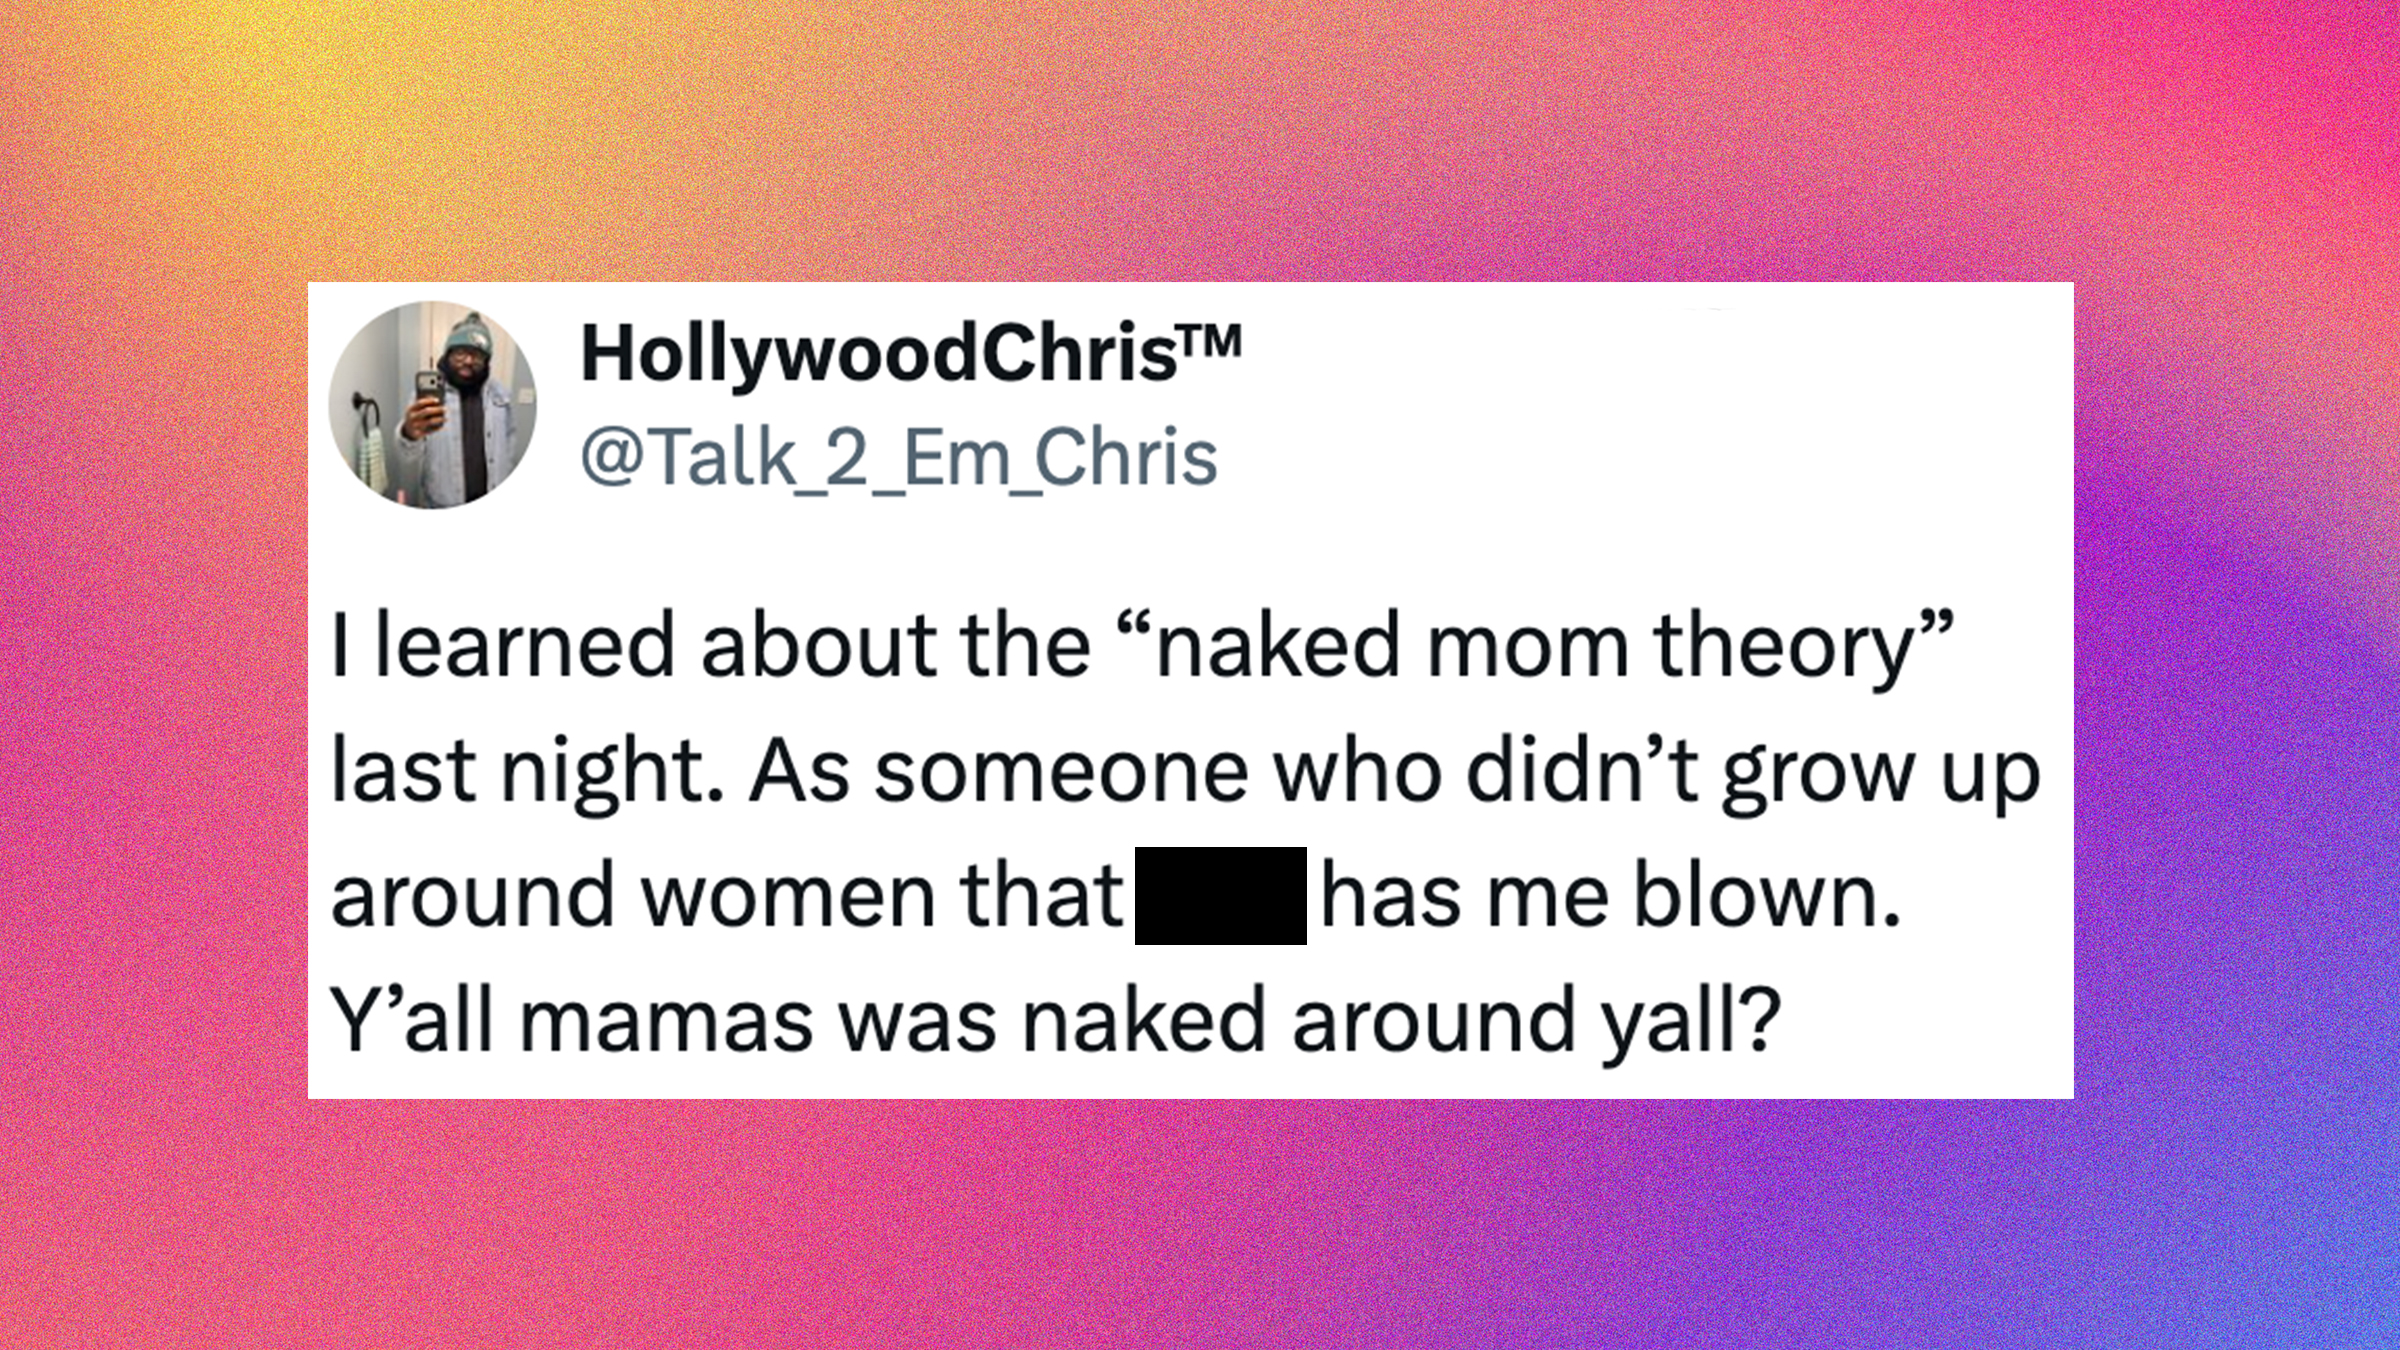
“Y’all mamas was naked around y’all?”: The “naked mom theory” is breaking people’s brains
The cultures that hide the human body the most are the same ones with the highest rates of body dysmorphia.
“I’m not playing on my phone”: Why a viral Eric Mays sound out of Flint, Michigan, is taking over TikTok
"No, I'm not. I'm taking care of business."

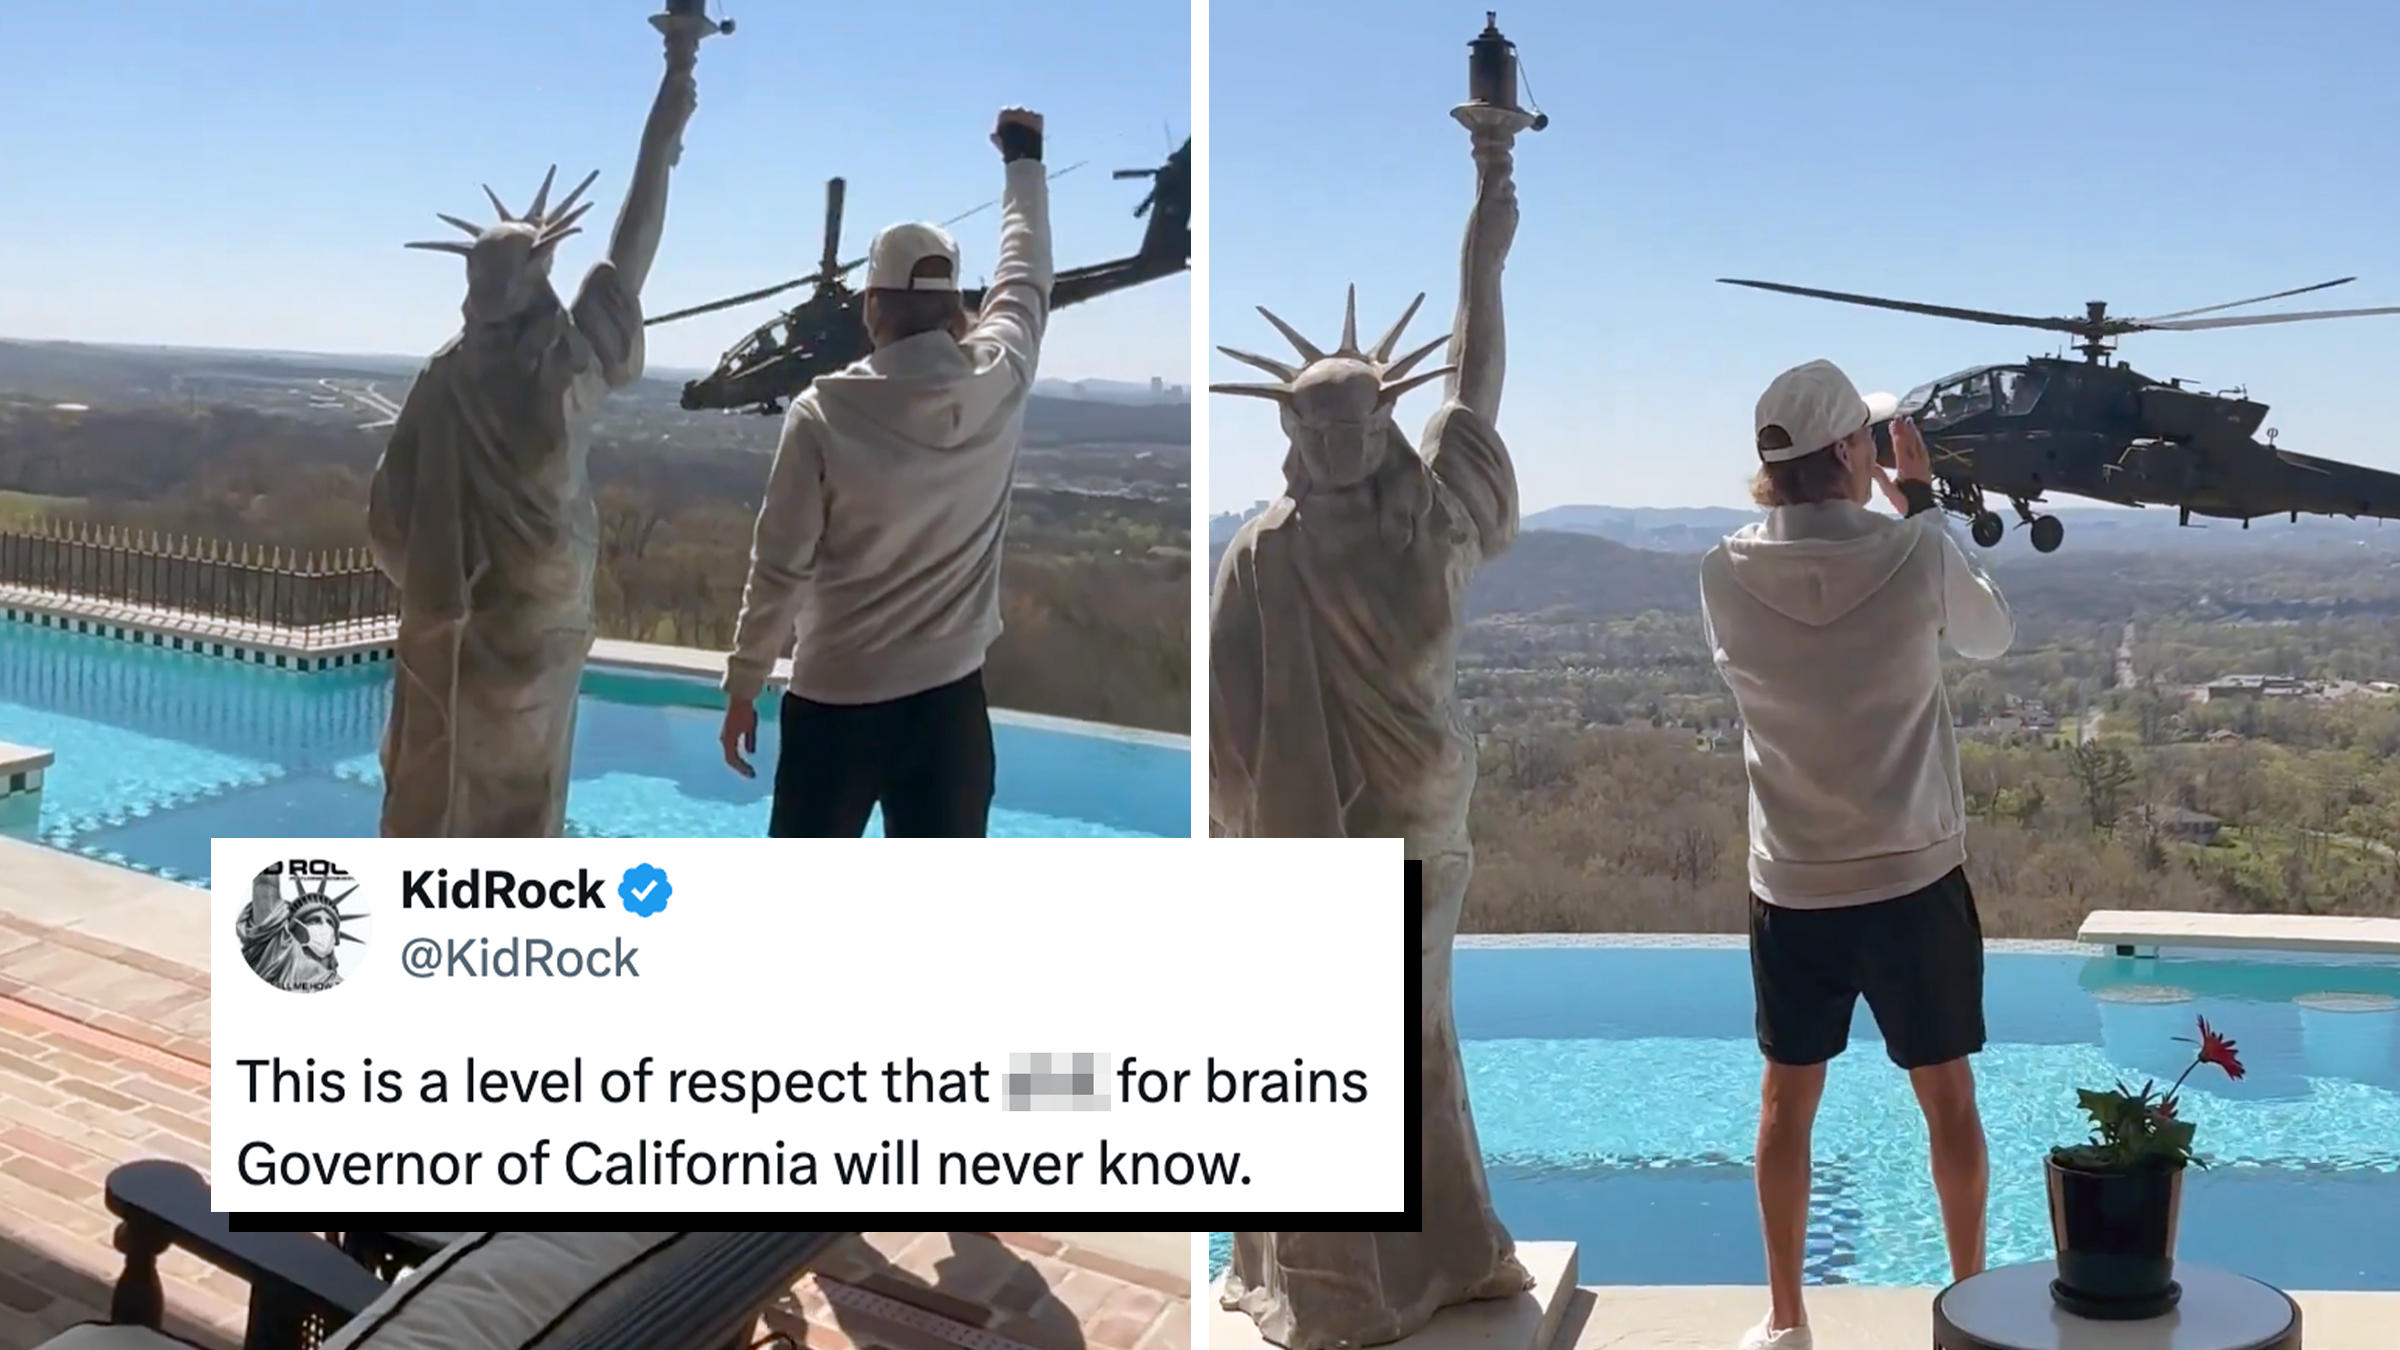
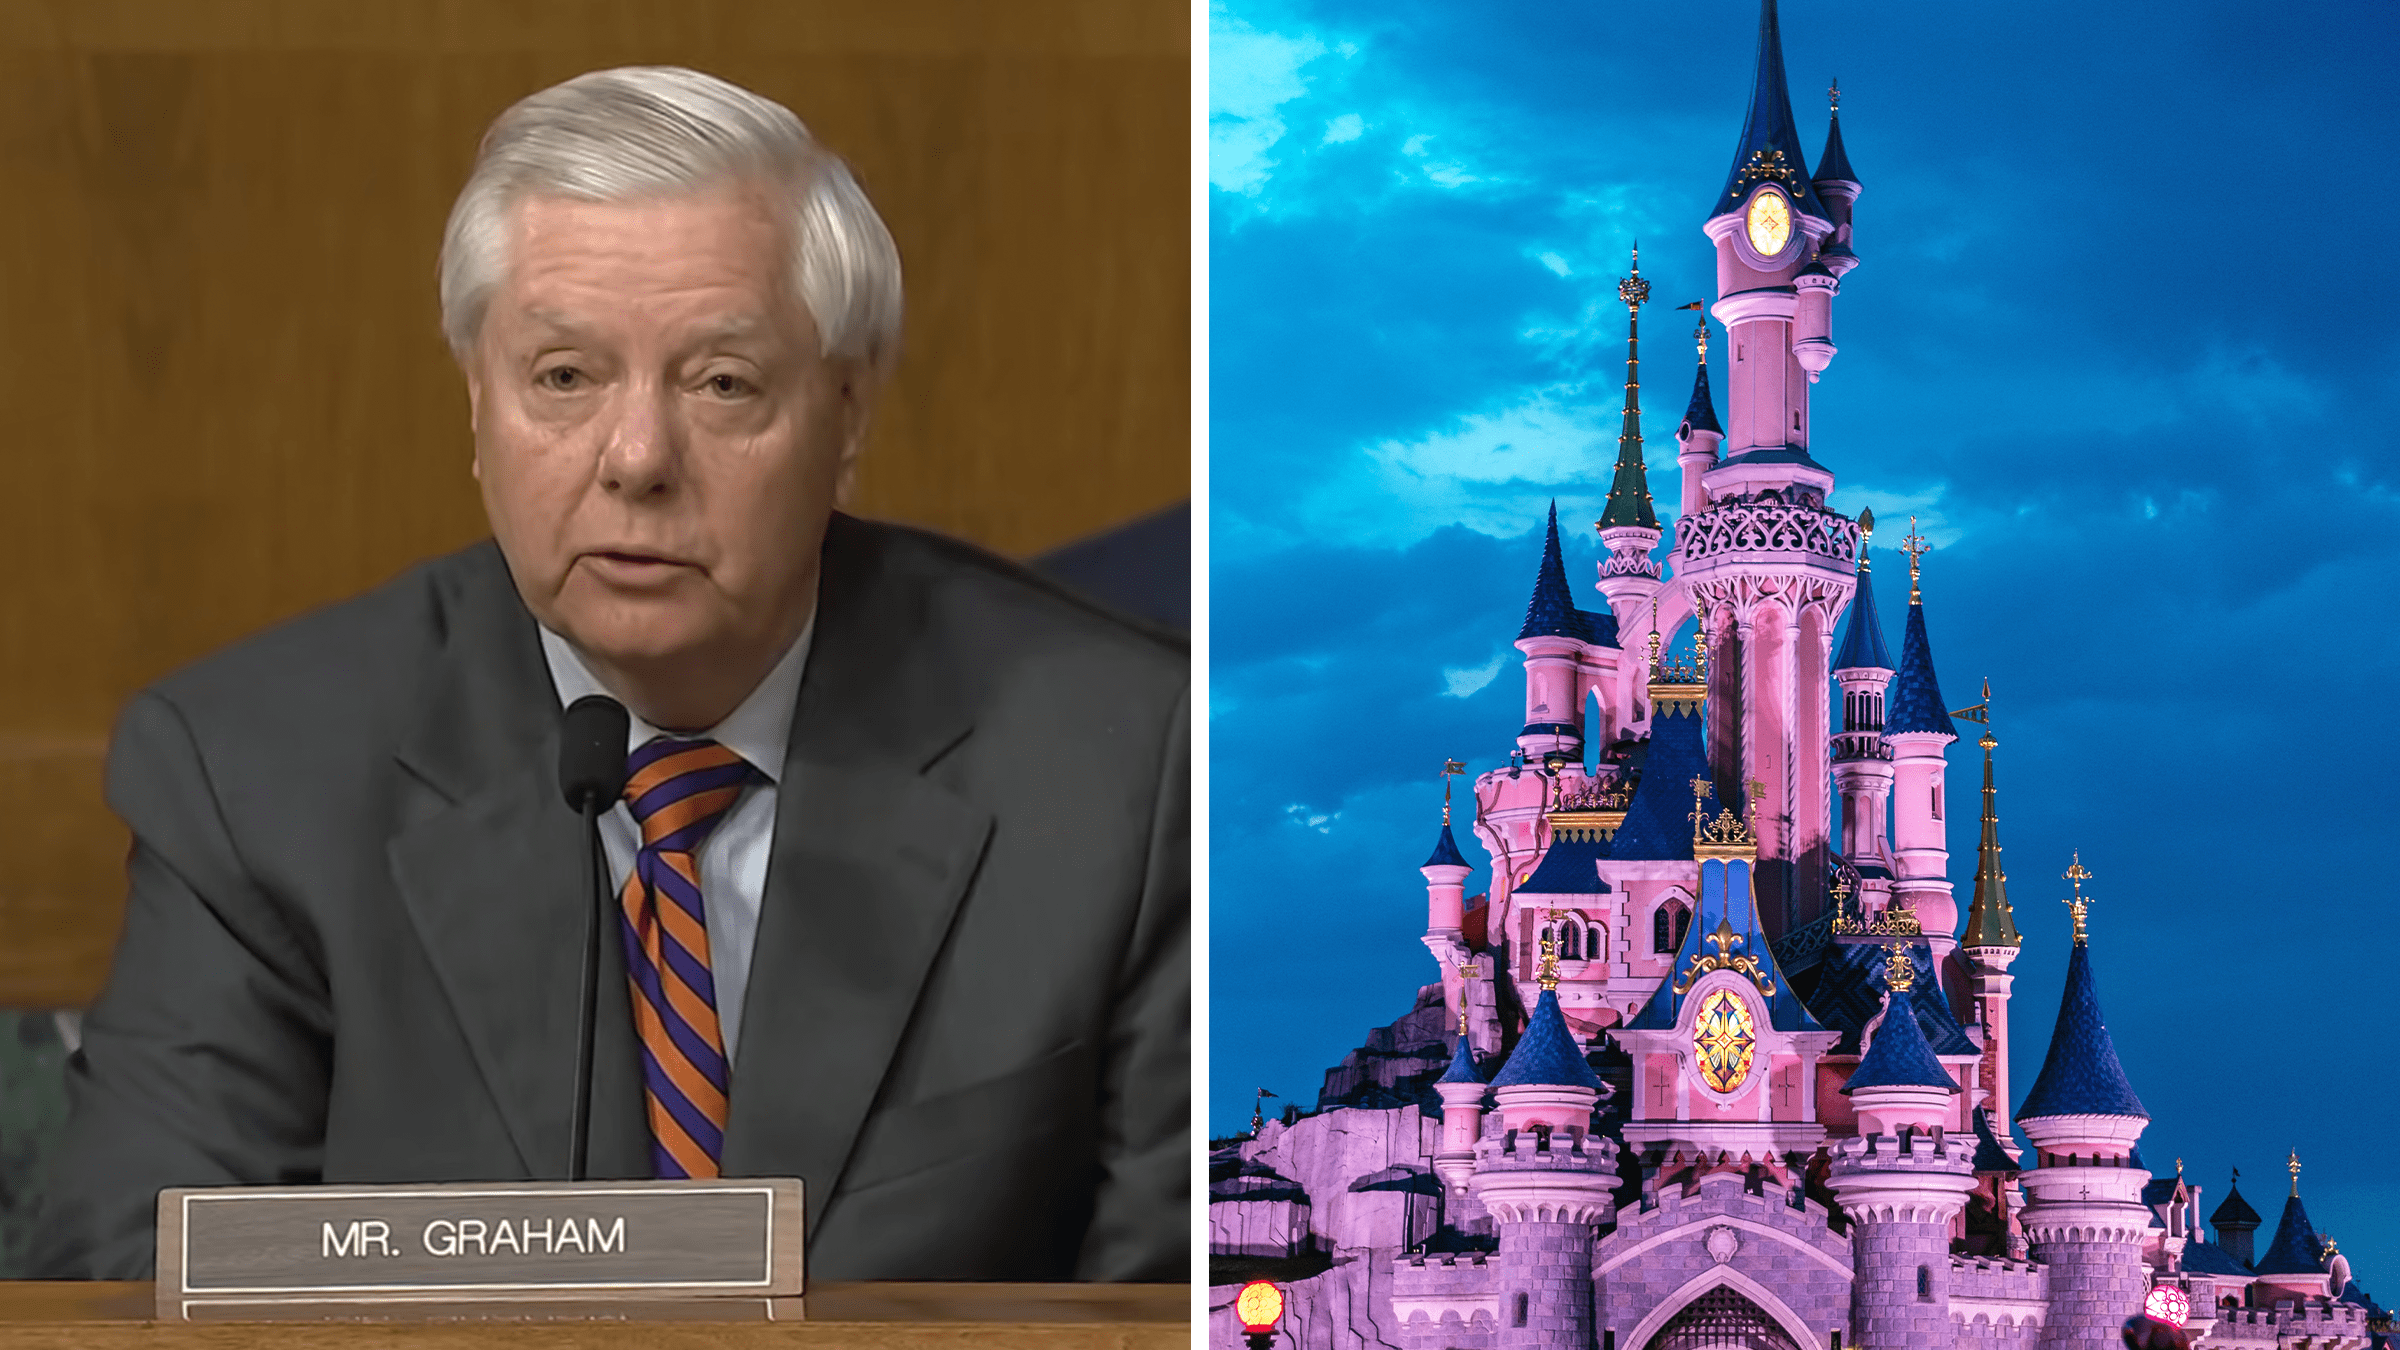
“An image that should live in infamy”: Senator Lindsey Graham spotted at Disney World during government shutdown
"These guys have no idea what American families are going through right now, and they don’t care."
Entertainment
“Can’t wait actually”: The younger generations are surprisingly hyped for Jeopardy’s new YouTube show
"It's basically Celebrity Jeopardy with contestants that younger folks will recognize."

“Nintendo cooked”: Glenn Powell’s Fox McCloud casting sparks rumors of a new Star Fox game
“Nintendo spent 40 years protecting their aviator character.”

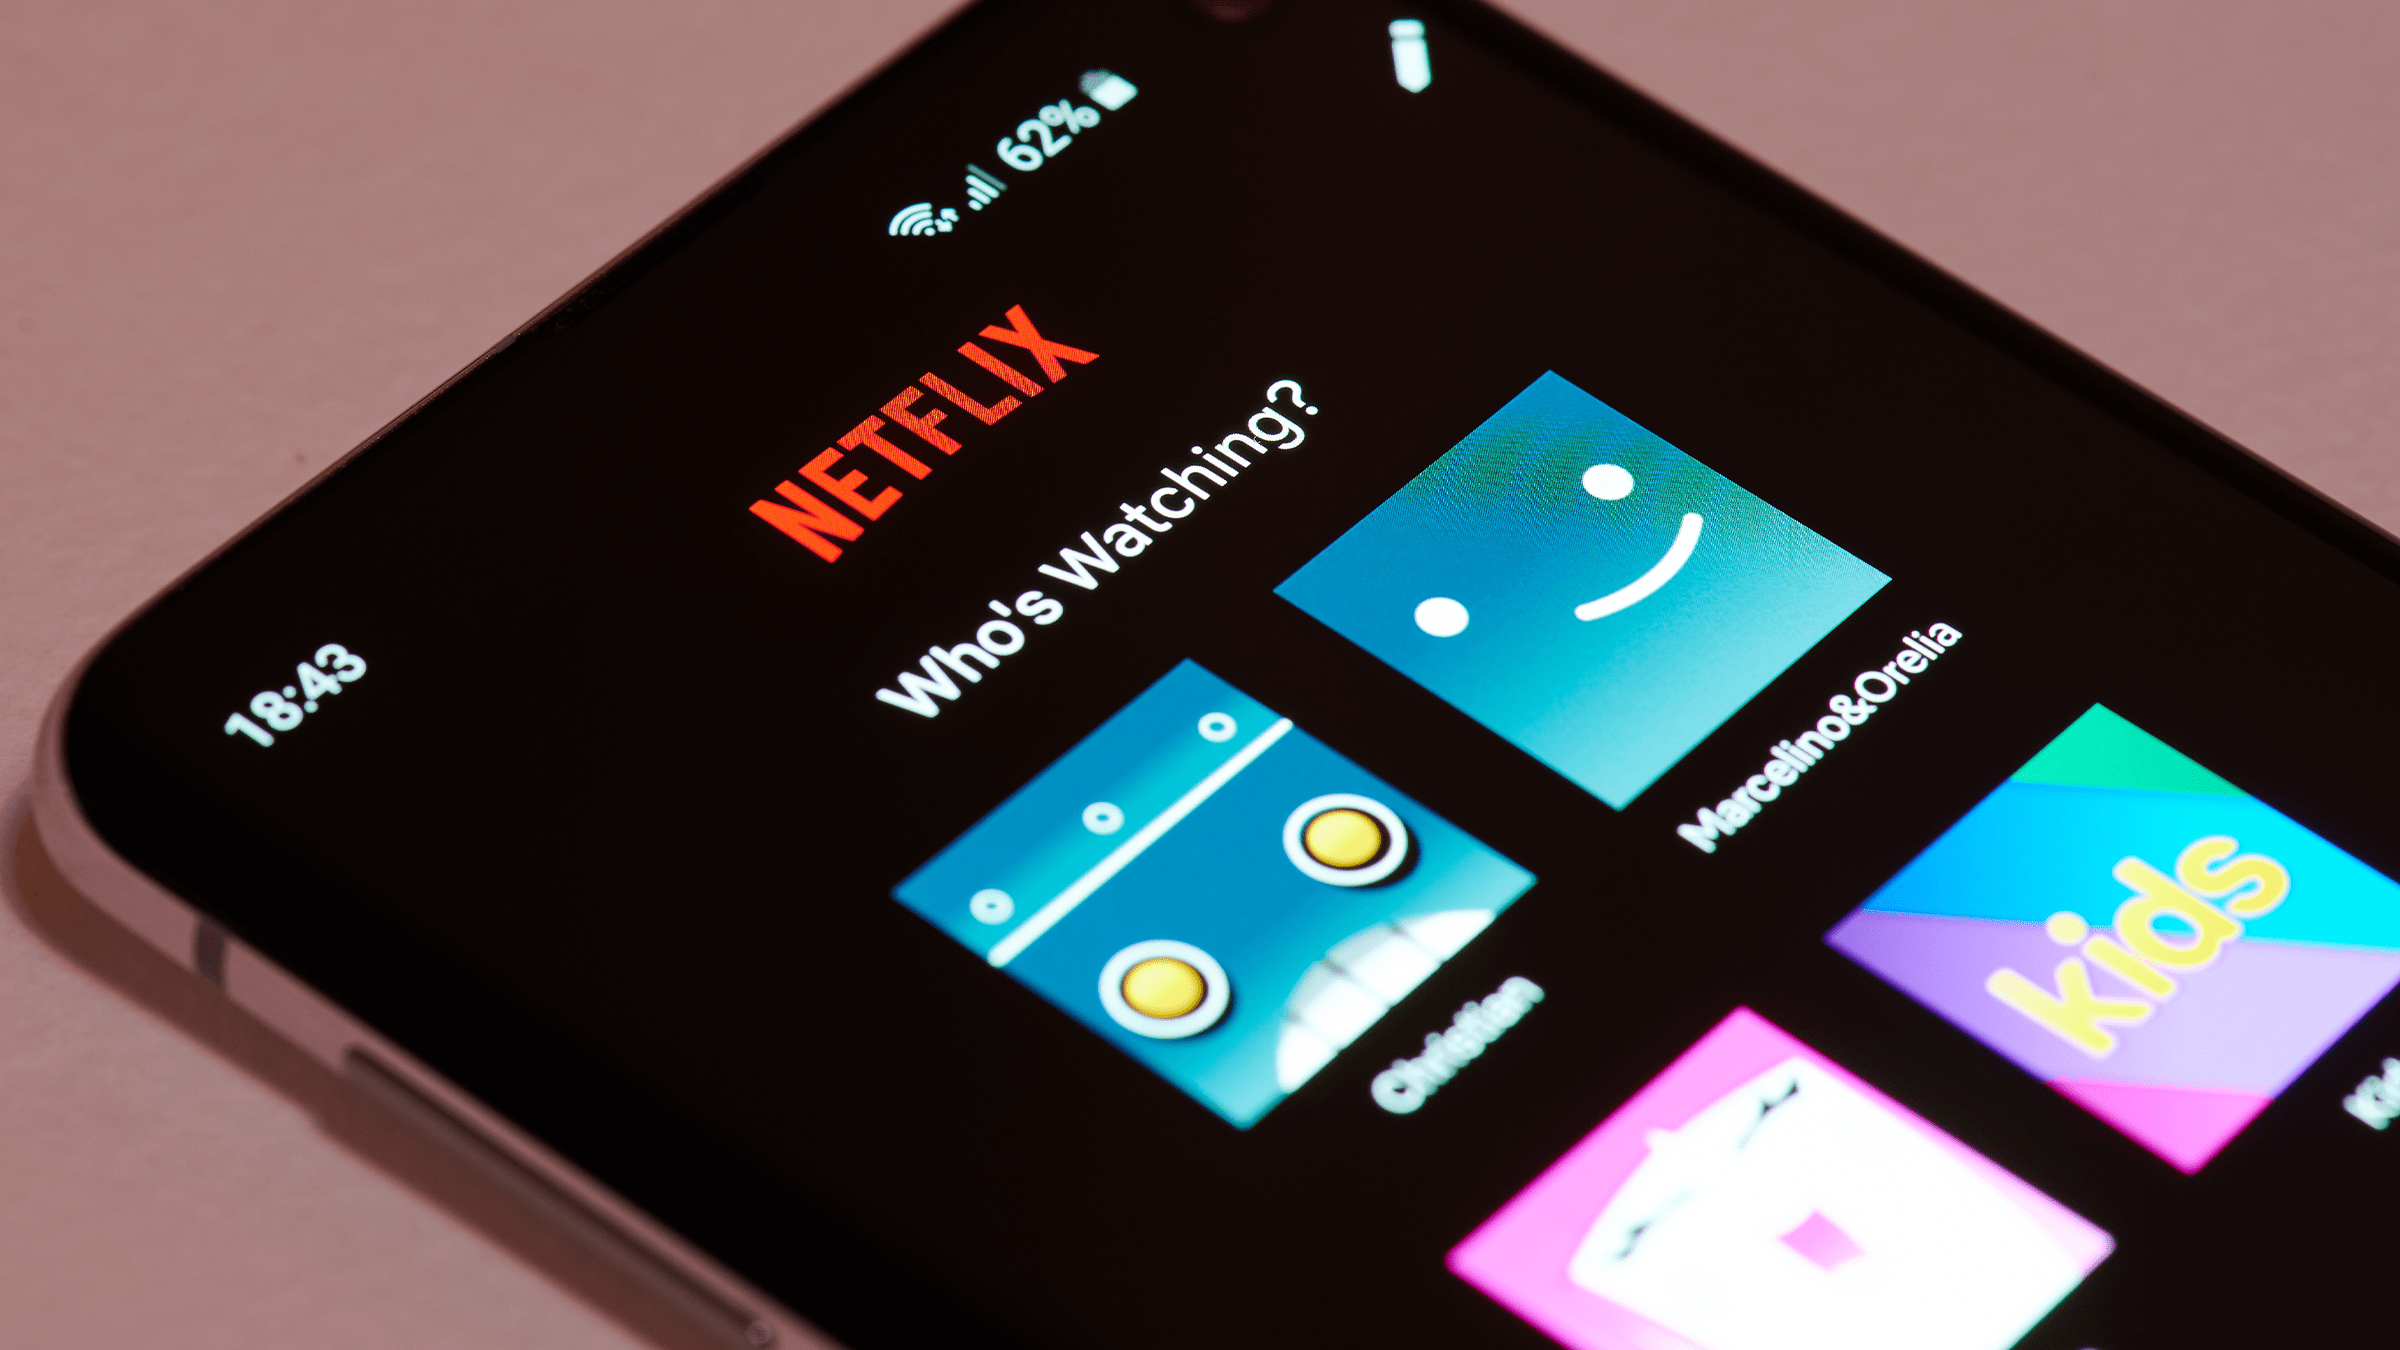
“Diabolical”: Netflix faces subscriber backlash after second price increase in a year
"I remember when I paid $11.99 for all streaming and 3 DVDs a month."
“Mercy” singer Duffy to tell the story of her abduction ordeal with Disney+ documentary
There's a reason she seemed to disappear in 2011.

Viral Politics
“Come on, Nintendo”: Fans call for the company to disavow White House’s Animal Crossing-style AI slop video and imagery
"I don't think I'm going to be buying Nintendo products anymore..."

GOP’s “No Queens” tweet mocking Tim Walz is getting major backlash
"My former party is now nothing but a cadre of juvenile idiots. It is now a vast wasteland of whining grievance and brainless trolling."

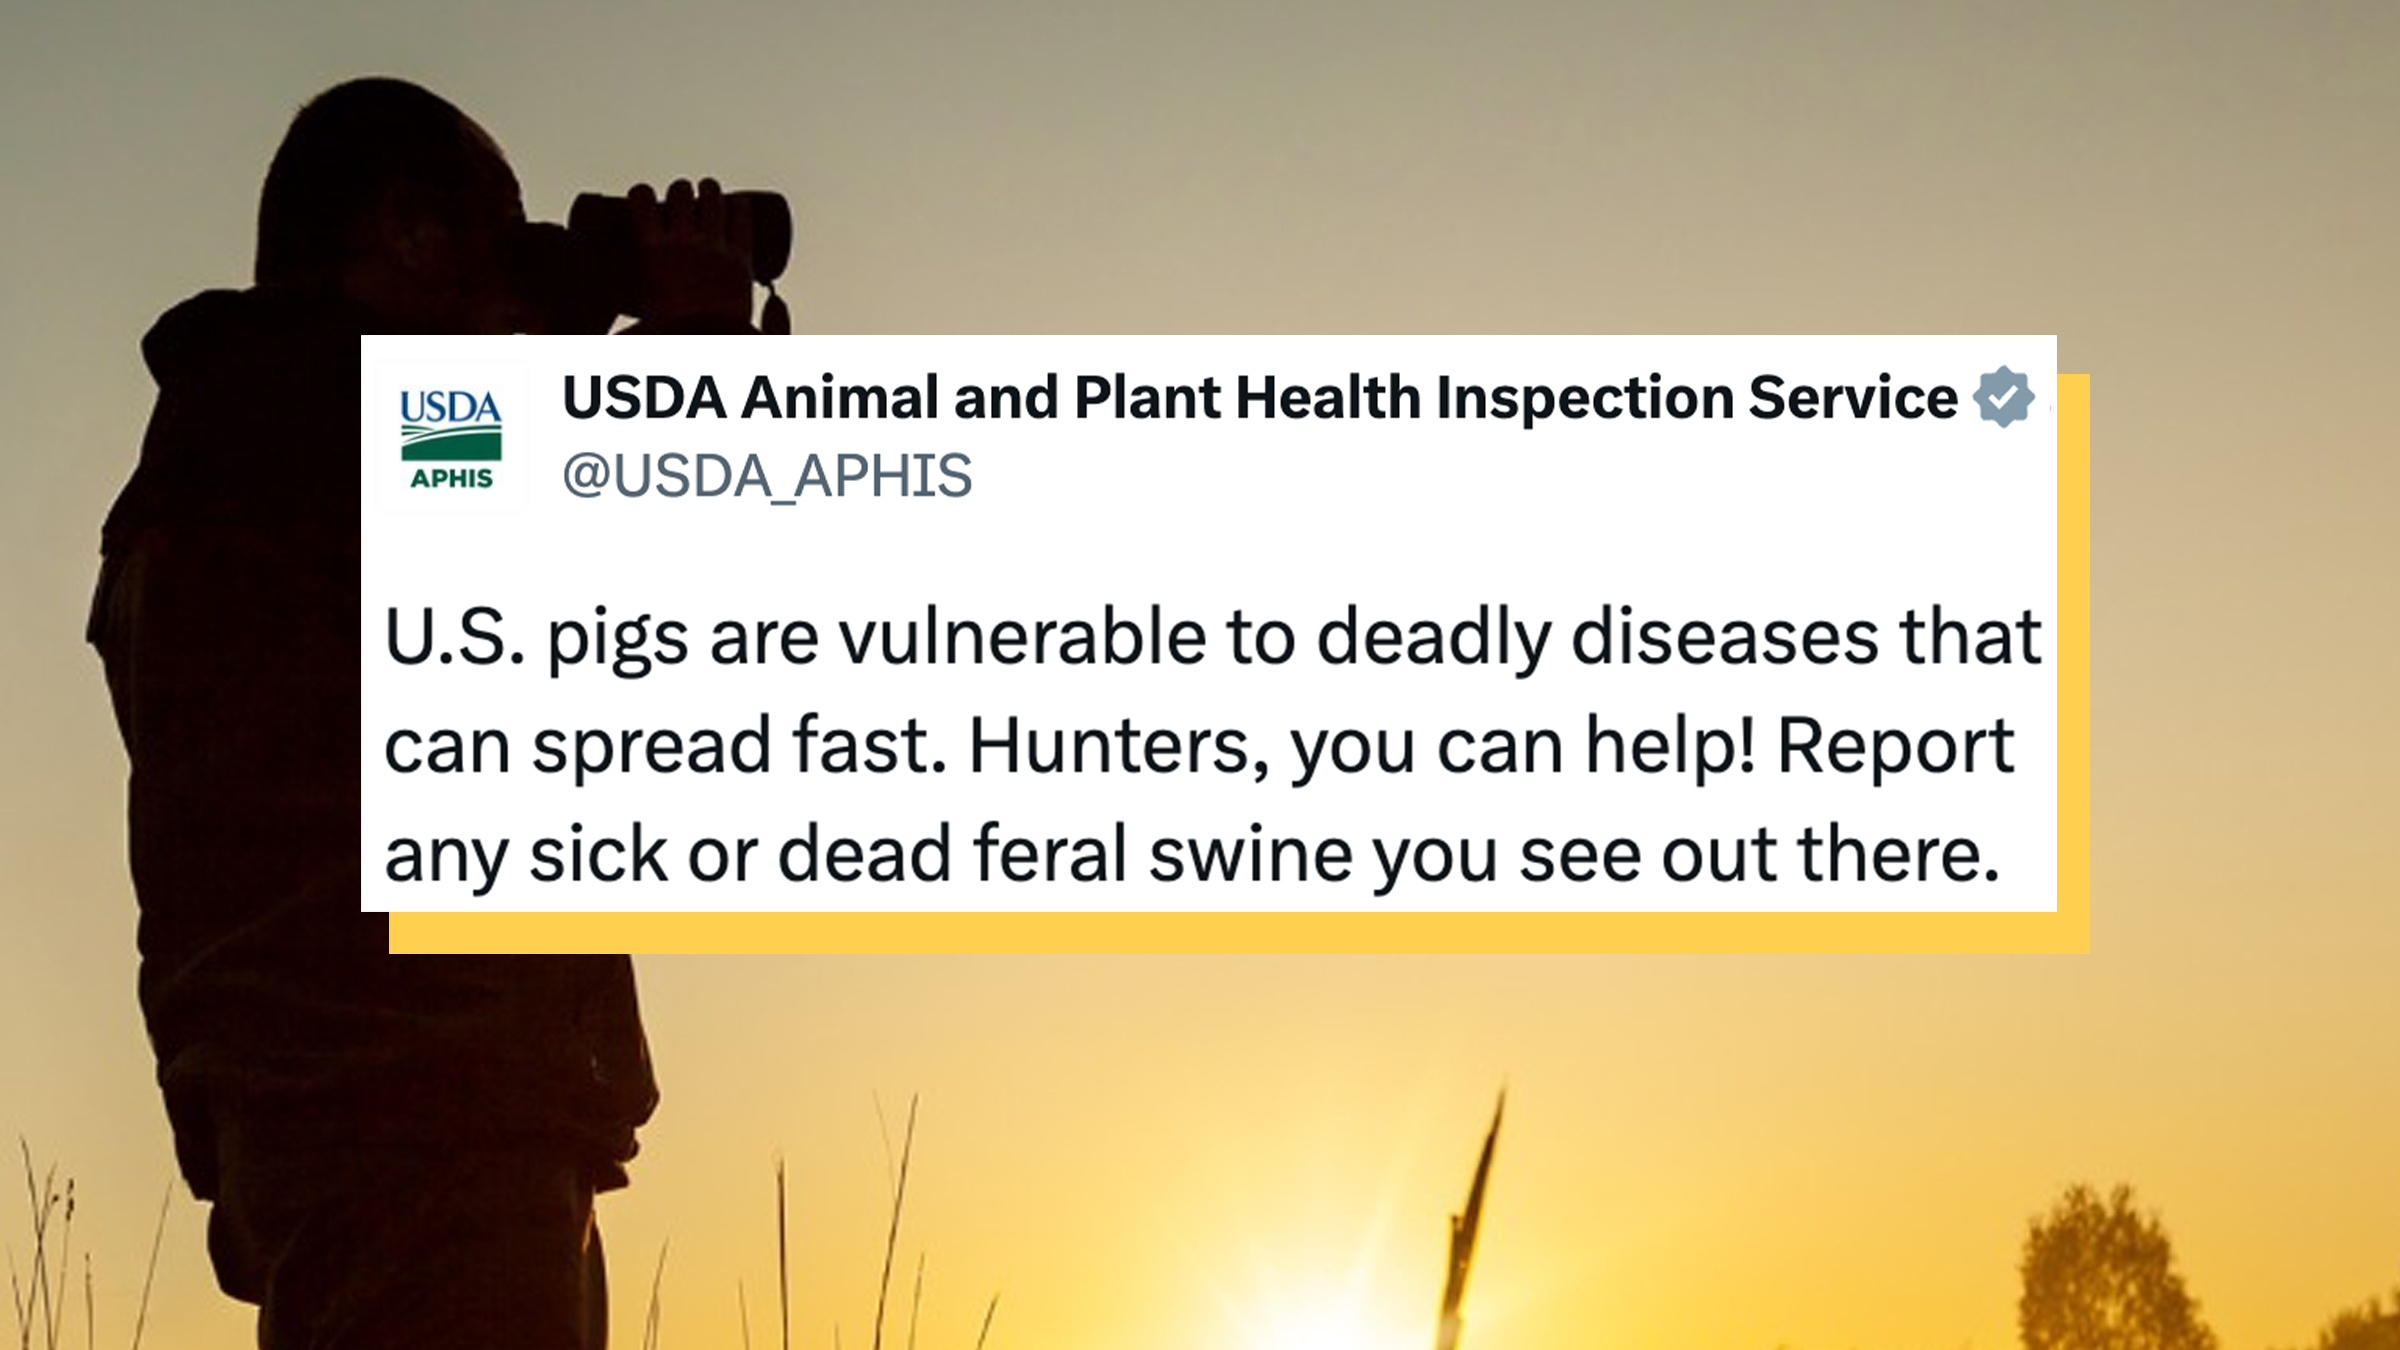
“ICE too, or just regular cops?”: USDA warning about sick pigs fuels political jokes
"If you or someone you know loves a cop, help is on the way."
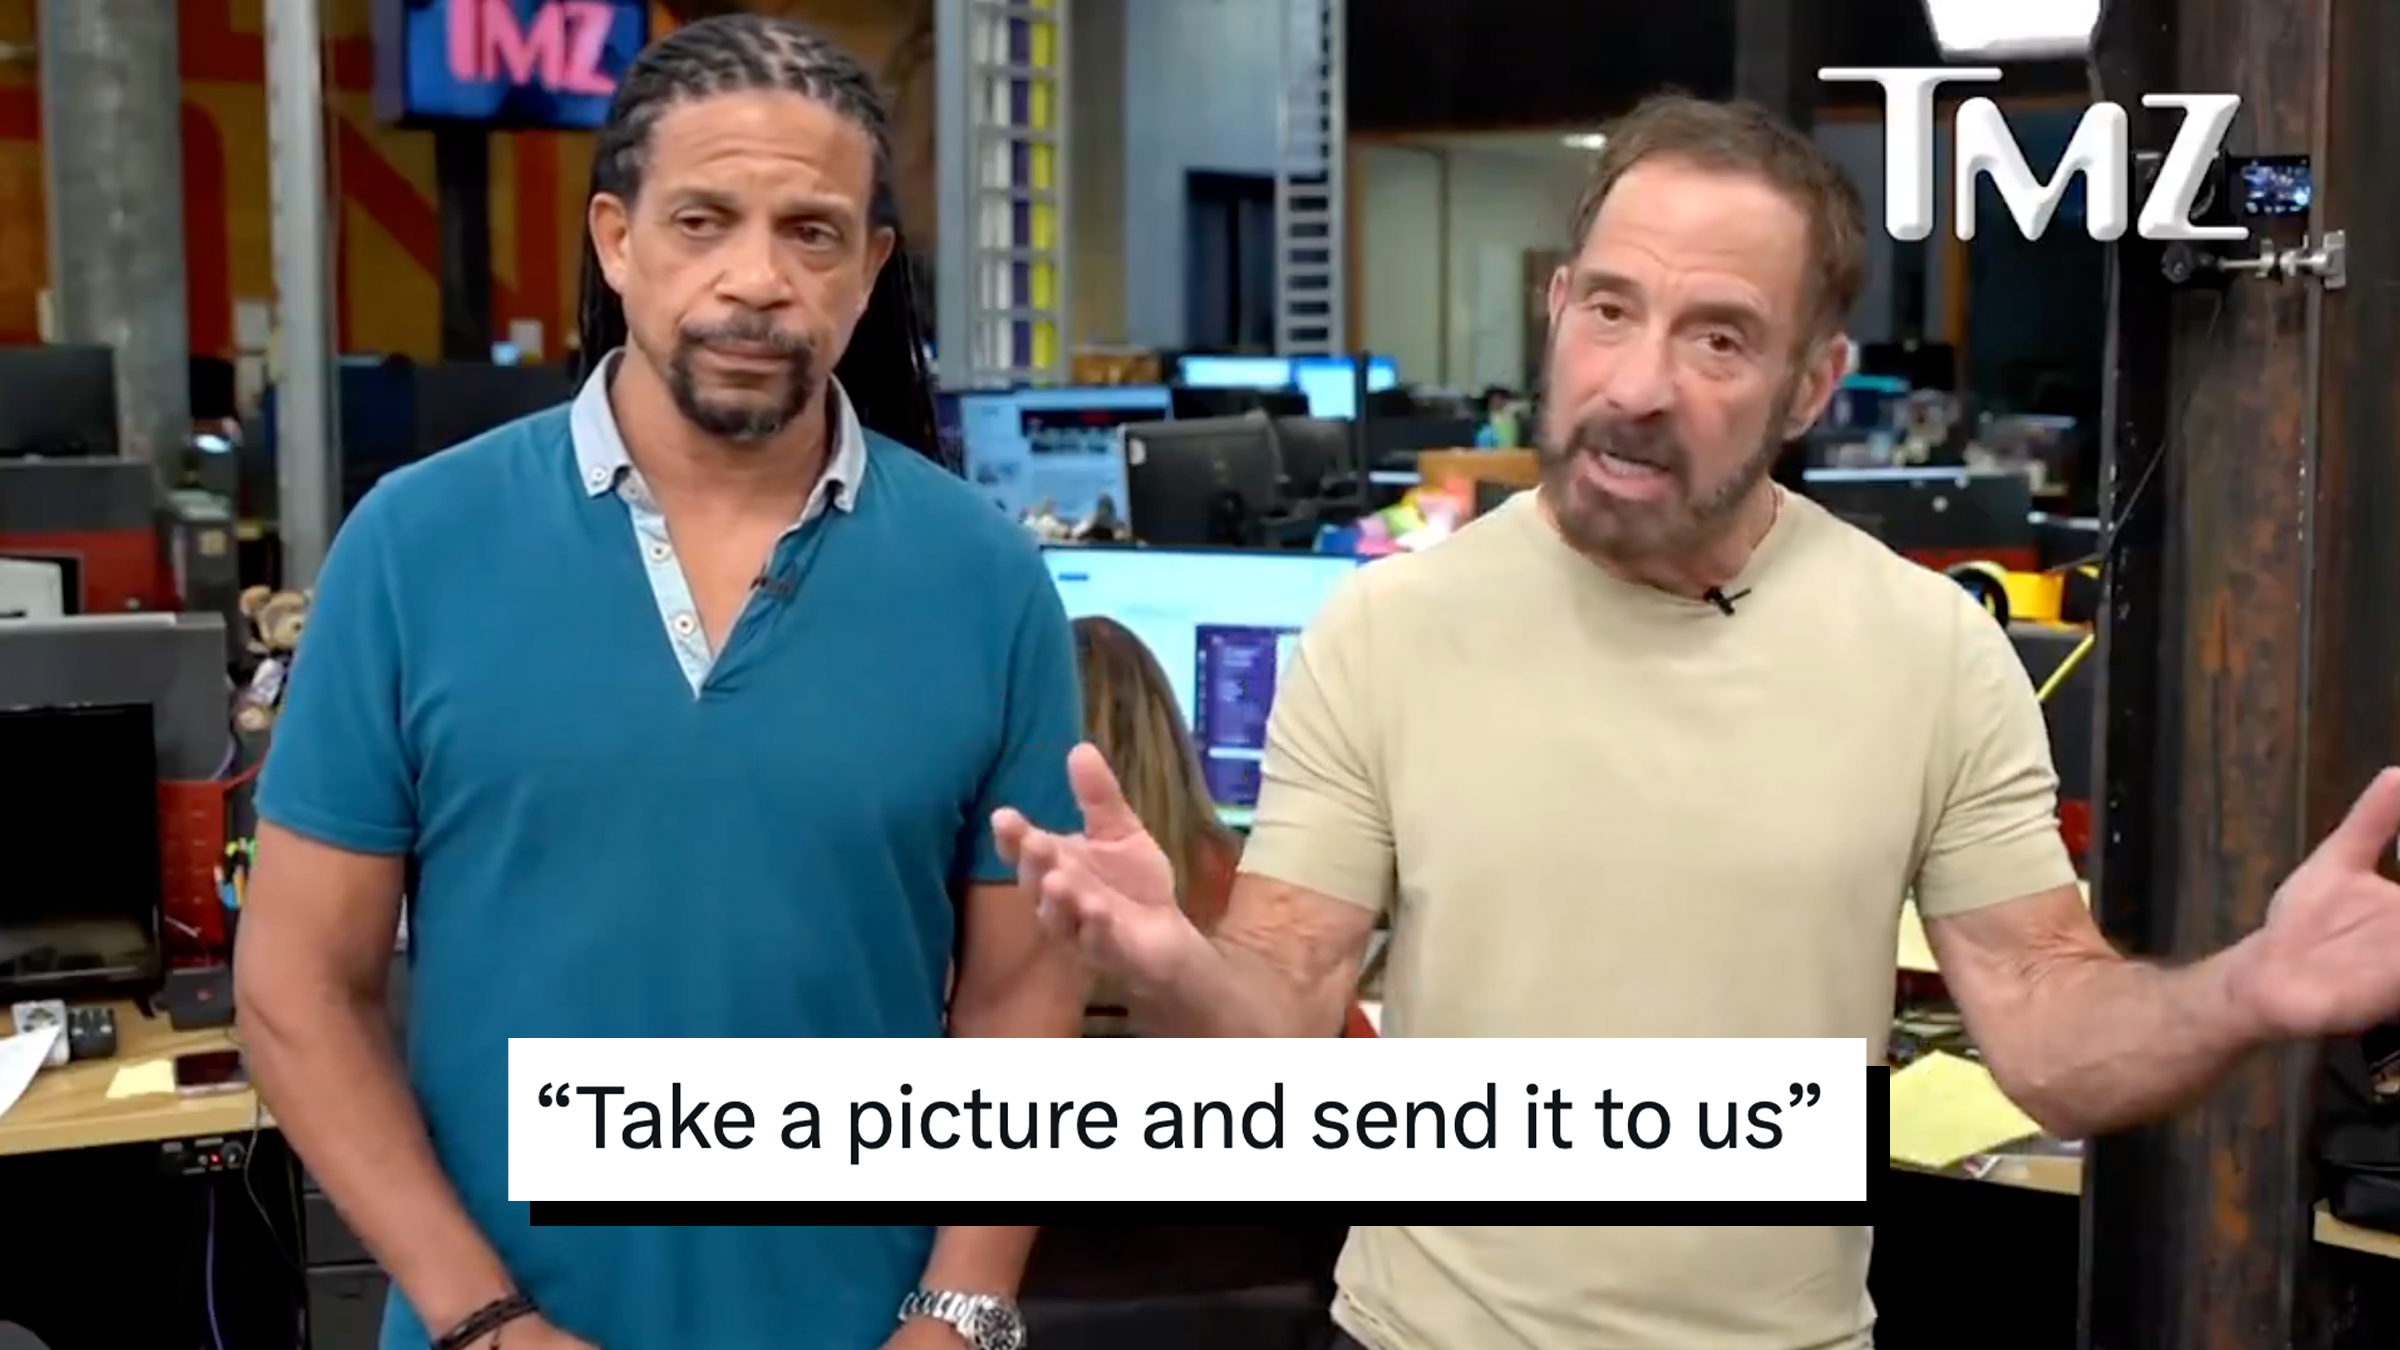
“Make politicians accountable”: TMZ is earning surprising goodwill after asking for photos of vacationing lawmakers
"Honestly? Put Harvey Levin on the case."
Trending
“Cannot believe this is real”: Flyers warned of 4+ hour TSA waits at major American airports
"Why are we even paying taxes anymore?"

What does “green apple” mean on iShowSpeed streams? Behind the sign-off lore
For the most part, it's a subtle cue.

“Come on, man”: Five winning lottery tickets sold at same Nantucket diner in 2 years spark conspiracy theories
"After Epstein won the lottery, can we trust anything anymore?"

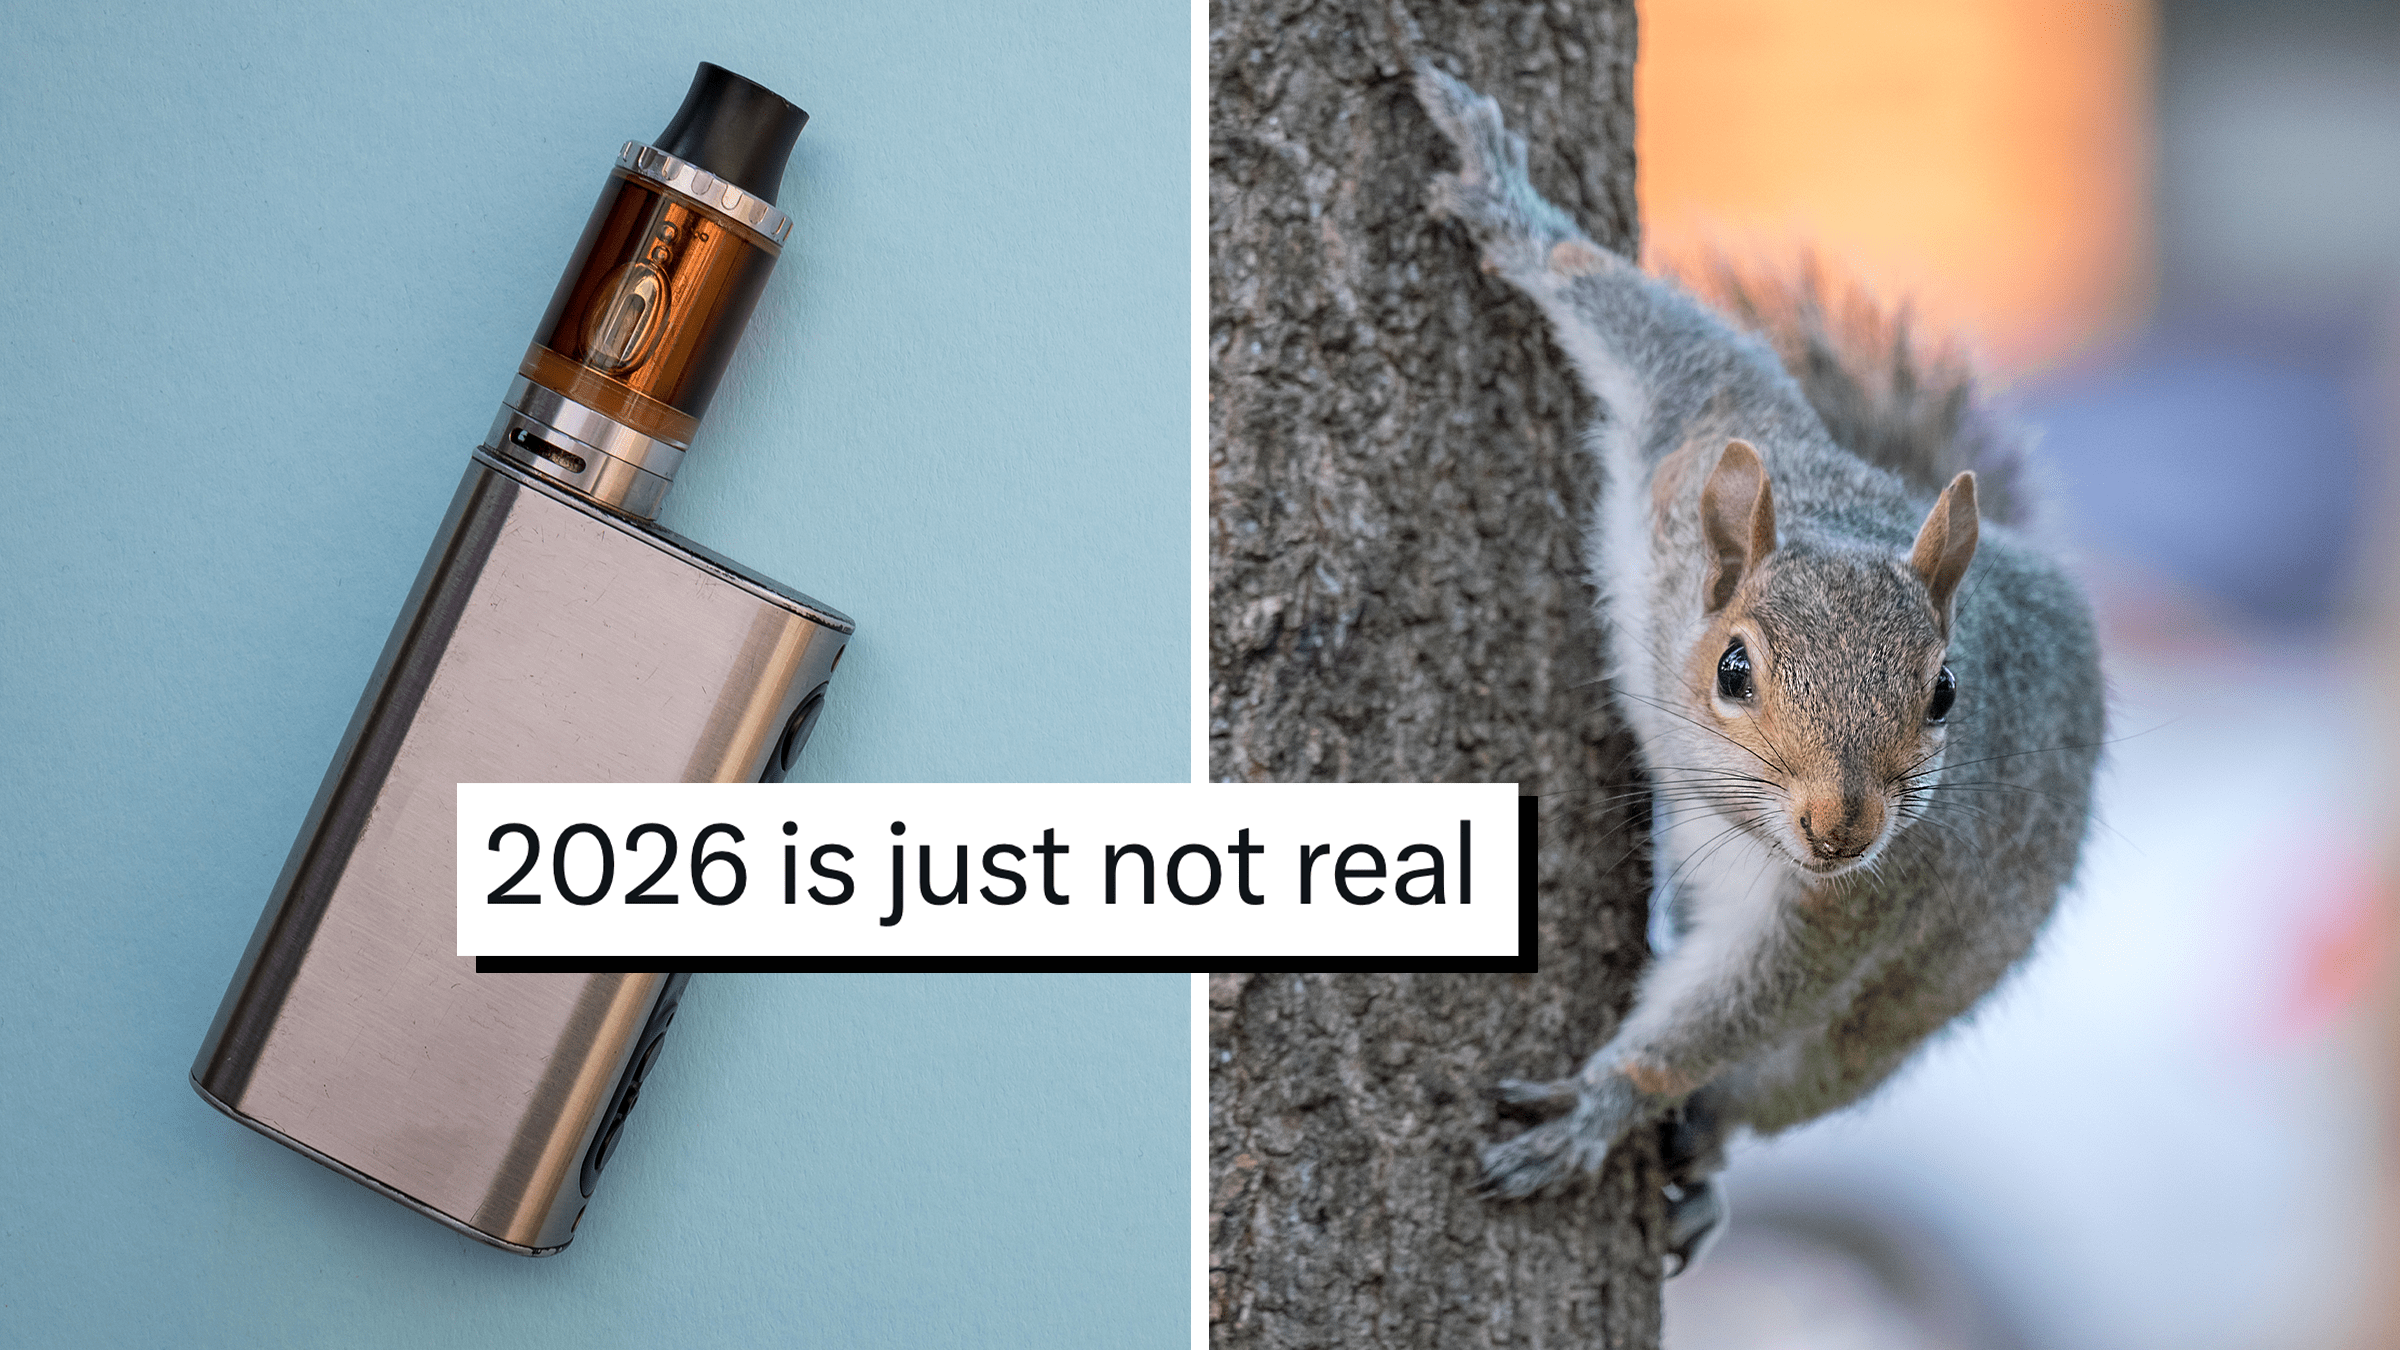
“What have we done”: The squirrels are vaping and no one can handle it
"I'll never understand how we became a society more intent on filming everything than actually helping."
Culture
“We followed the blueprint”: A 35-year-old comedian explains why millennials are having a different kind of midlife crisis
Advice to unsatisfied millennials: don’t rely on your job to give your life meaning.

Is John Krasinski responsible for the “millennial voice”? Voice actor attributes it all to Jim Halpert from “The Office”
"Hey, I'm just a guy. I'm not really an actor."

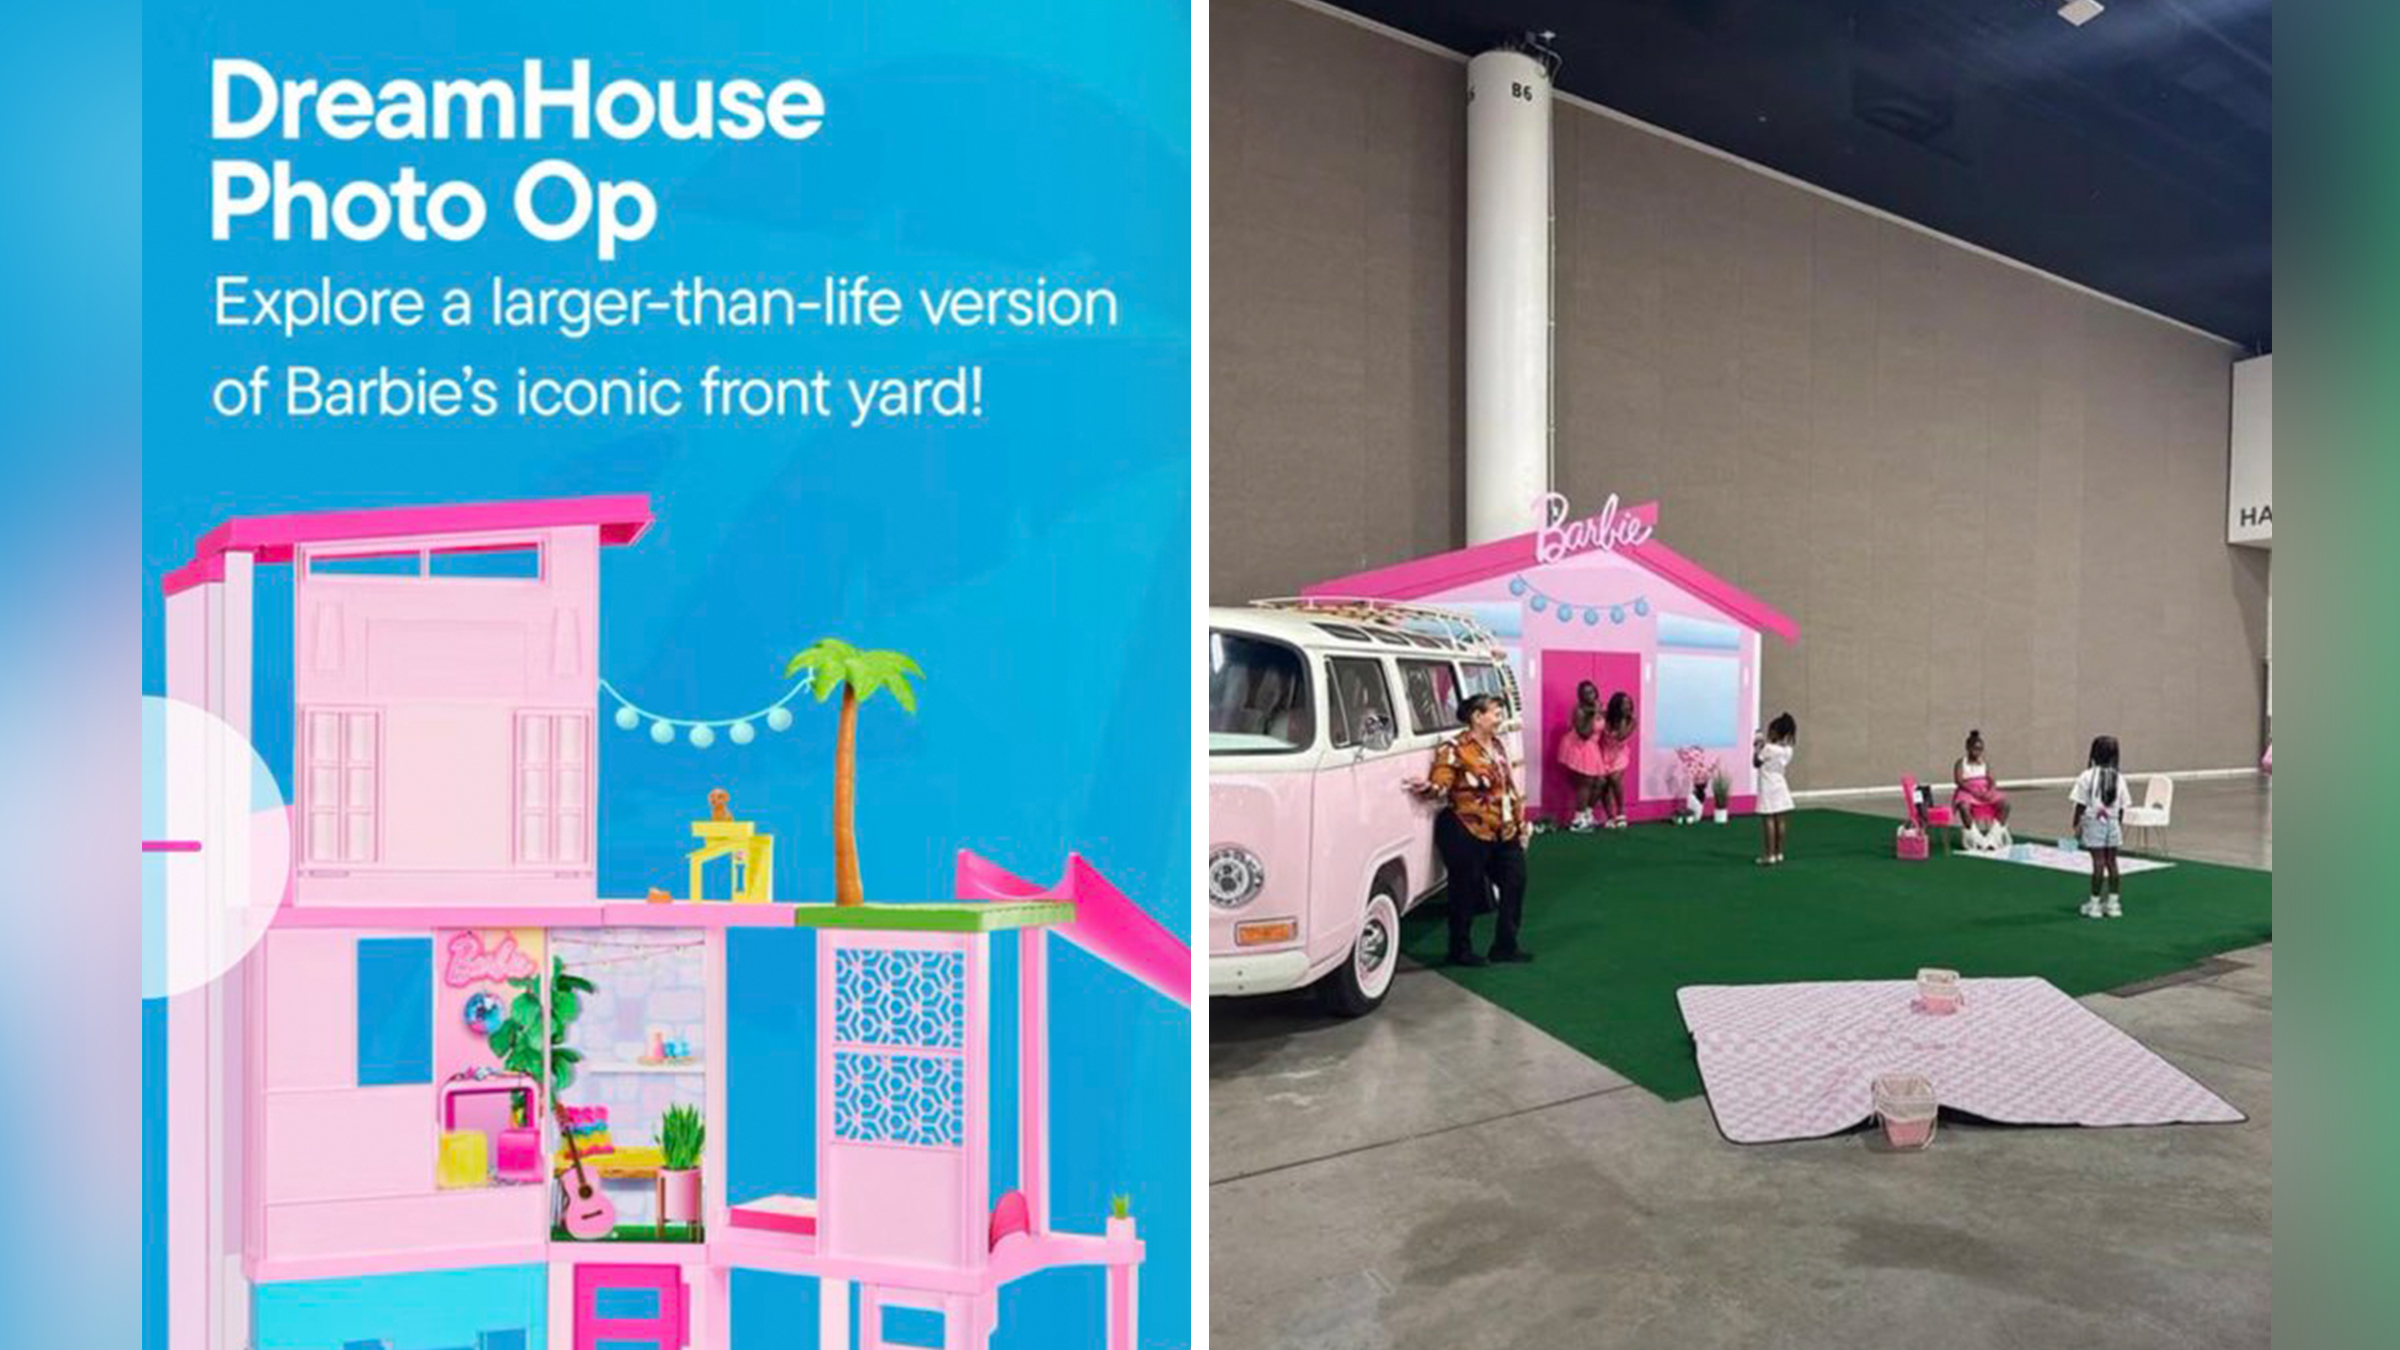
Fans say the Barbie Dream Fest event was like Fyre Fest meets the Willy Wonka Experience
"Dashcon doesn’t die it just reinvents itself."
CleanTok is giving new meaning to spring cleaning
Influencers are preparing for the warmer weather ahead.

Memes
“Welcome to the club”: Spider-Man fans are ecstatic to see Peter Parker broke and miserable in “Brand New Day”
"We all know broke, stressed Peter is the best version of Spider‑Man."

The internet responds with Chappell Roan memes to the alleged snub of Jude Law’s daughter
The situation with the security guard coming after one of Chappell Roan's fans has turned into meme fodder.

Are we doomed? AI slop videos of cheating fruit are taking over social media
Cheating fruits are the latest guilty pleasure content.

Classic Chuck Norris memes return in honor of his passing at age 86
"Death once had a near-Chuck Norris experience."

Tech
“BULLYING WORKS”: AI series “Fruit Love Island” creator rage quits after mass video takedowns
"Live by the AI slop, die by the AI slop."

“Banned on the run”: Reddit bans Paul McCartney for posting his own concert photos
"Reddit mods prove the findings of the Stanford prison experiment."

“Ryan took Sandy’s advice”: Ben McKenzie’s new documentary says cryptocurrency is “rife with fraud”
"My estimation of Ben McKenzie as a man has just skyrocketed."

“Dystopian”: Melania Trump struts alongside an AI-powered robot at White House education summit
"These robots can barely handle walking, and tech bros will have you believe every job is at risk of being replaced."

TikTok
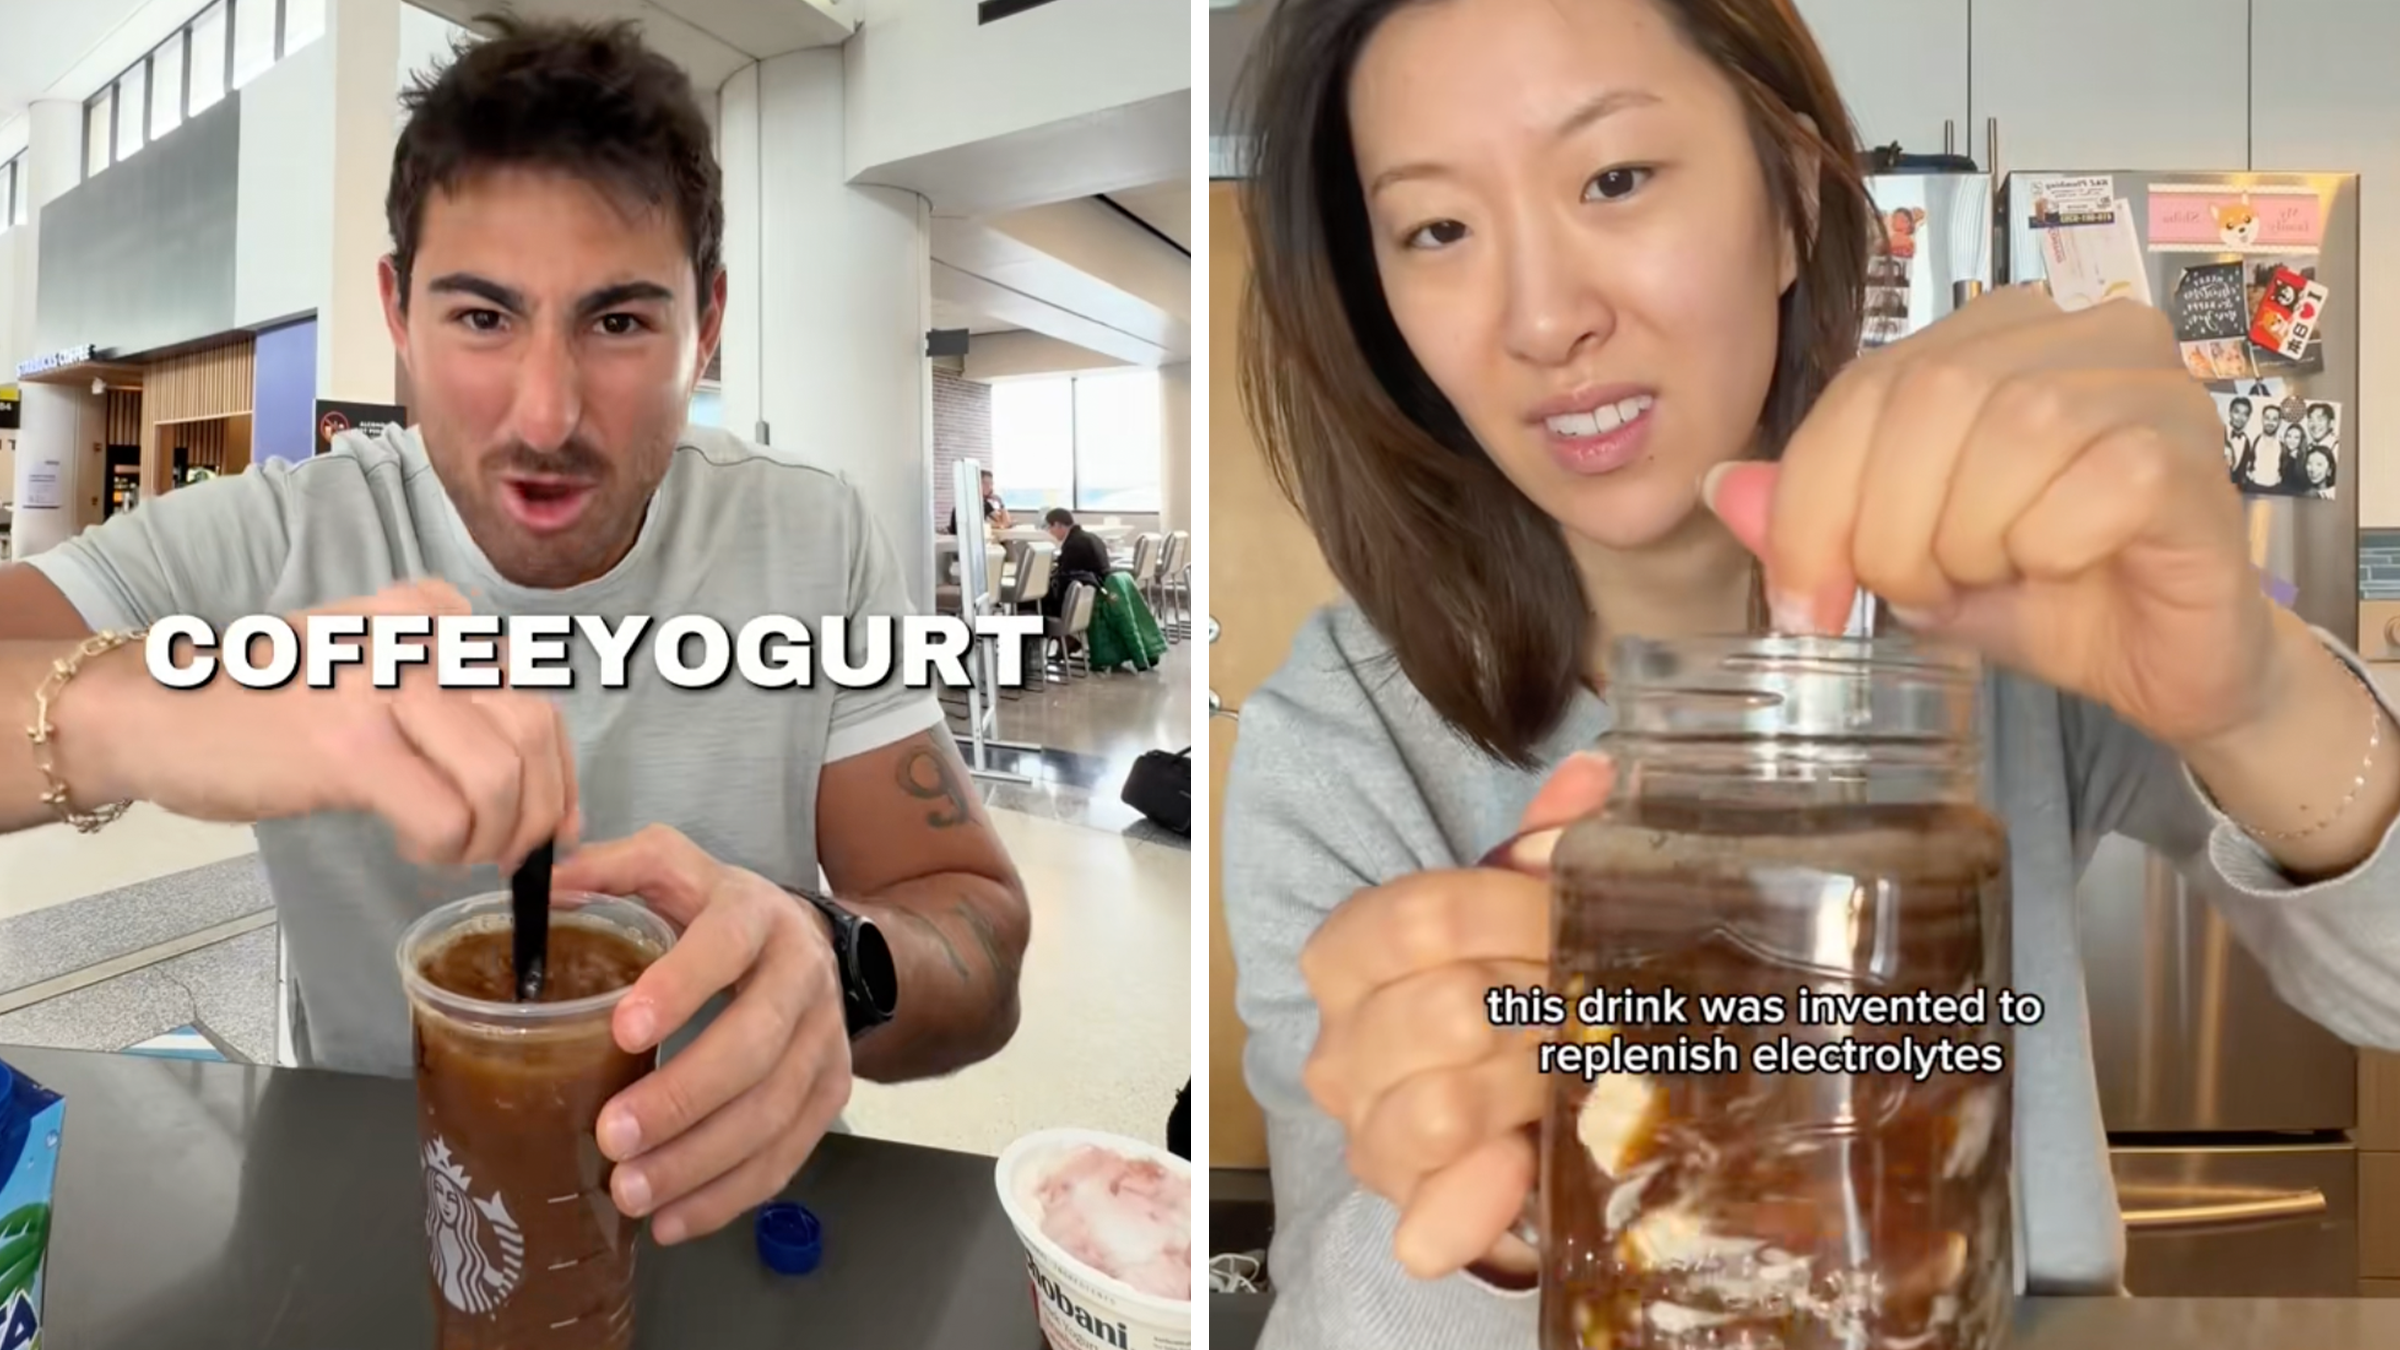
“Makes you want to quit the internet”: The coffee yogurt drink trend divides viewers. Is it disgusting or a smart way to get protein?
The internet is divided over the next viral coffee trend.
Viral video shows LAX baggage handler casually throwing guitars onto the tarmac
"These airlines will claim that these cases aren’t 'airplane' cases and never pay for your broken guitar."

People are blaming “office air” for their 9-to-5 glow-down. Experts say it’s real
People with desk jobs say being at work makes them ugly.

“Unbelievably sickening”: Woman goes dumpster diving and makes a disturbing discovery inside a bag
"To the scum bag who did this, I hope you rot in hell."