Most people treat their mobile phones as an extra appendage, and who can blame them? There are way too many comments to read and like, emails to reply to, articles to read. In turn, all these apps produce non-stop notifications that can become a burden. If you need a scheduled break from your constantly buzzing gadget, there’s one button you can quickly hit: Do Not Disturb.
Many users toggle this switch on without bothering to find out what it’s capable of. (Arguably, you should have it on all the time.) If you want to know exactly what happens when you flip the little moon symbol on, here’s a handy how-to guide to getting the most out of Do Not Disturb.
What is the “Do Not Disturb” function?
It’s exactly what it says it is: a button that–when it’s turned on–lets you blissfully ignore almost everything that makes your phone beep or vibrate. All calls and messages will be silenced. Banner notifications (the ones that show up even when your phone is locked) won’t be shown. Lastly, a moon icon will appear in your phone’s status bar. Alarms, however, will still ring as usual.
The Do Not Disturb function is available for both iOS and Android devices but depending on what model you have, the menus and options may look a bit different. Nonetheless, they operate in pretty much the same way.
Do Not Disturb on iOS
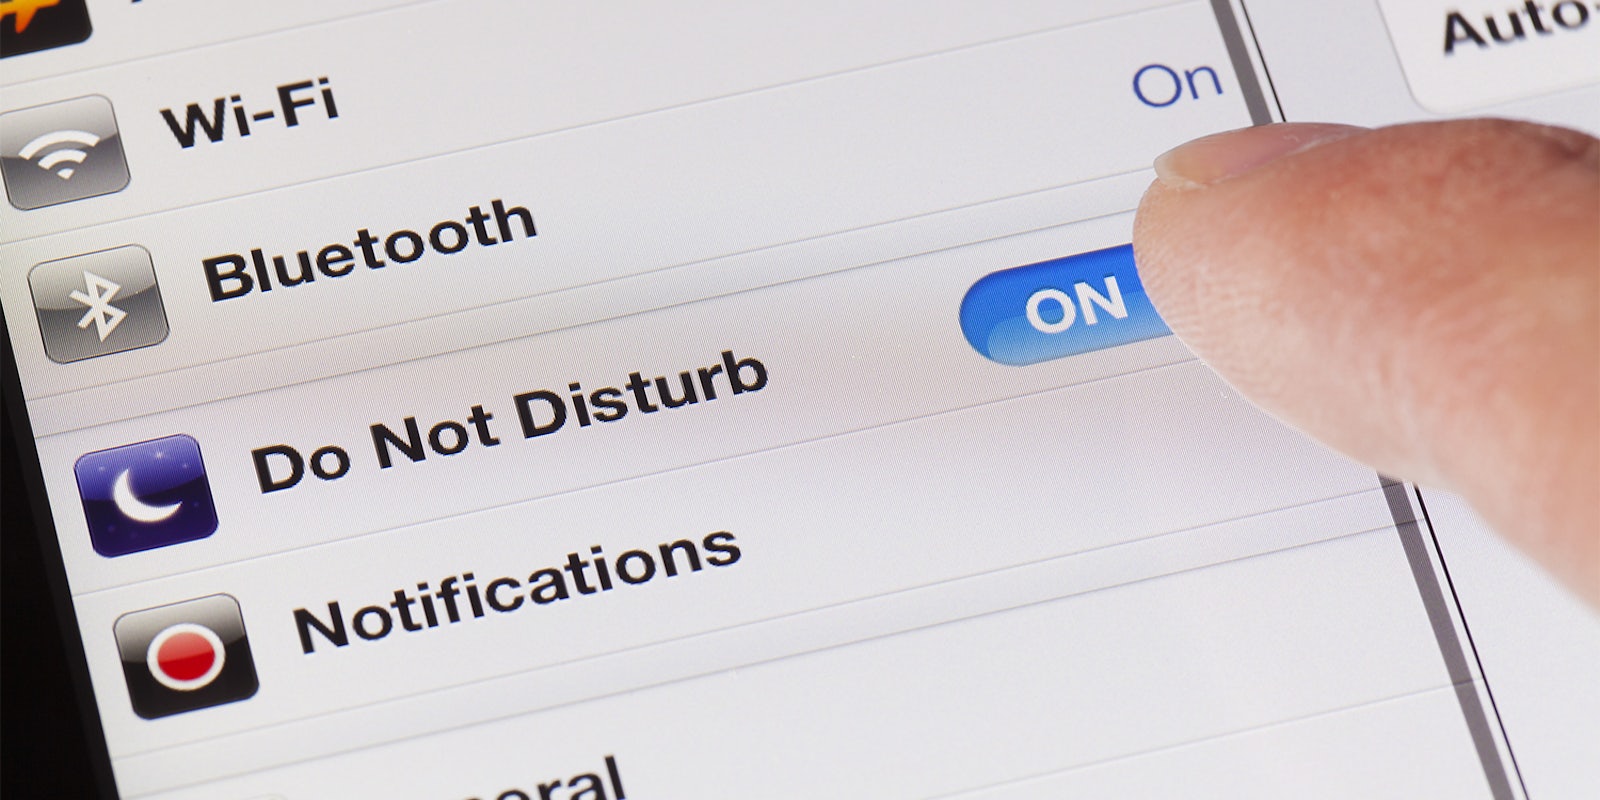
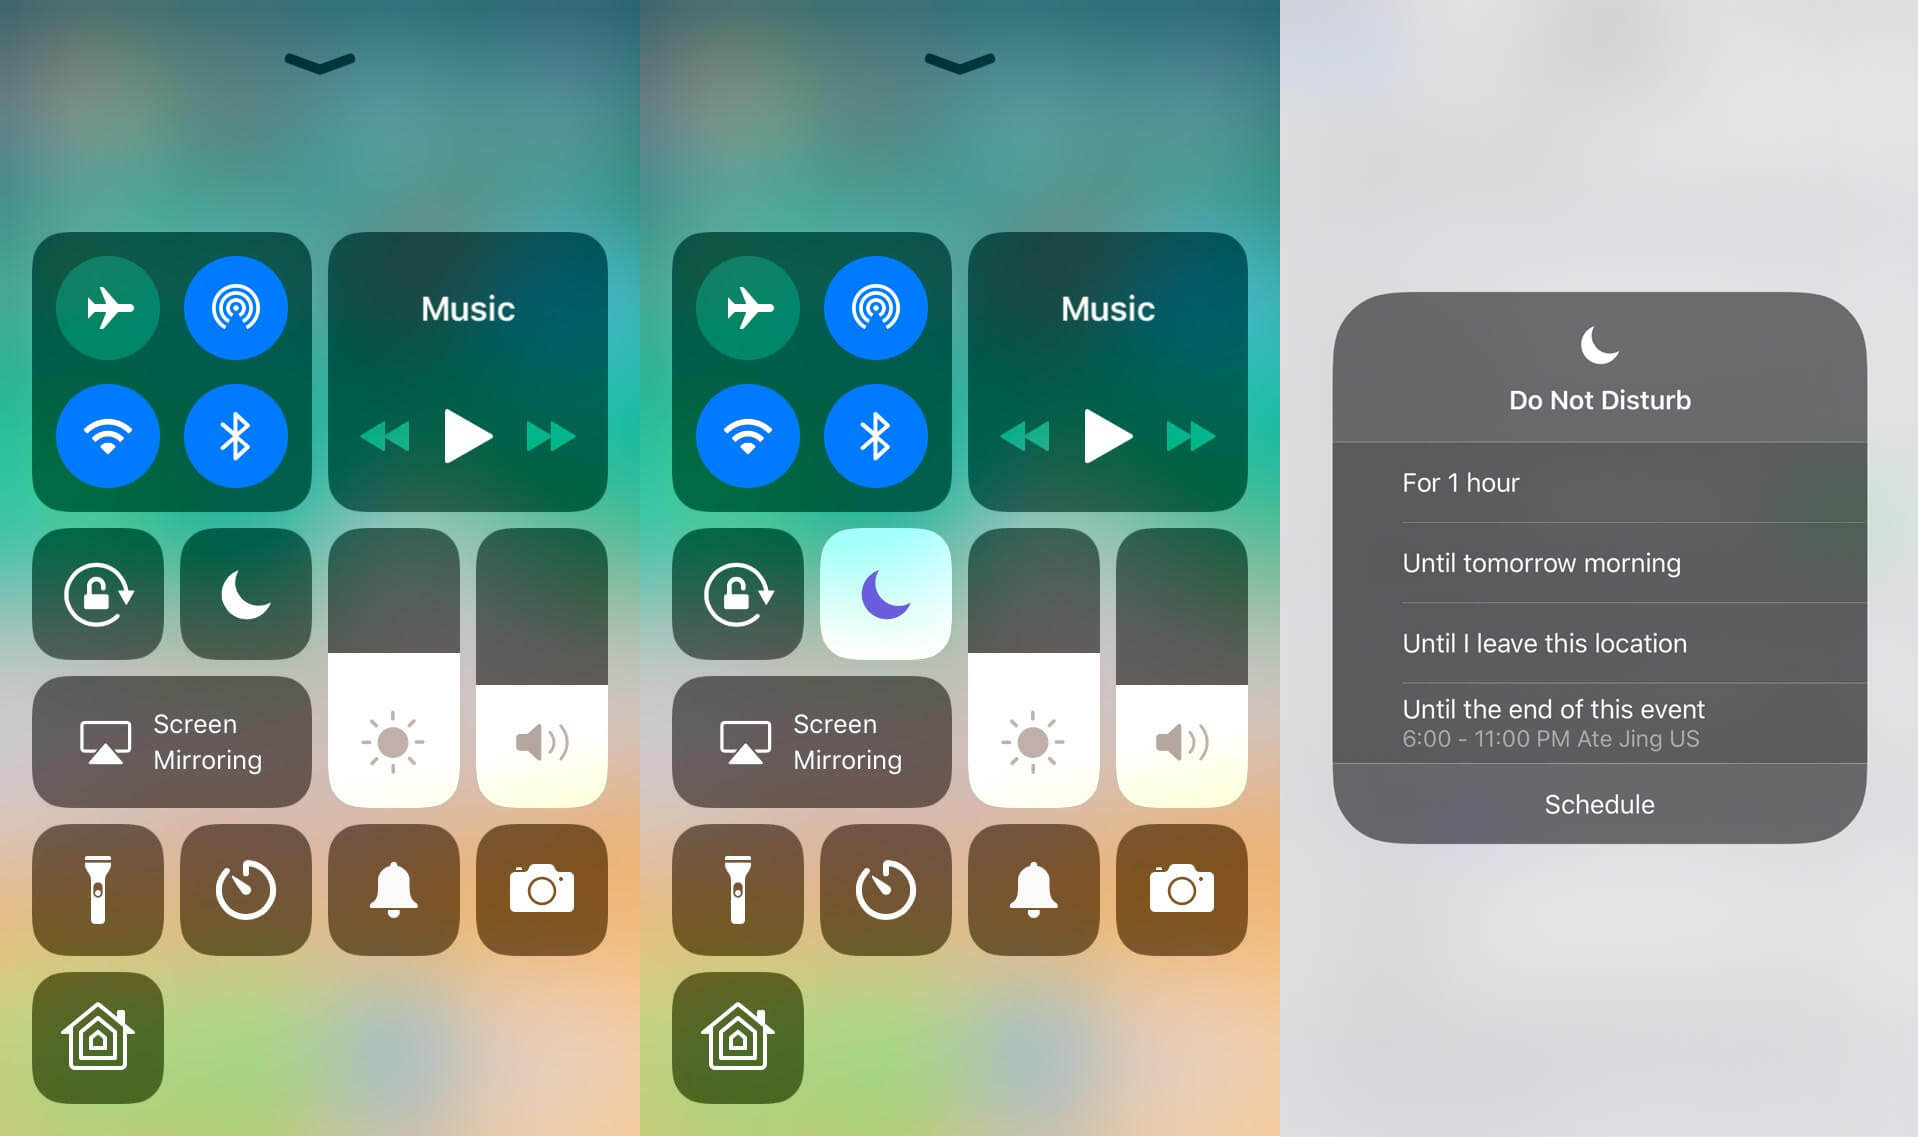
To find this function on your iPhone, iPad, and iPod touch, hit Settings > Do Not Disturb. It’s represented by a purple moon icon:

Switch the toggle beside Do Not Disturb to green to turn it on manually. Doing so will put all calls and app notifications on silent mode by default. However, you can tweak the settings further.
Scheduled
If you switch the toggle button to green for Scheduled, it lets you specify what time you want to start and stop muting your phone’s notification noise. Ideally, you’d want to set the time frame to the time you plan to go to bed until the time you intend to wake up to ensure that you have uninterrupted sleep.
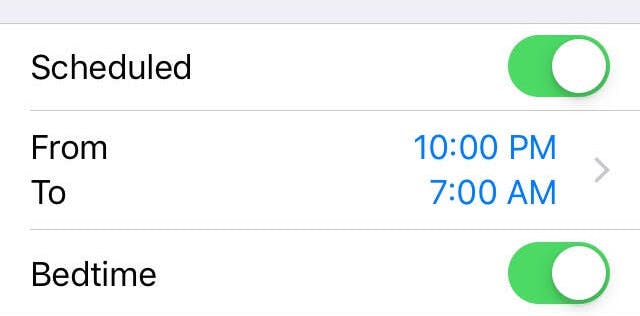
For iOS devices, Do Not Disturb only defaults to silencing calls and messages—the notifications will still appear on your lock screen. If you want to further enhance your experience, enable the Bedtime option so your lock screen is dimmed and your app notifications will only show up when you slide down the Notification Center.
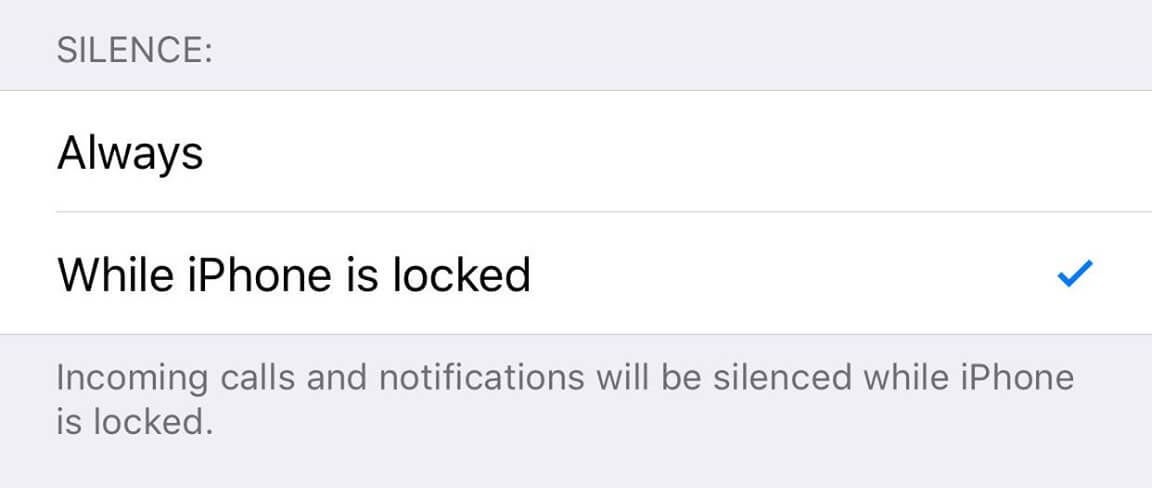
Silence
You can choose between Always to ensure that incoming calls and notifications are silenced while your device is either locked on unlocked, or to only do it While iPod/iPad/iPhone is locked.
Allow Calls From
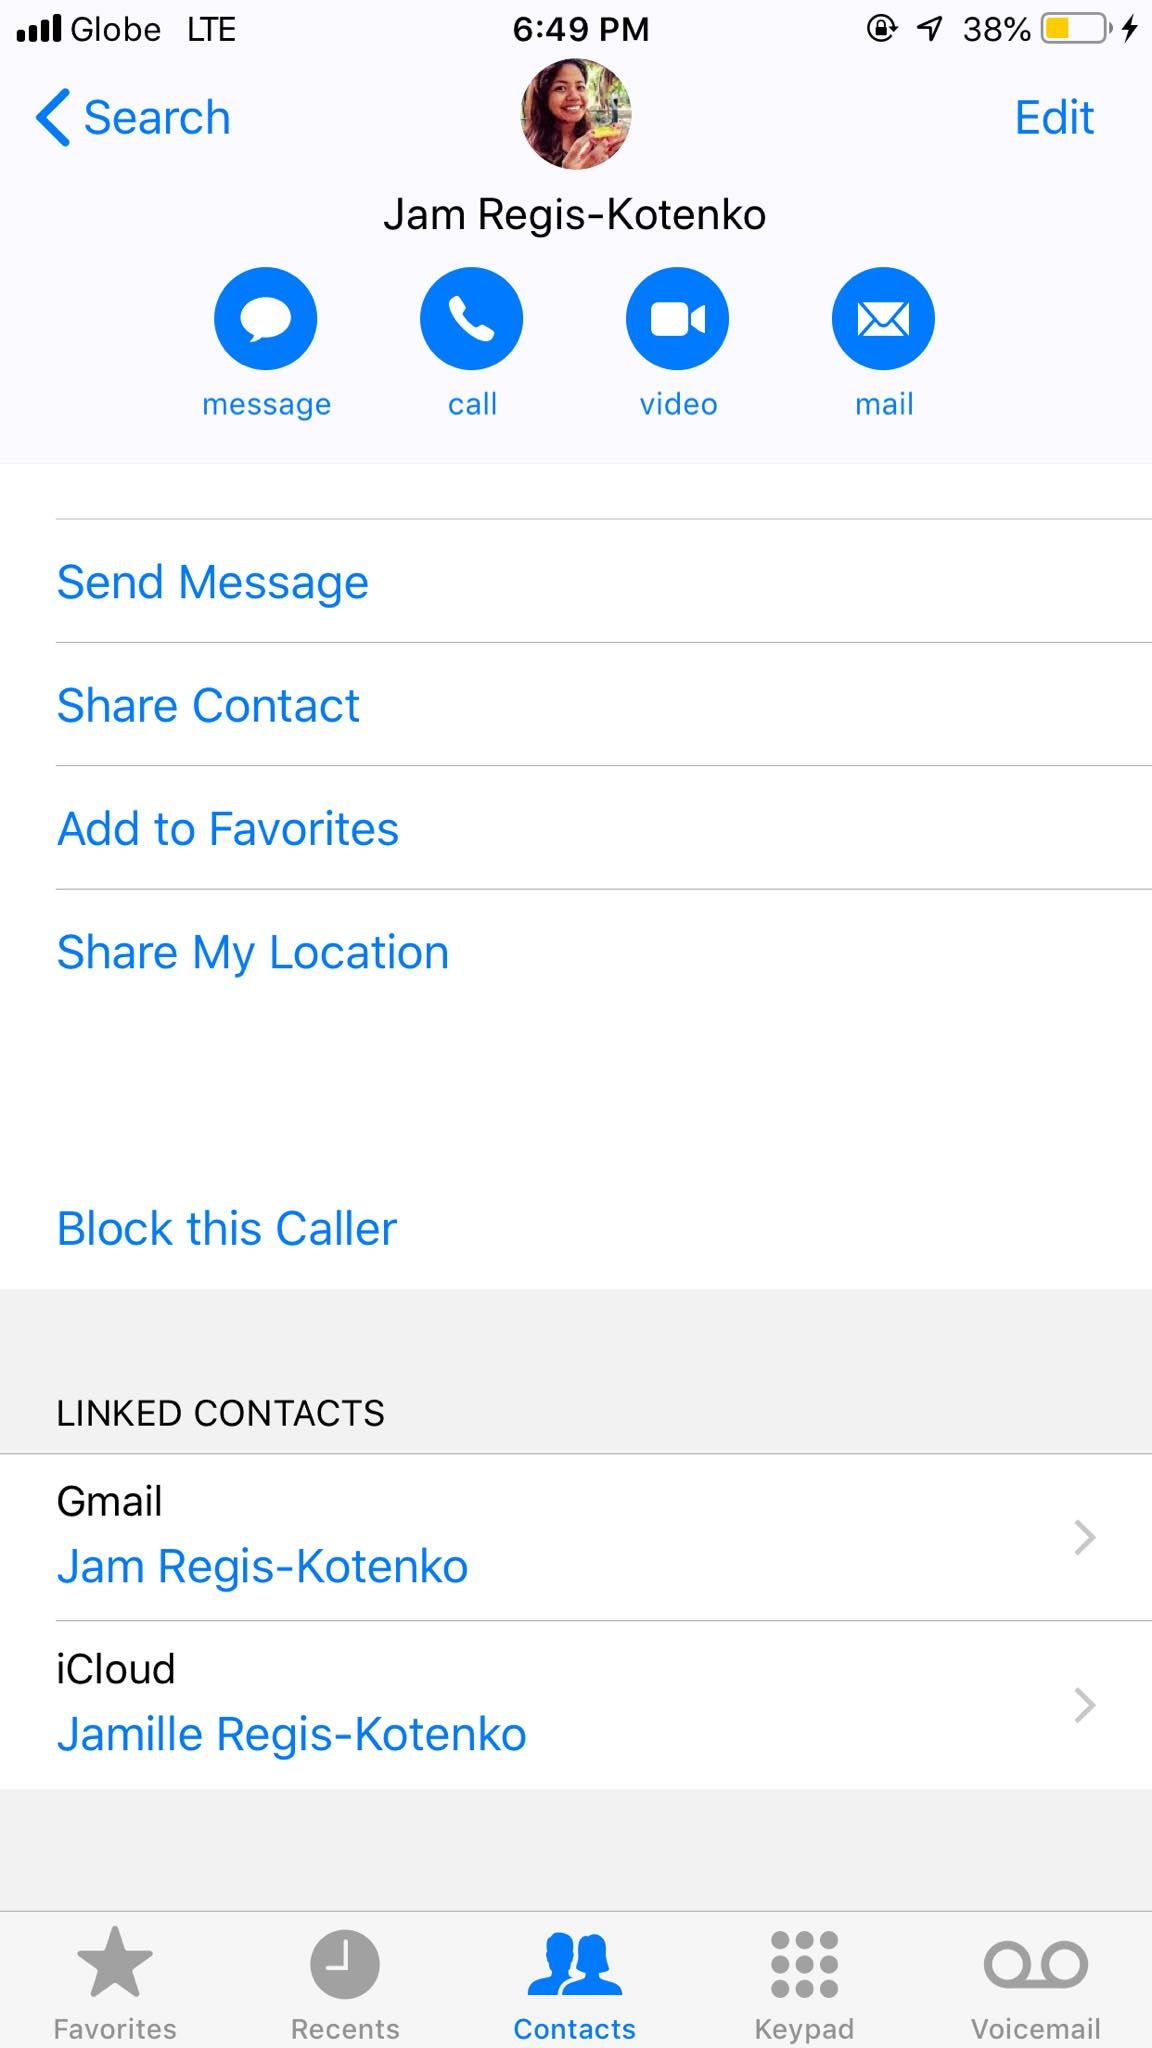
The default setting of Do Not Disturb has your phone ignoring all incoming calls, but you can modify it so that you can still receive calls from your Favorite contacts and have them bypass the setting in case of emergencies.

To populate your Favorites list, go to your iPhone’s contacts, tap on the person you’d like to add, then select Add to Favorites. Once you’re done establishing the very important people whose calls and messages you’d like to prioritize and have the Favorites option toggled on under Allow Calls From, you’re all set—you’d be able to hear from them even when you’ve got Do Not Disturb enabled.
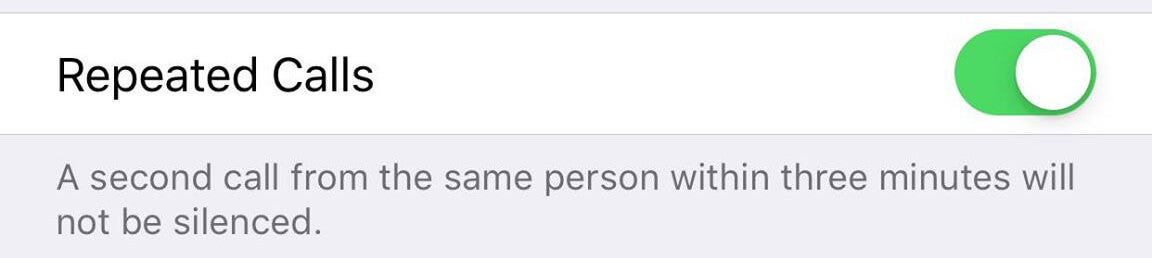
Repeated Calls
Speaking of emergencies, you can turn this option on so that a second call from the same person within a three-minute time frame can go through. Bear in mind that this function can also let through unwanted and pesky late-night callers, so enable with caution.
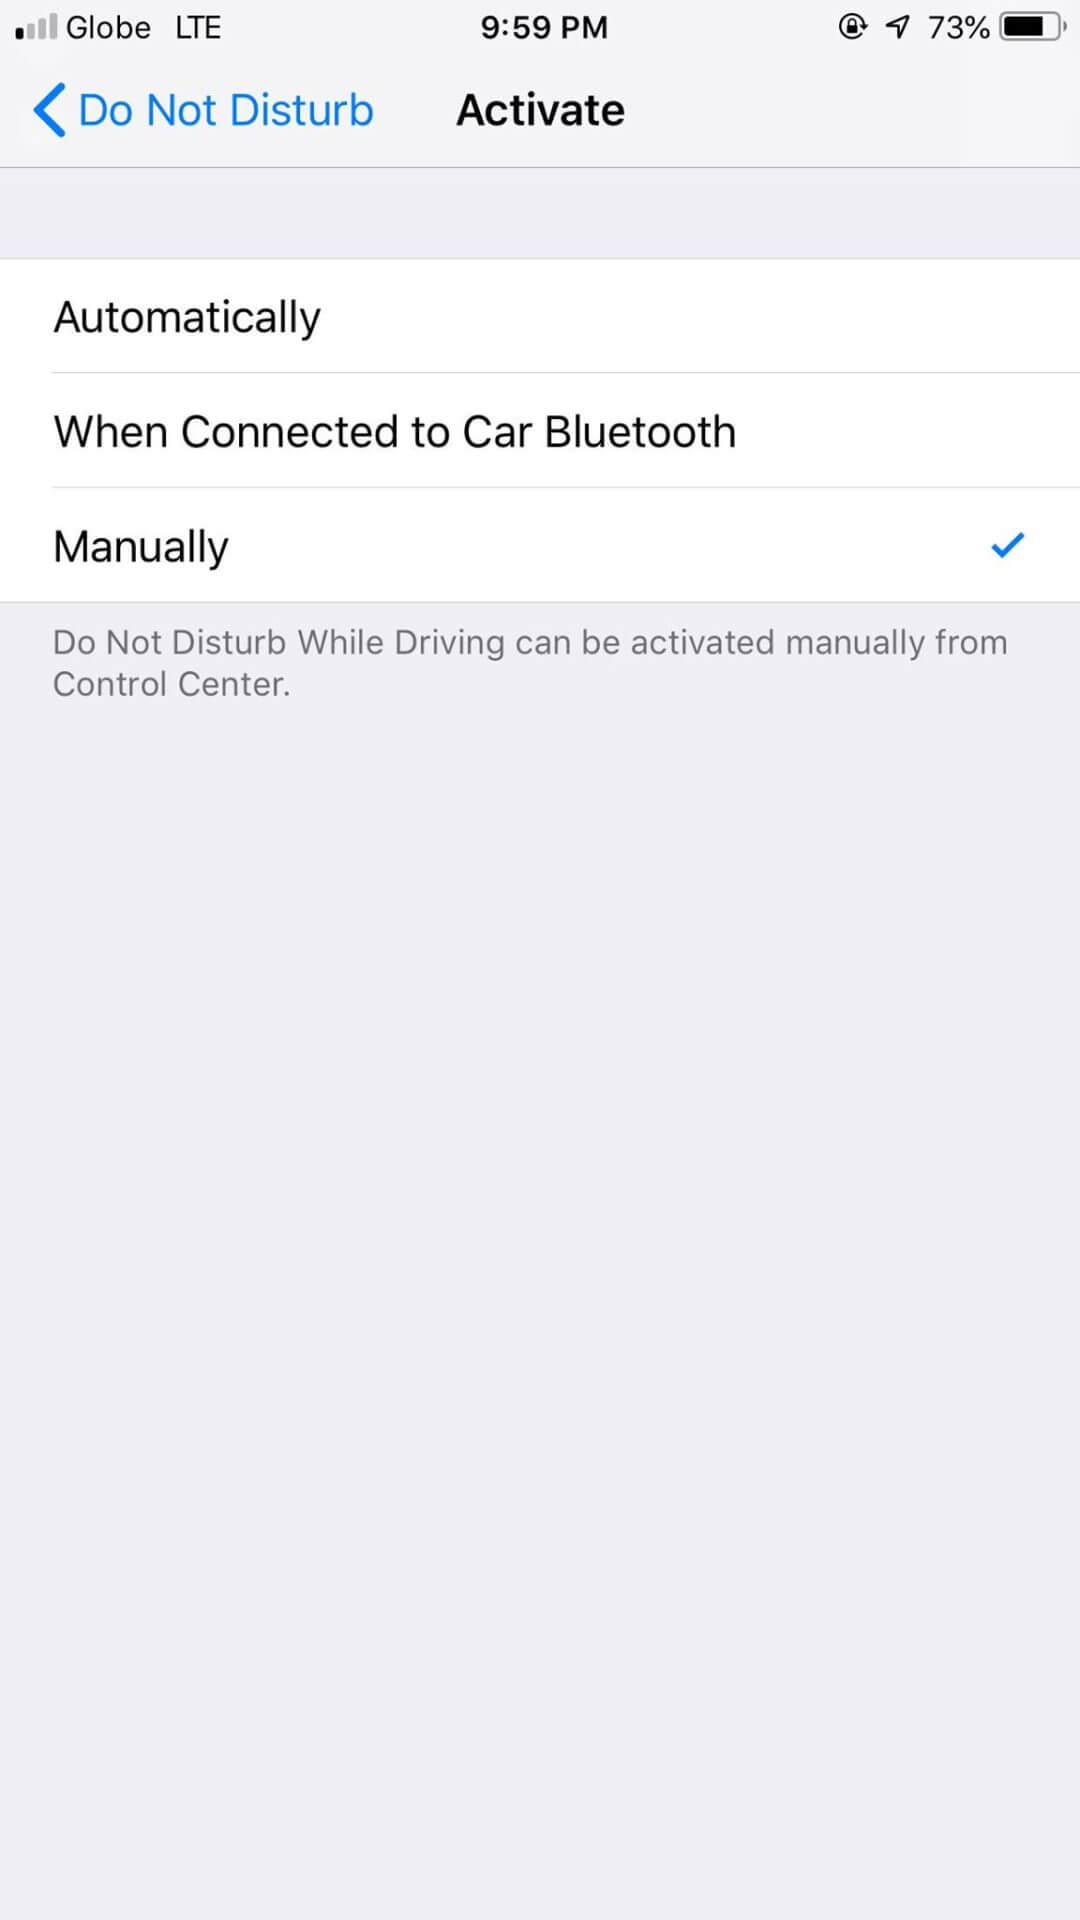
Do Not Disturb While Driving
iPhones have this additional feature that lets you mute your phone when you’re on the road. If you choose Active Automatically, it will use motion detection to turn itself on. You can also opt for When Connected to Car Bluetooth, or Manually through the iPhone’s Control Center and then it will stay on until you turn it off.
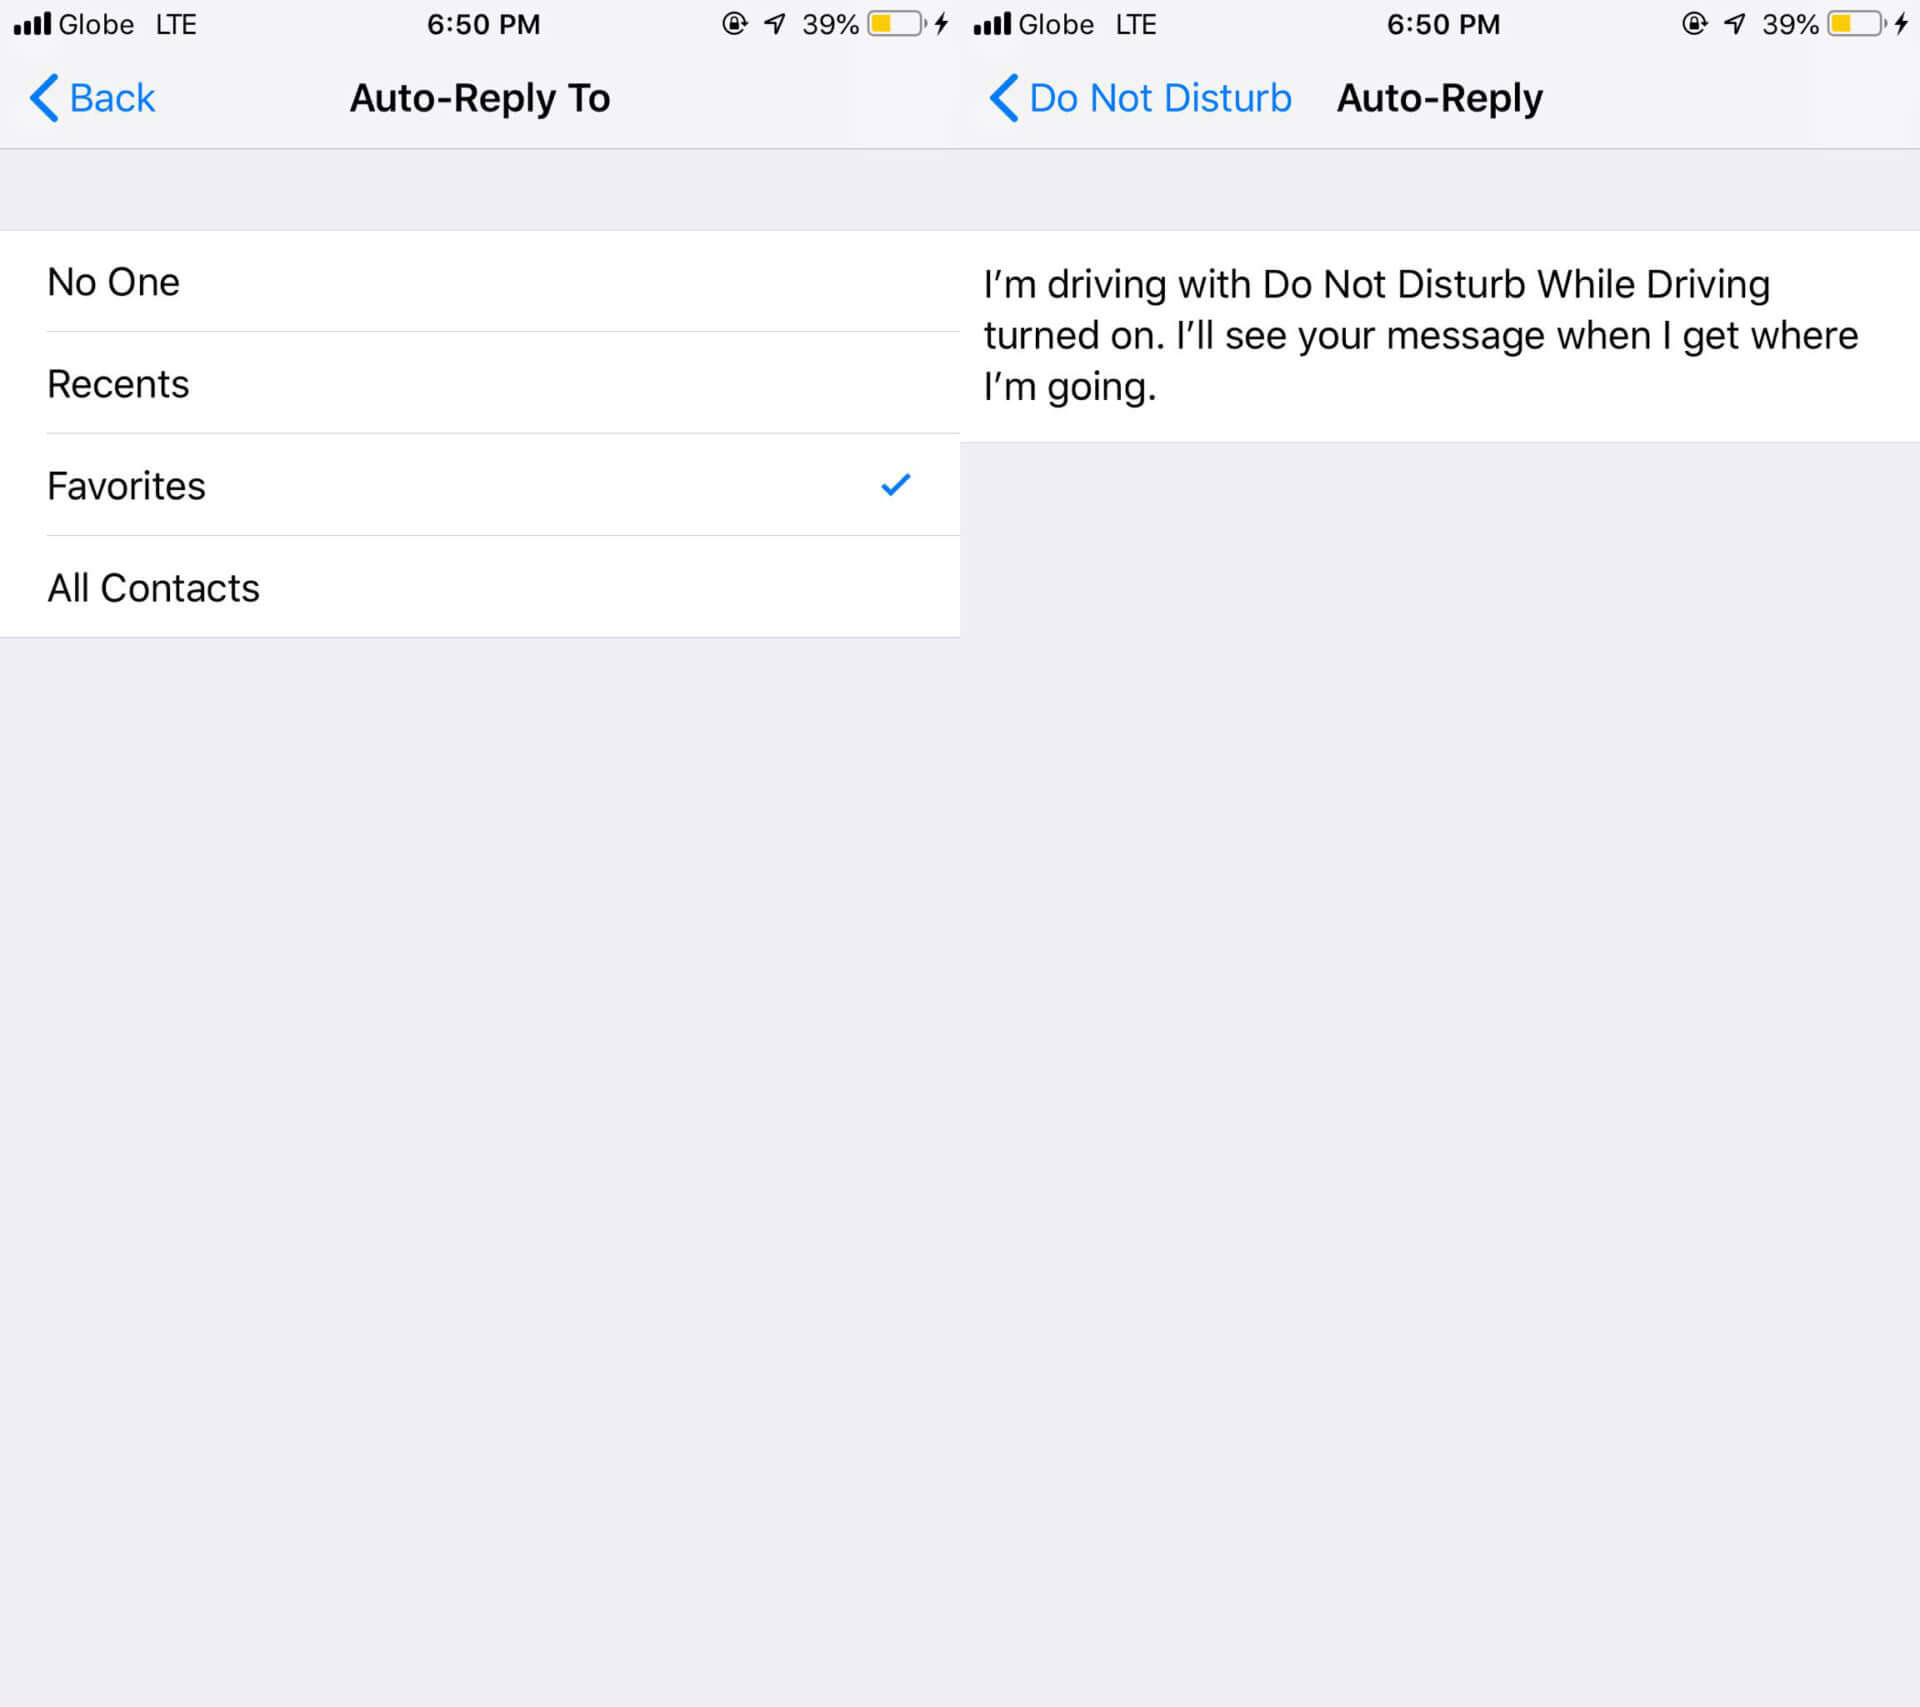
While calls will go straight to voicemail when you have this function enabled, you can set up an auto-reply to any text messages you receive while you’re in your vehicle. People can bypass this temporary block by replying with the word “urgent” though, so just like Allow Calls From, it is wise to have the auto-reply function only applicable to your Favorites.
How to quickly activate “Do Not Disturb”
Another way to get to the feature is through your iOS device’s Control Center. To get there, swipe up from the bottom edge of your screen. When you see the moon symbol, quickly tap it to turn the function on or off (turning it on will turn the moon symbol purple) or press longer to adjust your settings.
“Do Not Disturb” on Android
You can find the feature on most updated Android phones under Settings > Sound/s. If your device lets you search within the Settings page—you’ll know it does if you see a magnifying glass icon on one of the corners of the screen—type in “Do Not Disturb” to bring you directly to the function’s page. Again, the appearance of the menu options may differ depending on the manufacturer of your device, but for most Android phones, there should be three sections: Behavior, Exceptions, and Schedule.

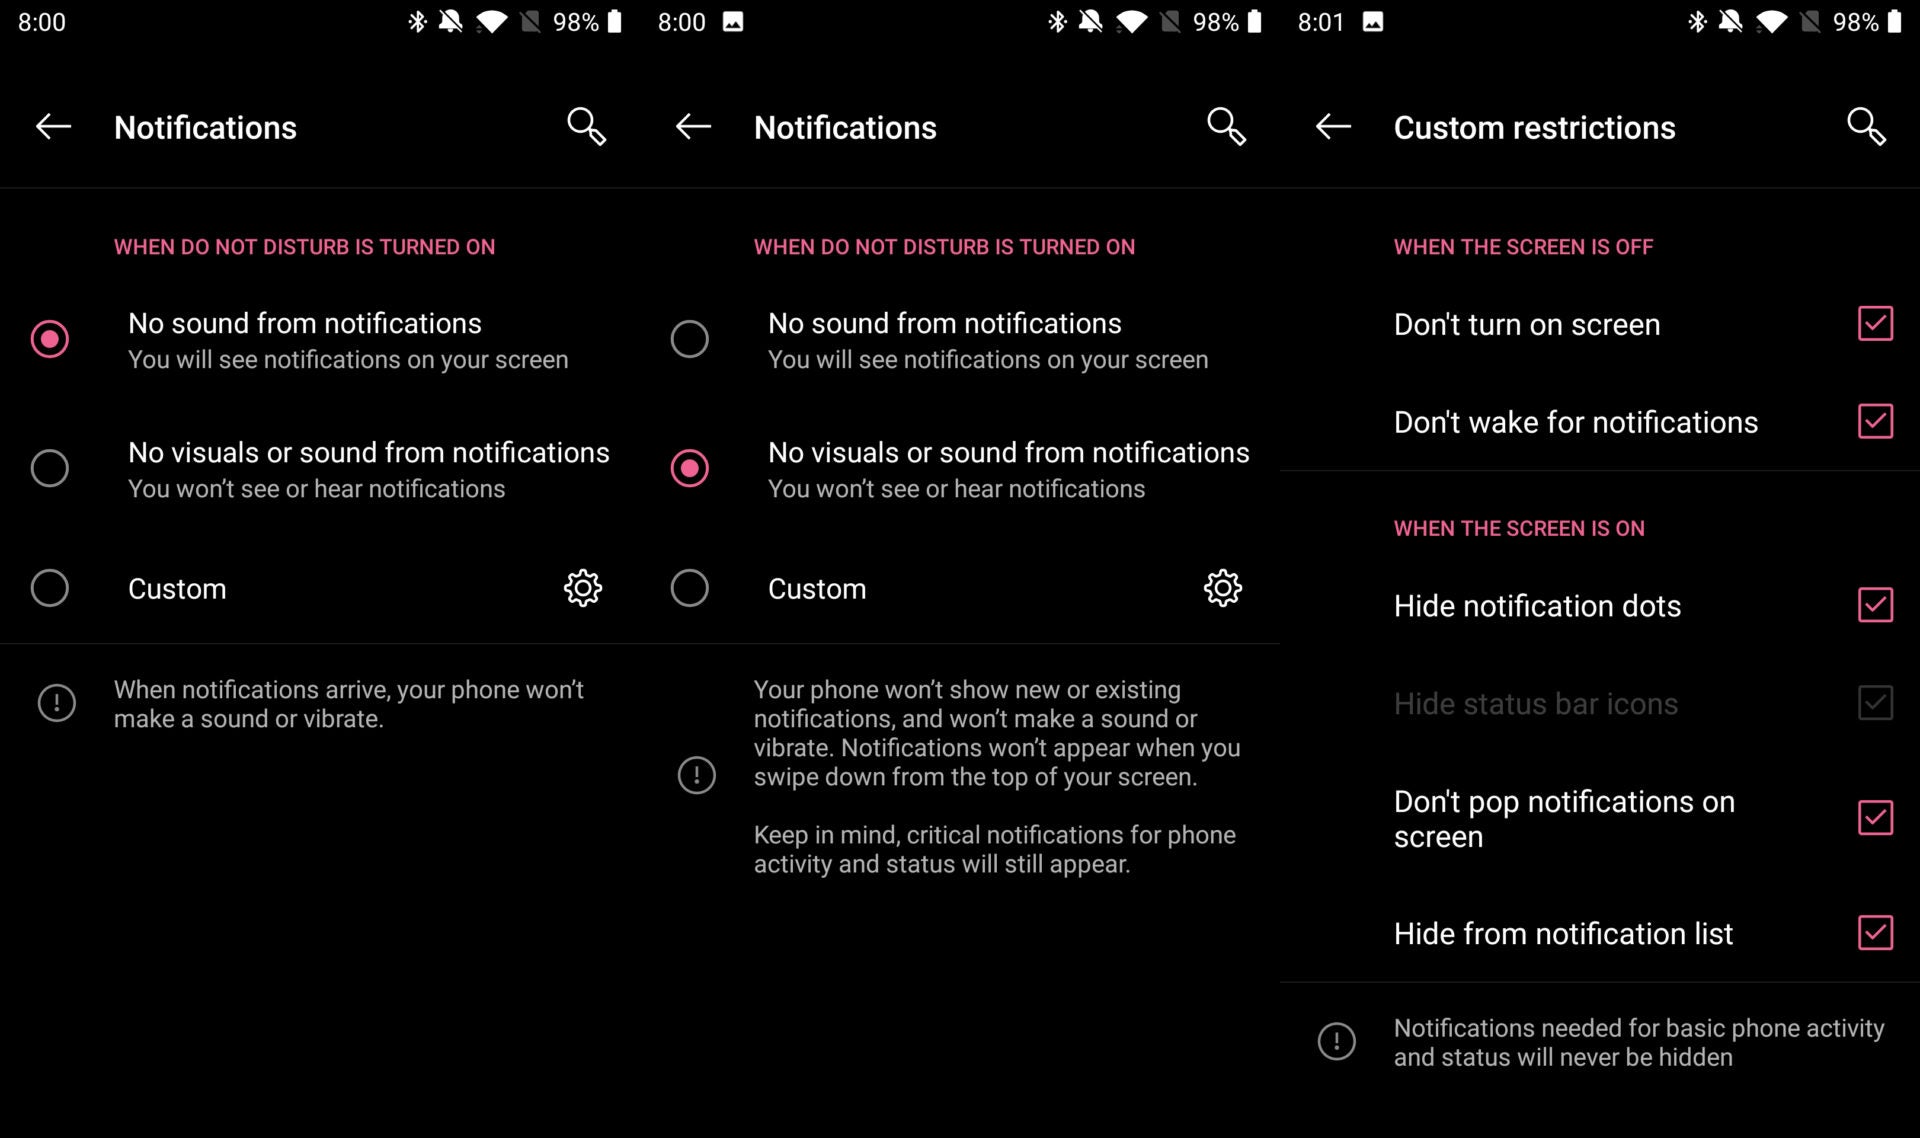
Behavior
Under Behavior, you will have three options. You can select No sound from notifications, which will also turn off vibrate (but still see notifications on your screen), No visuals or sound from notifications, which will completely hide and mute new or existing notifications (except for critical notifications for phone activity and status) until Do Not Disturb is turned off, or customize your own setting for when the screen is off or on.
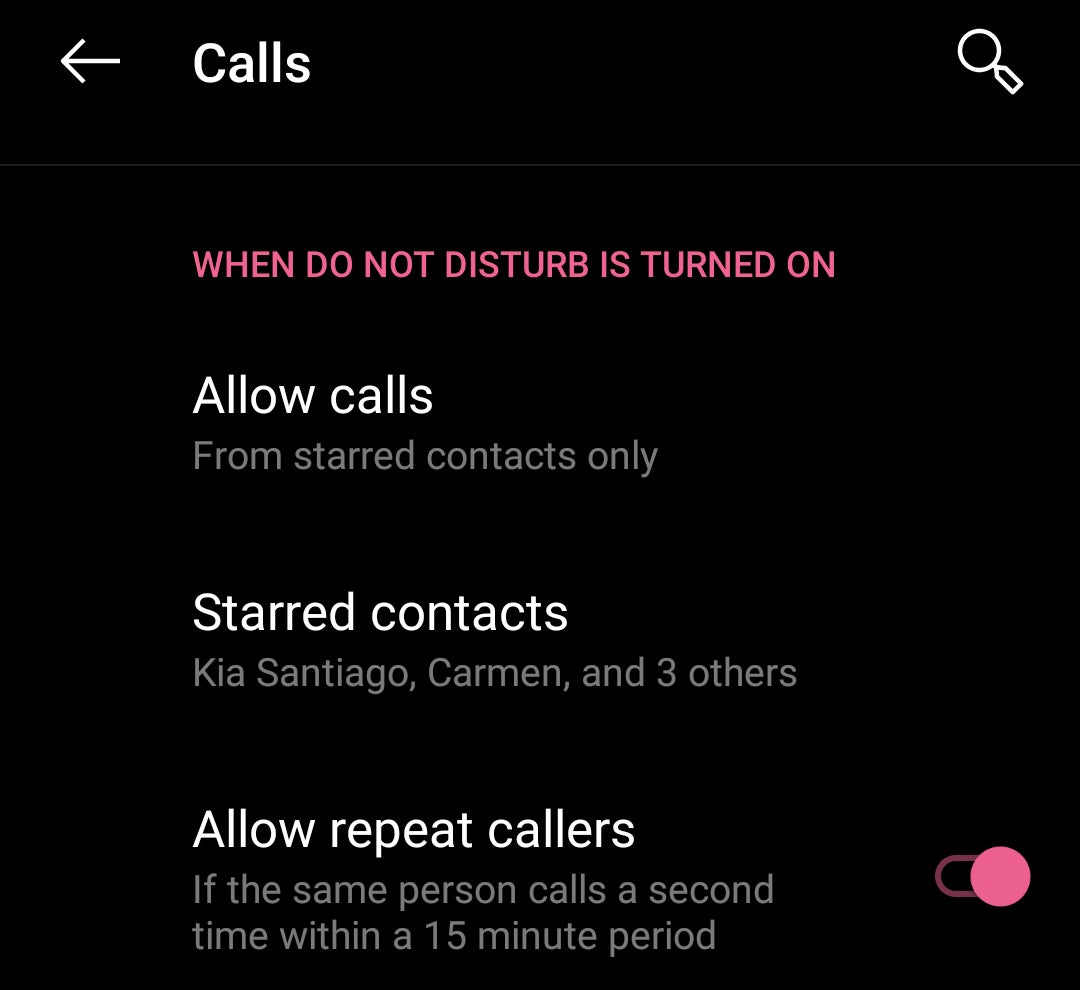
Exceptions
In this section, you can modify settings for Calls and allow ones from your starred contacts (your Favorites). You can go into the contacts app of your device to pick your starred contacts.
You can also allow repeat callers to bypass Do Not Disturb if they call more than once within a 15-minute time frame.
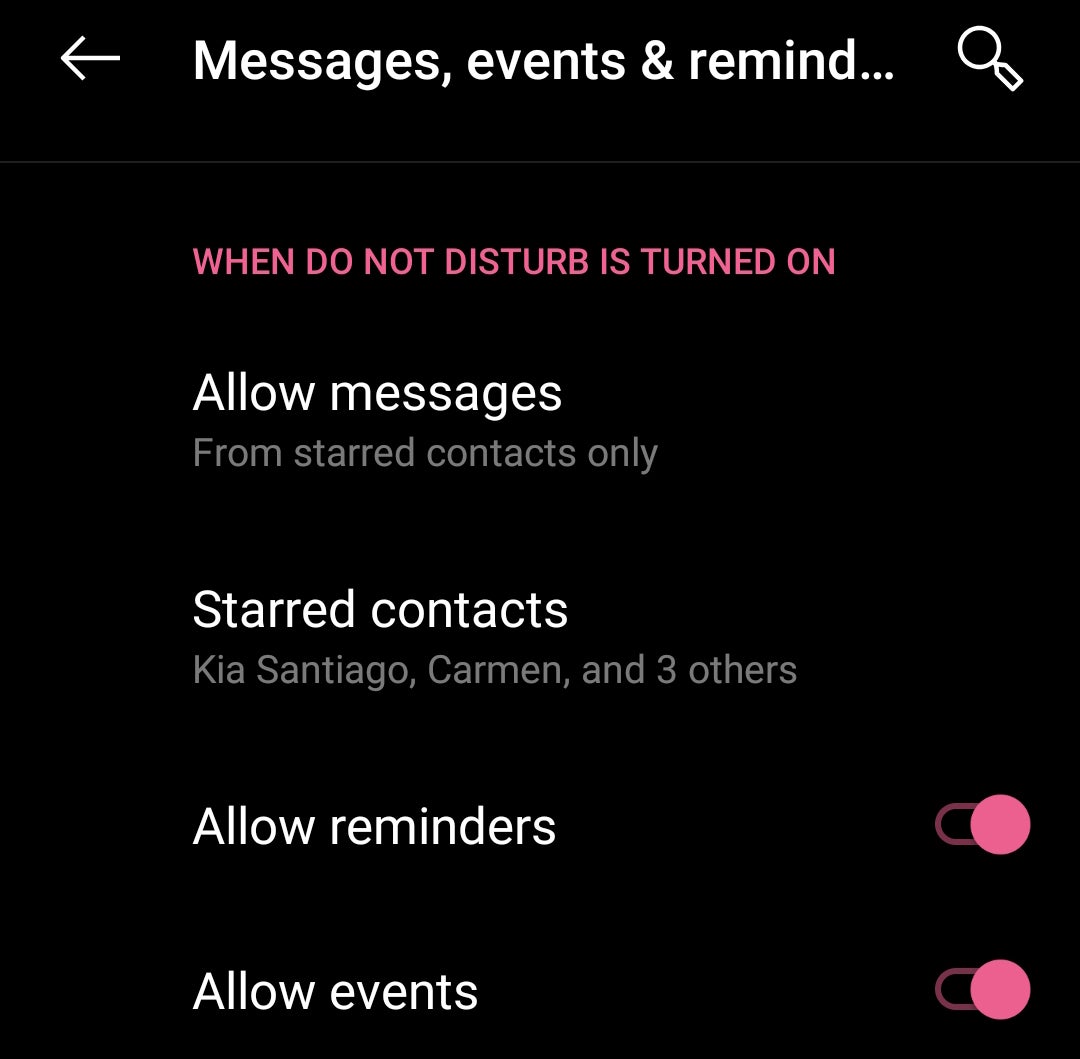
The same is true for Messages, Events, & Reminders, where you can also limit the text messages you receive to starred contacts only and allow reminders and events to bypass the feature.
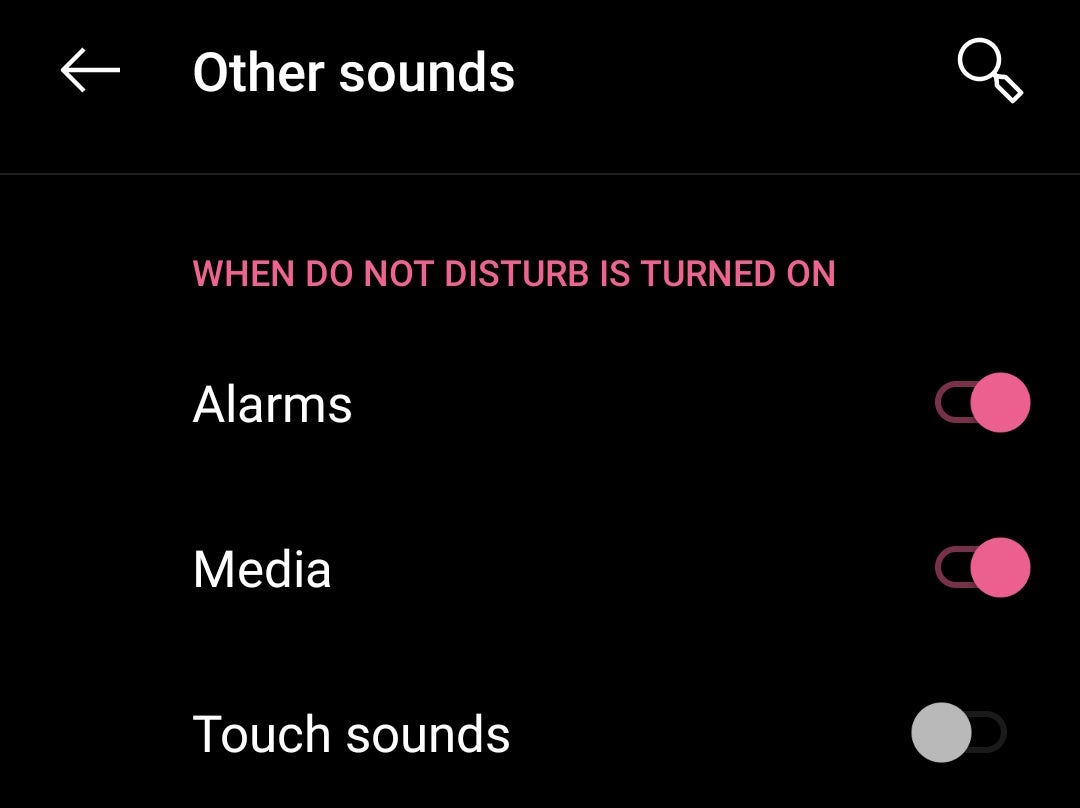
Finally, you can also customize Other sounds so that when Do Not Disturb is on, sound and vibration will be muted, except for the items you allow.
Schedule
For this last section, you can customize two things. When you tap Duration, you can either keep the Do Not Disturb function turned on until you manually turn it off, after a specified number of hours, or to have your phone ask you every time you want to enable it.

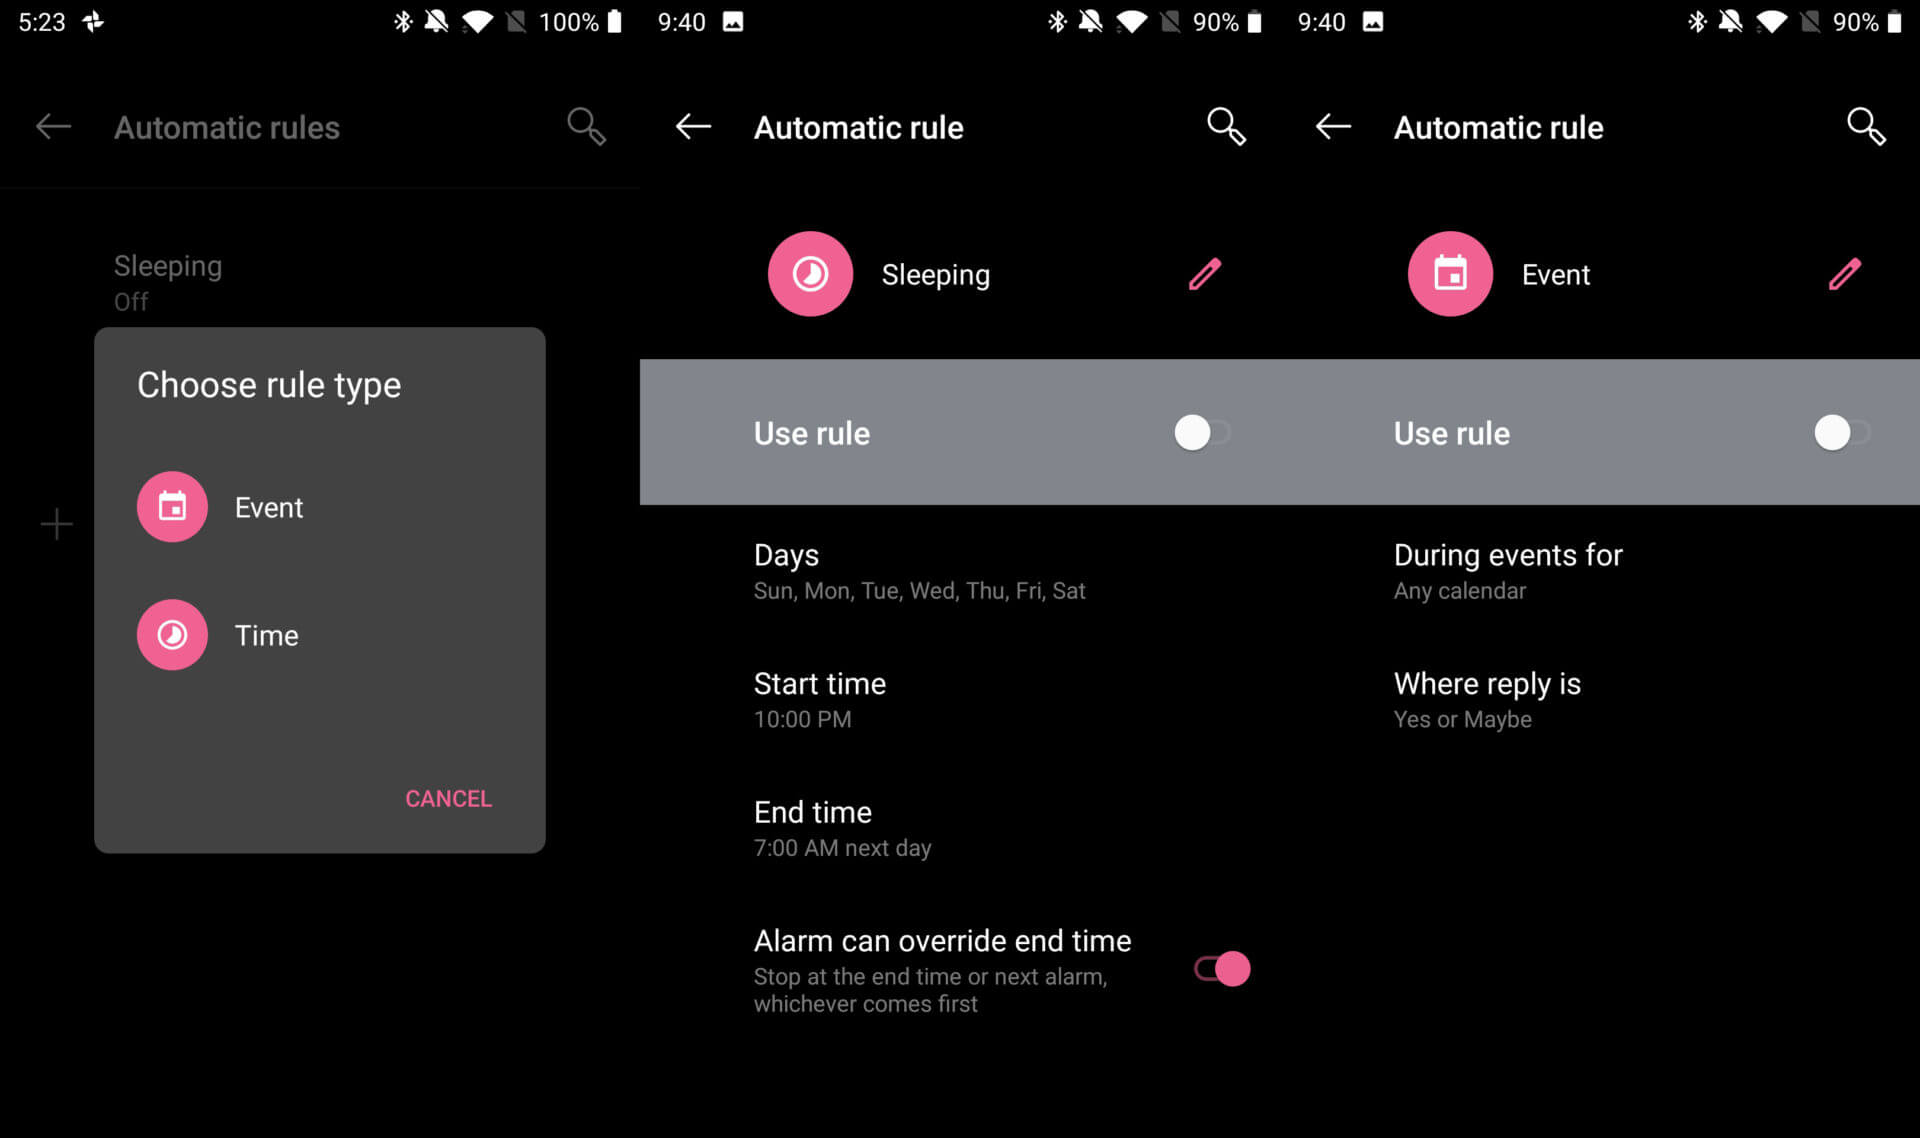
When you tap Turn on automatically, you can design automatic rules and have them come into effect in specific times of the day and night. There are two rule types to choose from when you tap on Add rule: Event or Time.
An example for Time would be for when you want Do Not Disturb to kick in while you are sleeping. You can specify days, start time, and end time. You can also toggle on the switch that lets an alarm override the rule (for days you need to wake up extra early).
For Event, you can opt to use the rule in all or a particular Google calendar’s events you have linked to your phone or your Calendar app. You can additionally have Do Not Disturb kick in when your answer to the event is “yes” or “maybe.”
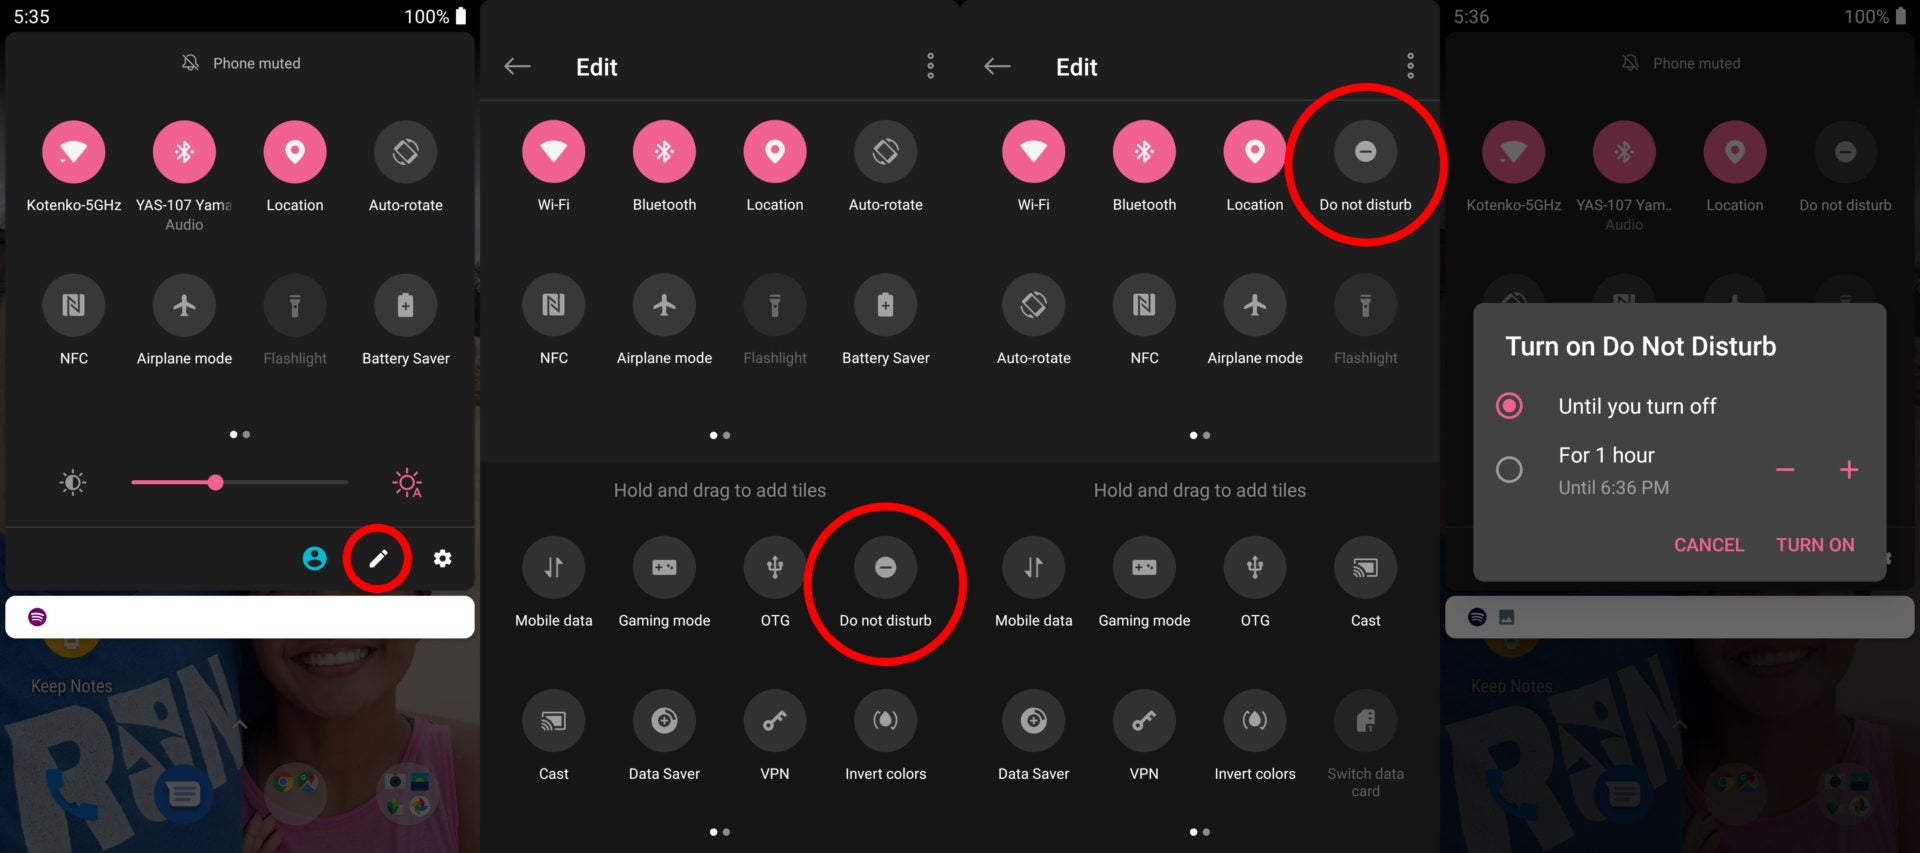
How to create a Do Not Disturb shortcut on Android
Normally, you can find an icon for Do Not Disturb already in place in your notification drawer, which you can access by swiping down on your navigation bar. Just in case it’s not there, however, you can add it by tapping on the pencil icon. You will then be able to hold and drag the Do Not Disturb tile into your notification drawer for easy access. Enabling the feature through this shortcut will only give you two options: Keep it on until you turn it off, or have it deactivate after a specified number of hours.