Screenshots help us keep a record of the things we want to remember online, and occasionally things we’d rather forget but need to remember, without downloading potentially malicious files. Viruses can hide in anything, even image files, so it’s usually smarter to make a copy of an image instead of saving a file from a website you don’t know.
If you’re a Mac user, the good news is that taking screenshots is easy right out of the box, with easy-to-use shortcuts built into the keyboard. Here are the three best native methods for taking screenshots on a Mac, plus an extra program if your day-to-day needs call for a little more power.
How to take a screenshot on a Mac
1. Taking a screenshot of your whole screen
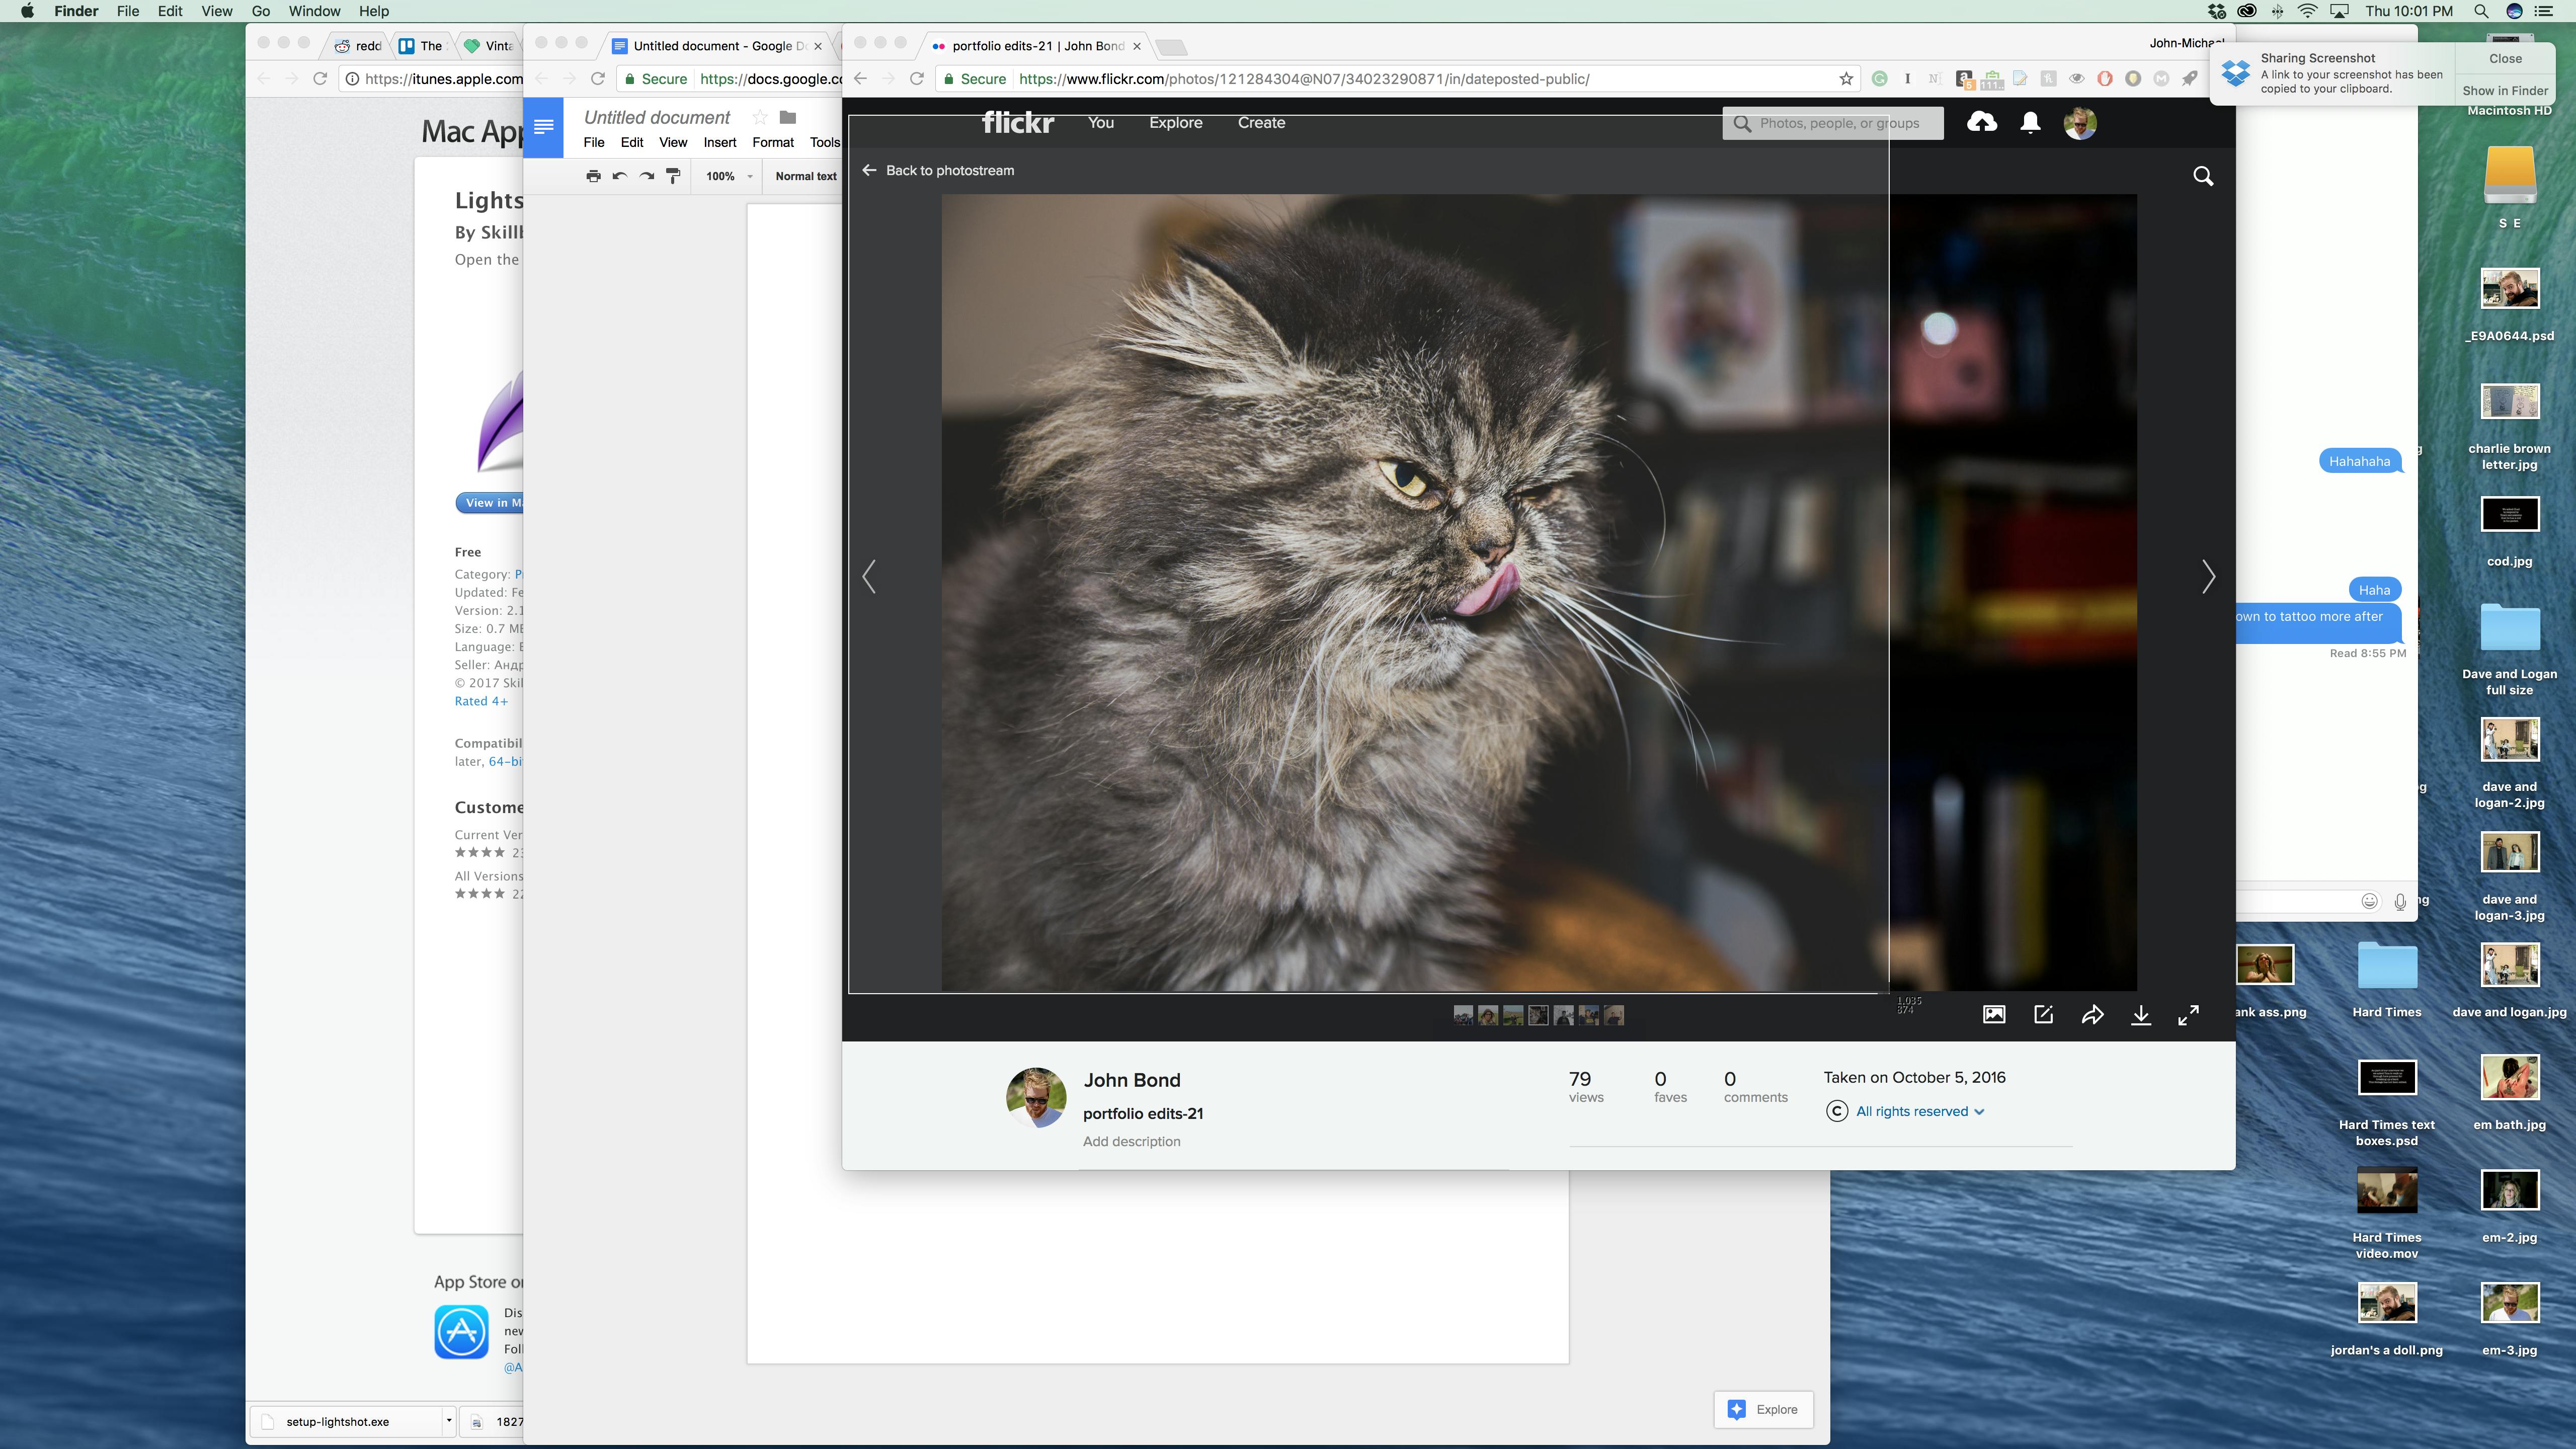
Let’s say you want to take a picture of your entire screen. Hold down Command + Shift + 3. This will take a screenshot of your computer screen. It’s that easy.

2. Taking a screenshot of one specific window
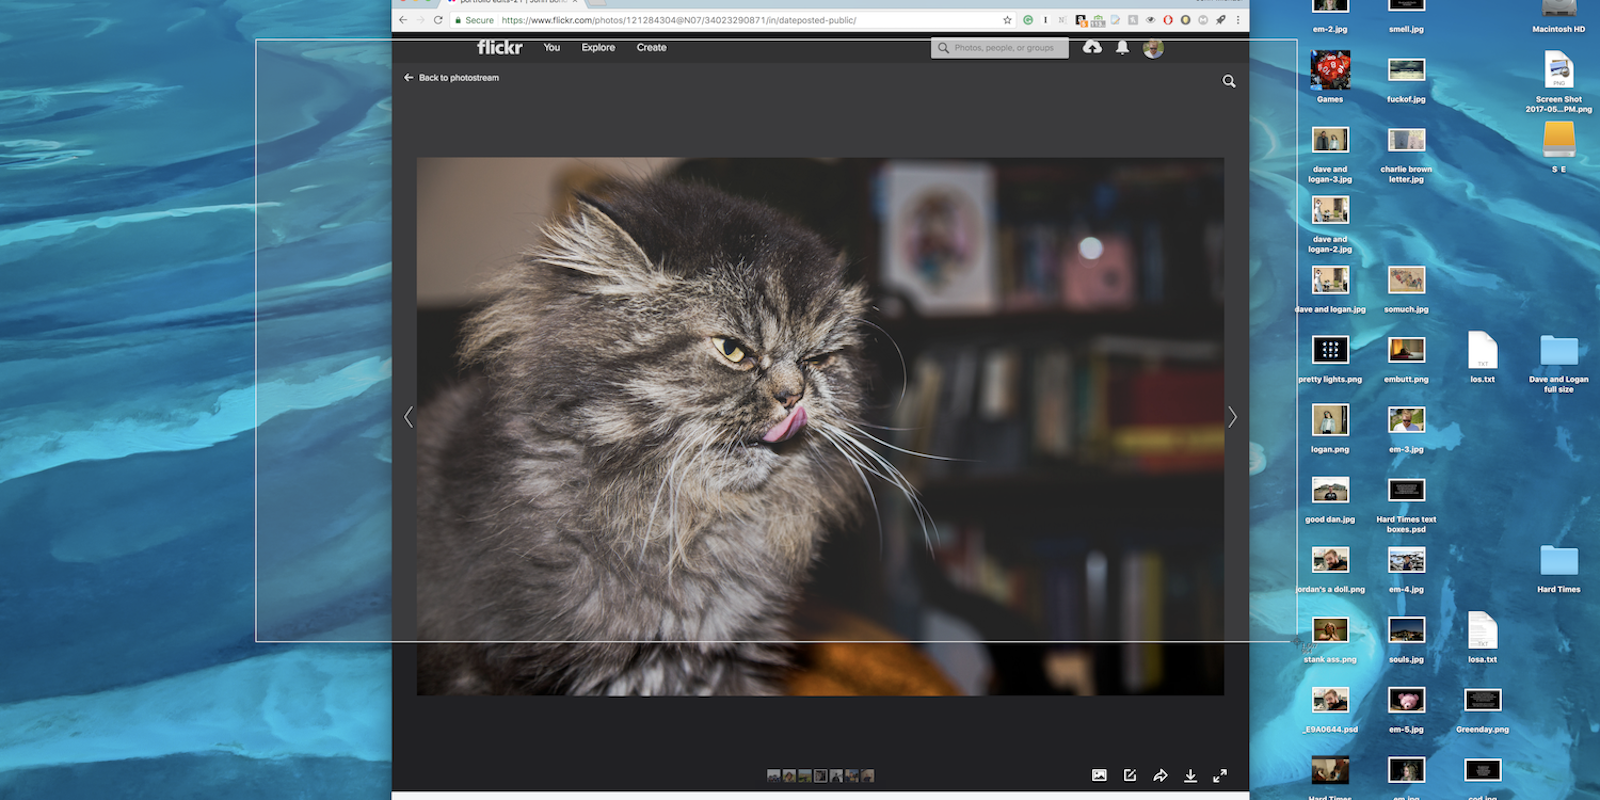
What about if you have multiple windows up and you just want to capture what’s in one of them? To take a screenshot of a specific window press Command + Shift + 4 + Space all at once. A small camera icon will appear and turn whatever window you hover over blue. We tried to screenshot camera icon, but it only showed up the blue screen. It’ll look something like this.
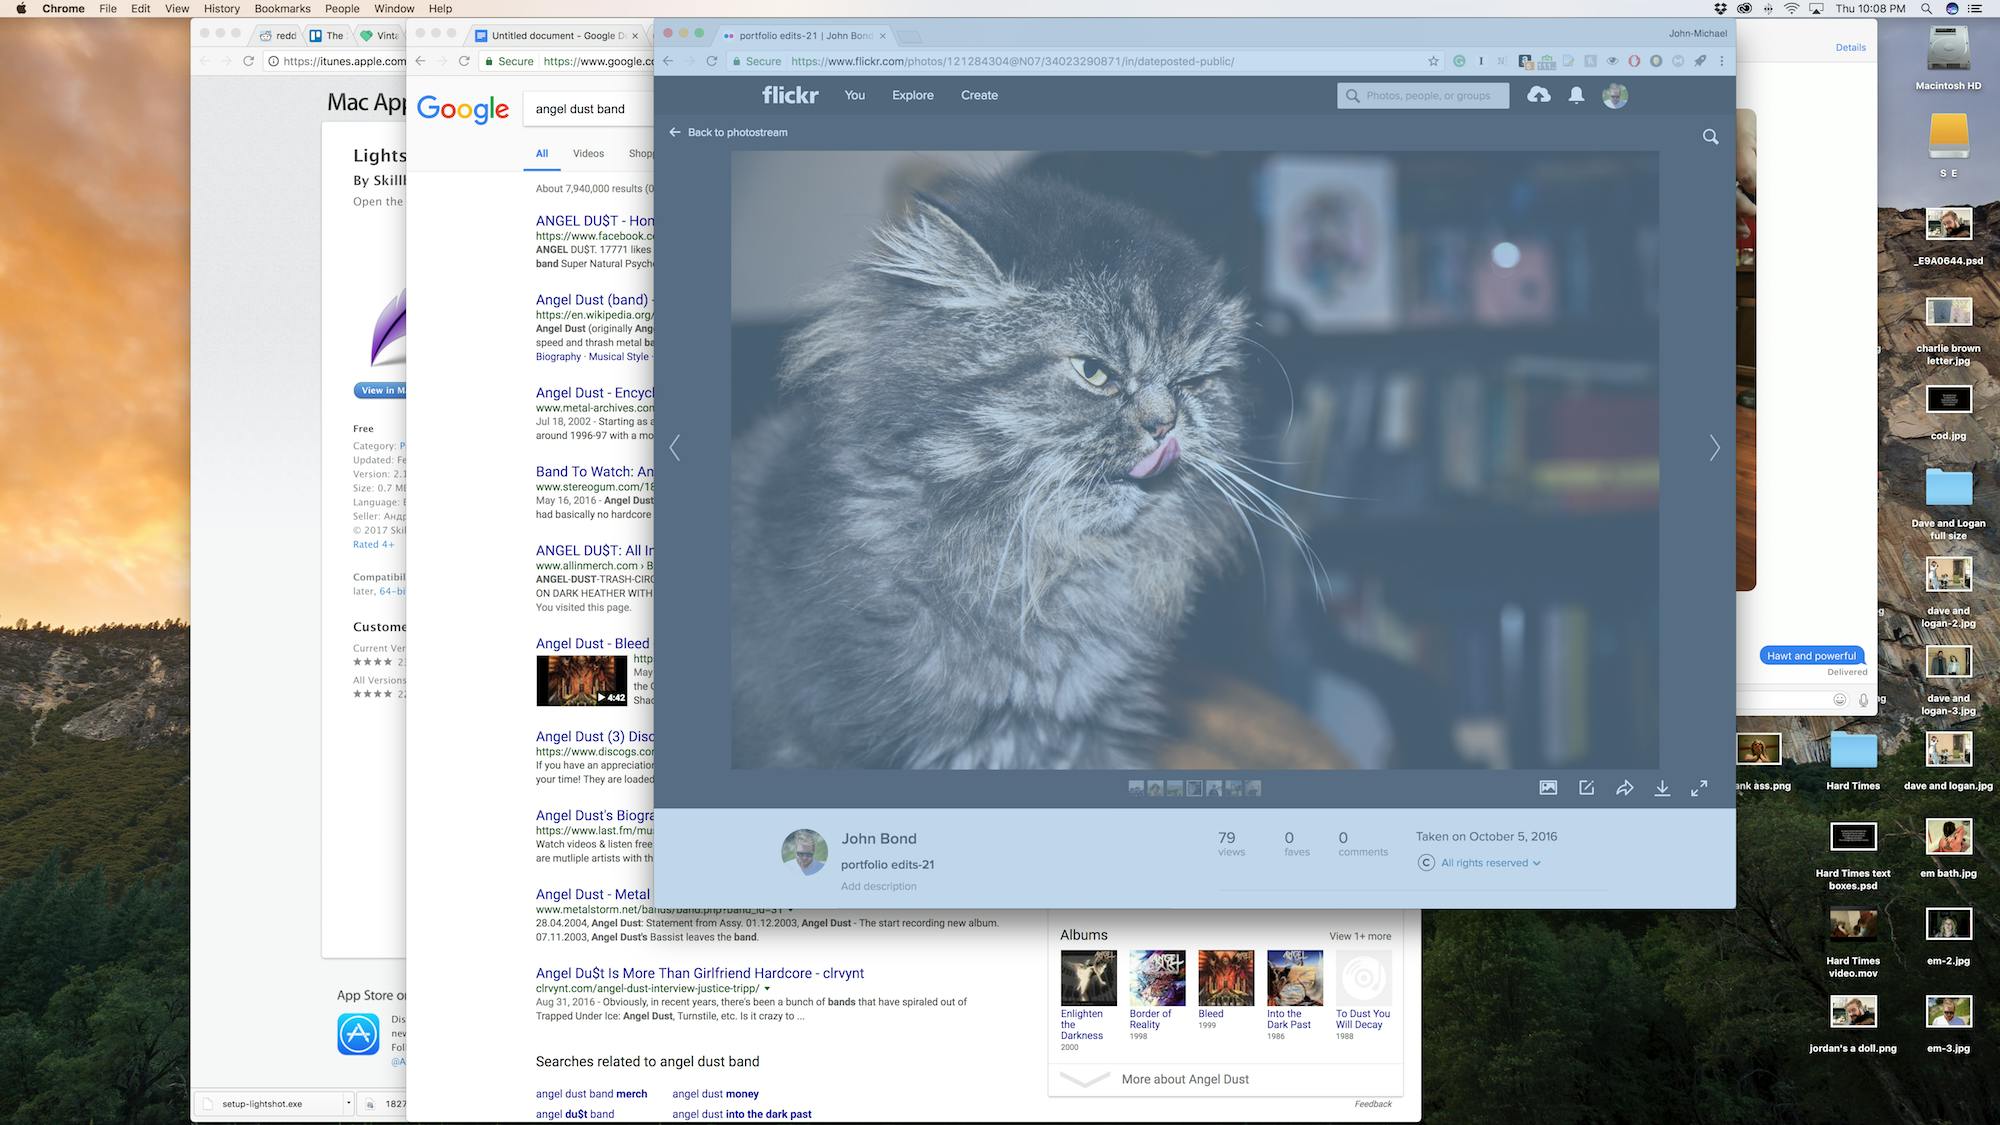
Once the window you’d like to capture is highlighted blue, just click your mouse to take your picture. This method will leave you with a screencap that looks like this.

READ MORE:
- The simple way to download anything from SoundCloud
- How does Hulu work—and how much does it cost?
- How to download your favorite YouTube videos
- Everything we know about iPhone 8
- 19 iPhone apps no one should live without
3. Taking a screenshot of a specific part of your screen
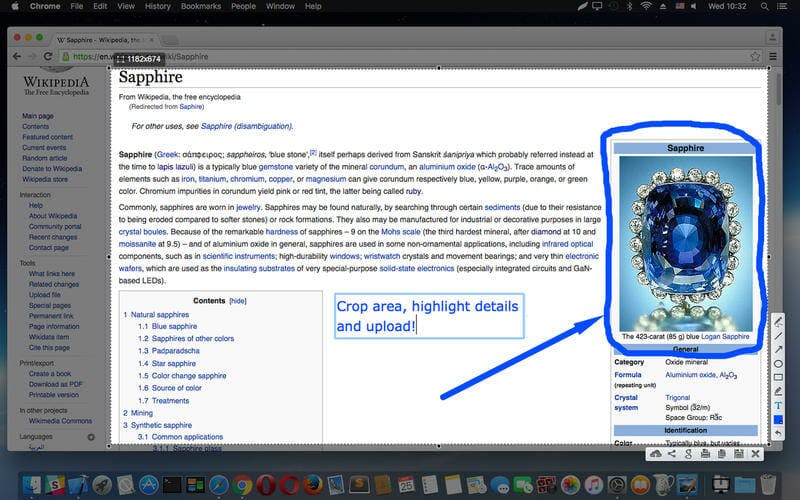
When you’re browsing online, this will probably be the screenshotting tool you use the most, and with good reason: It’s quick and super easy. To take a screenshot of a specific portion of the screen, hit Command + Shift + 4. You’ll see a little crosshair appear on your screen. Place that in the corner of what you’d like to capture, press your mouse, and hold the button as you move the cursor over your selection. Bam, you’re done.
You can edit your images afterward using Preview, Adobe, or any number of the wonderful photo-editing apps for Mac. However, there’s a screenshotting solution that you might want to consider if you need more power and options at the moment.
4. Taking a screenshot using Lightshot
Lightshot, a free app, gives you the option of making edits immediately to you screenshot. You can add lines, arrows, or text annotations, and you can send your image directly to social media. Lightshot puts a host of options in the palm of your hand without costing you a dime. It’s well worth experimenting with, even considering the handy screenshotting features built into your Mac.
On a PC? Don’t panic. Here’s how to take a screenshot on a PC.
