You’re on your couch, eyes locked to your phone as you aimlessly scroll through the photos from the amazing day you just had. You agonize over the lines, angles, and colors in an effort to determine the perfect Instagram-worthy shot.
Thanks to what feels like a thousand mobile apps, however, you can combine those pictures into a nice, organized collage. Here’s how.
1) Find the right photo app
Start by downloading a photo-editing app of your choice with a collage feature. Some highly rated options include LiveCollage, Photo Grid, Frame Swagg, Picstitch, and LiPix.
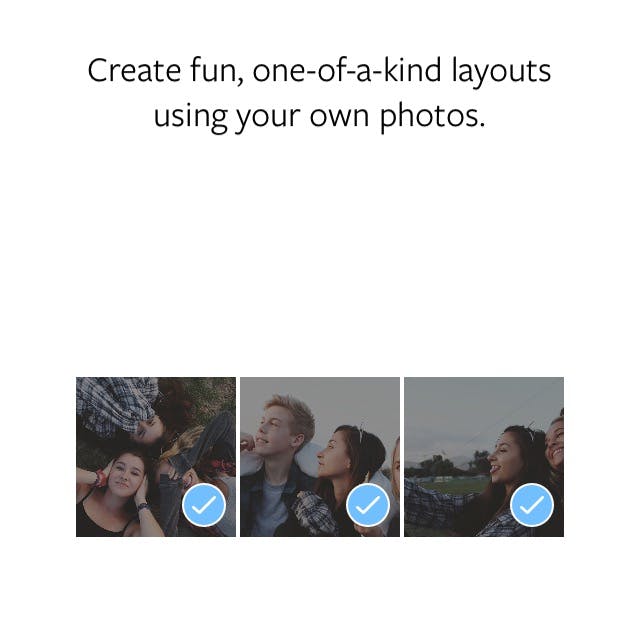
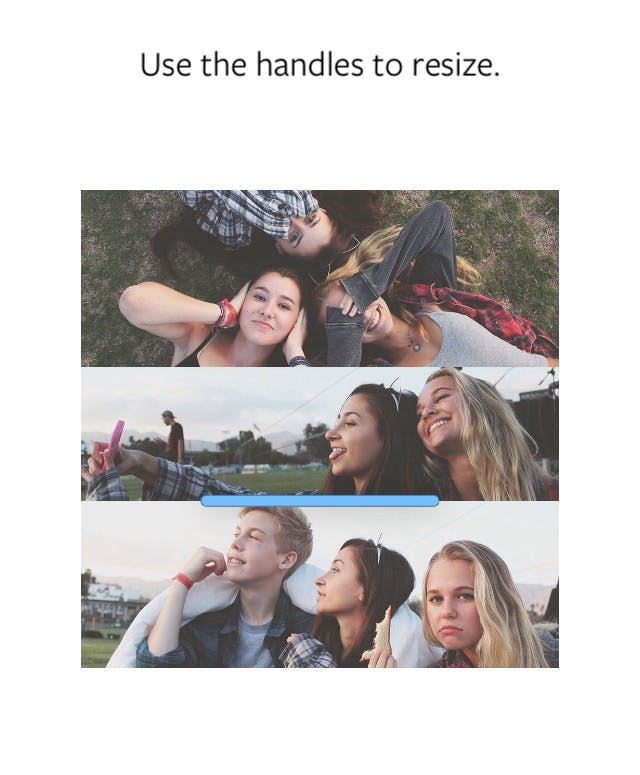
Can’t decide on one? Instagram developed Layout, its own collage app and a safe place to start. A nice perk about Layout is that it lets you resize each photo featured in your collage.
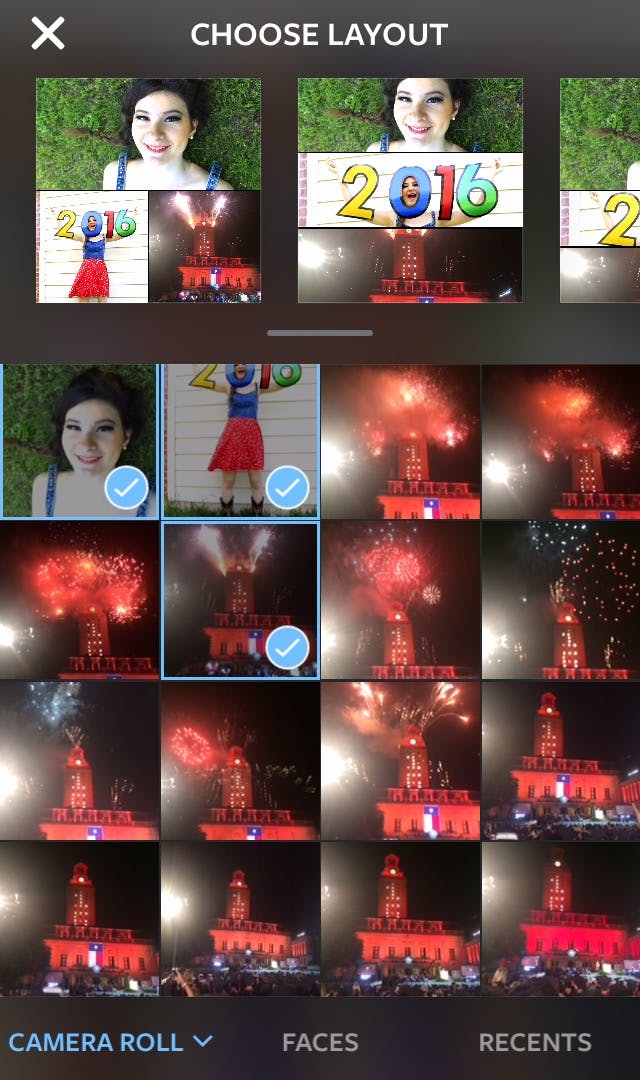
2) Choose a layout
The hardest part is narrowing down which photos you want, but this particular app lets you squeeze up to nine photos in one frame. Once you’ve decided, choose a layout that suits your pictures.
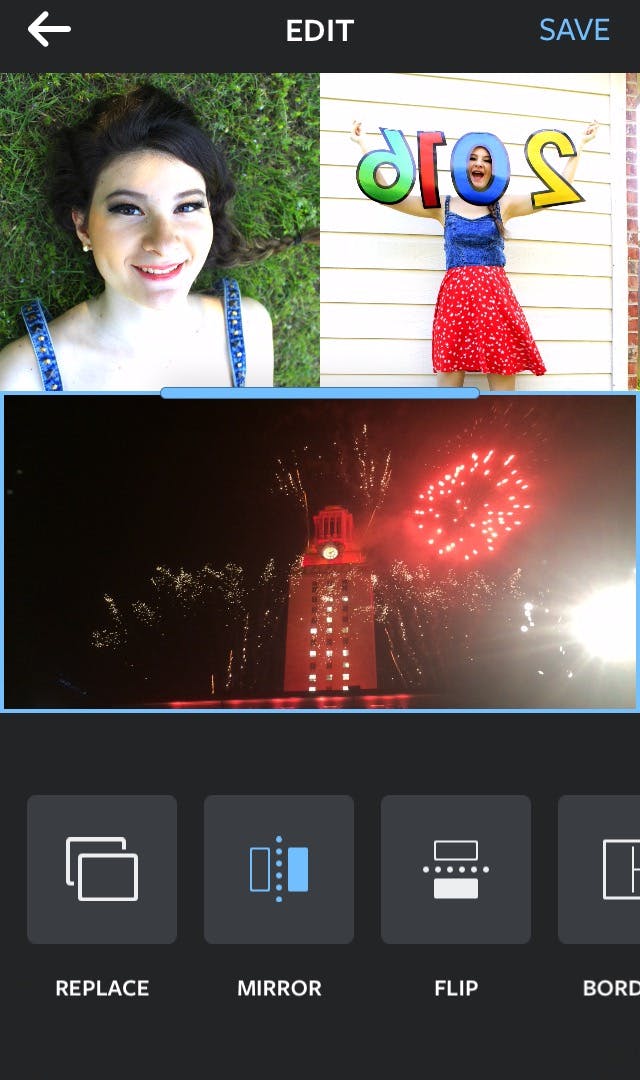
If you end up changing your mind about an image, tap “Replace” in the bottom row of your screen.
3) Edit the images
When you’ve settled on your final few, you can get into the fun stuff—such as whether you want to reverse the individual images. Hit “Mirror” on the bottom, and it’s as simple as touching the image you would like to see reversed.
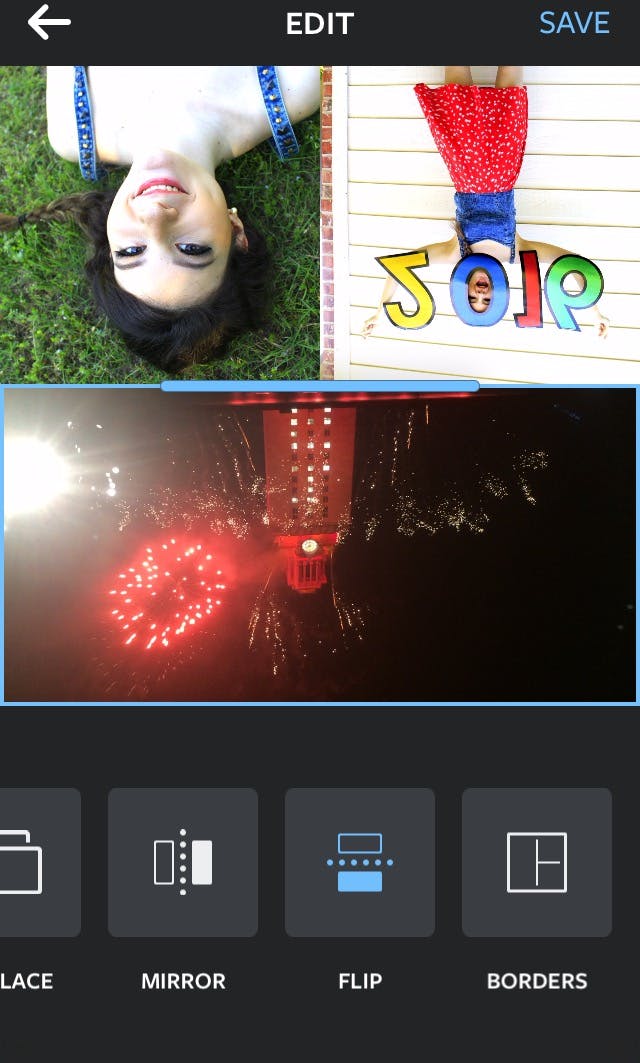
Turn it all upside down by doing the same thing under the “Flip” feature.
4) Add borders
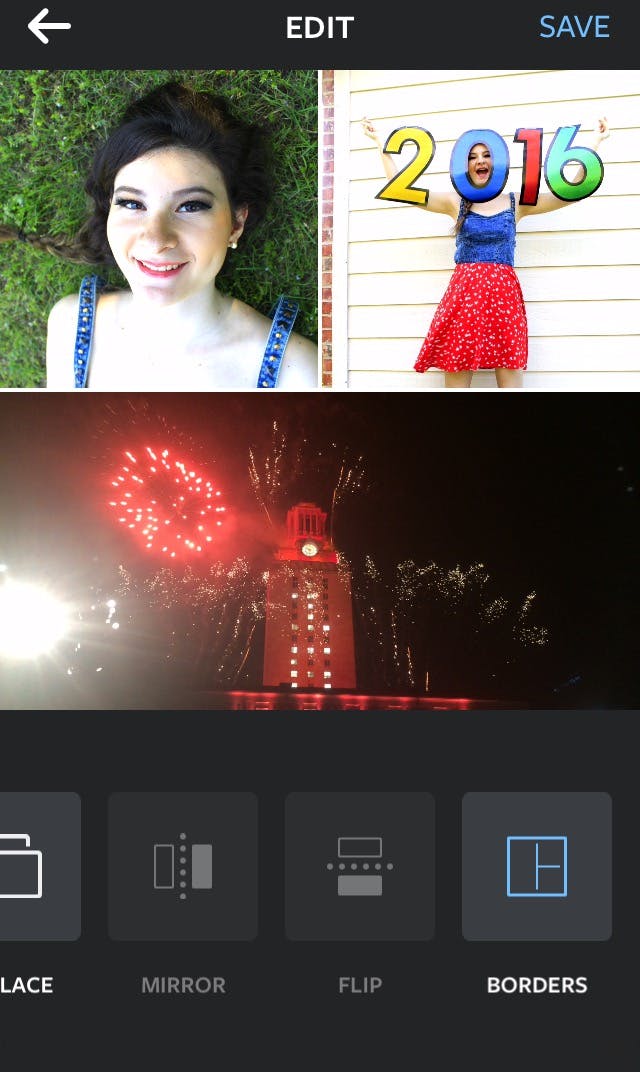
You can add a clean border to separate each image. This is done by tapping the “Borders” image at the bottom of the screen.
Once you’re happy with it, press “Save” in the top right-hand corner of the screen. Now you’ve got yourself an Insta-ready collage. Share to your networks, kick back, and watch those likes roll in.

