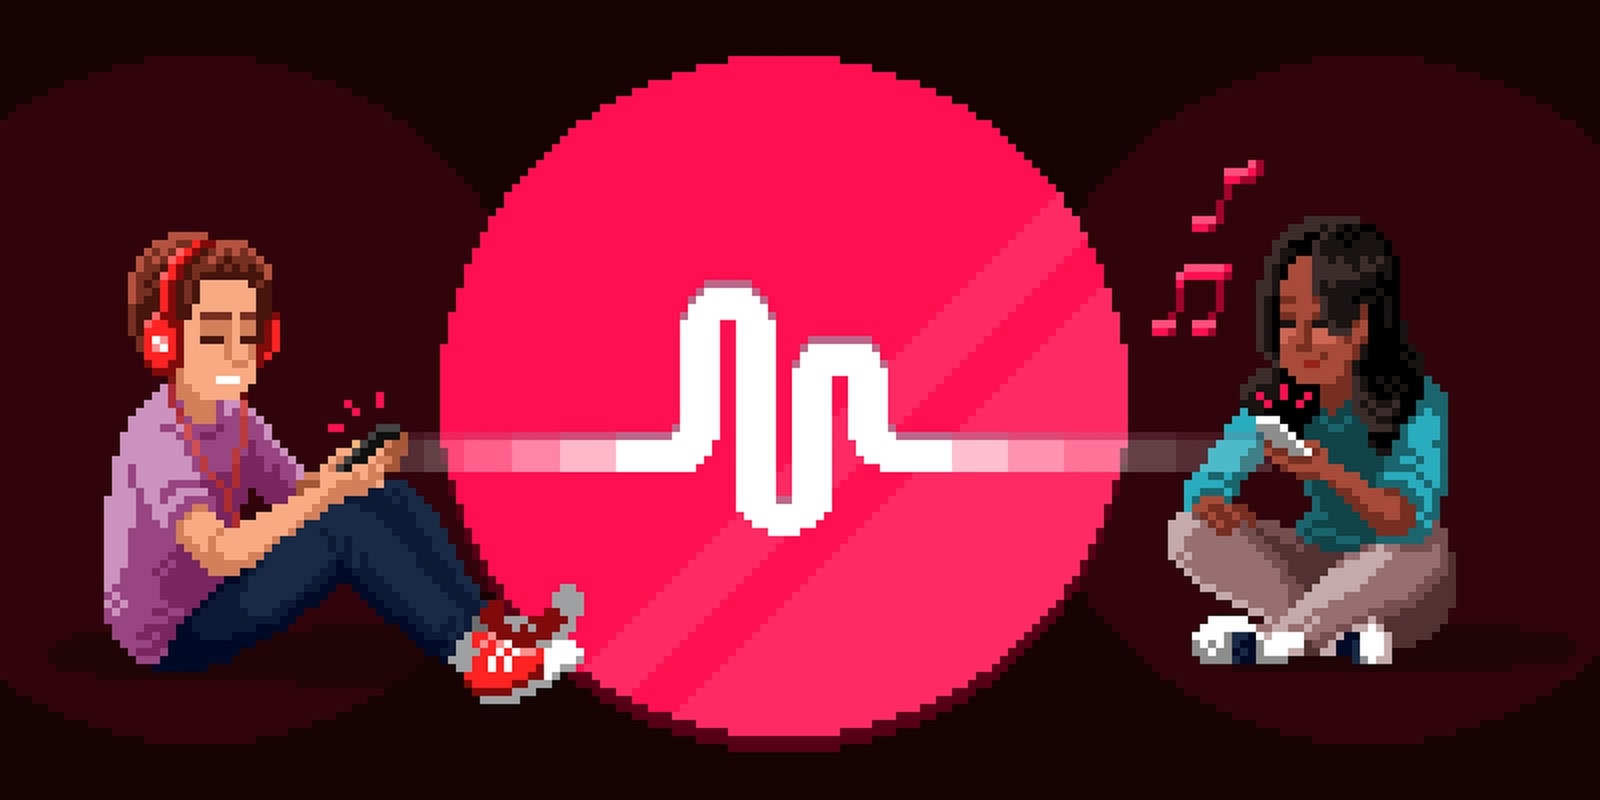
Musical.ly has quietly become one of the most popular apps on the web.
Launched in October 2014, Musical.ly is a free iPhone and Android application that allows users to create 15-second-long music videos to a variety of songs. You’ve probably seen a handful of them on your Facebook feed and not even realized it. The videos can easily be shared with other users, or “musers,” saved to your phone, or shared on other social media platforms, such as Instagram and Vine, directly from the app.
Having amassed 60 million users, including celebrities Ariana Grande and Jason Derulo, and participating in trending competitions has led Musical.ly to become a hit with teens and young adults.

Screengrab via arianagrande/Musical.ly app
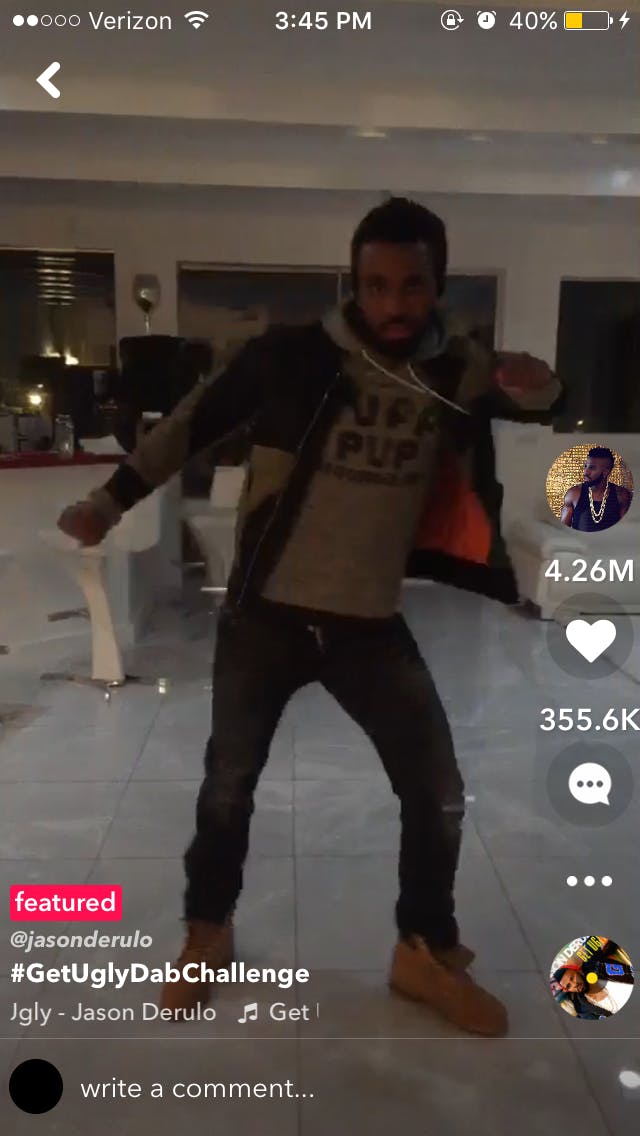
Screengrab via jasonderulo/Musical.ly app
Using Musical.ly is fairly intuitive. Just follow these six steps and you’ll soon find yourself lip-synching with the best of them.
(Just a heads up: While the app is available for both iPhone and Android, the company writes on its Google Play page that Android tablets and some Android phones aren’t fully supported on the current app’s version.)
1) Download Musical.ly from the App Store or Google Play and create an account
This process should be second-nature at this point: Log-in to the app through Facebook or Twitter, or by making an account with your email address. Choose a username and password, and set your profile picture.
2) Get familiar with the app
Tap the house icon on the toolbar to look through featured videos and follow popular musers. Tap on the magnifying glass to peruse contests, trending tags, and the muser leaderboard. The lightning bolt icon reveals notifications, and tapping the profile silhouette icon shows your user profile.
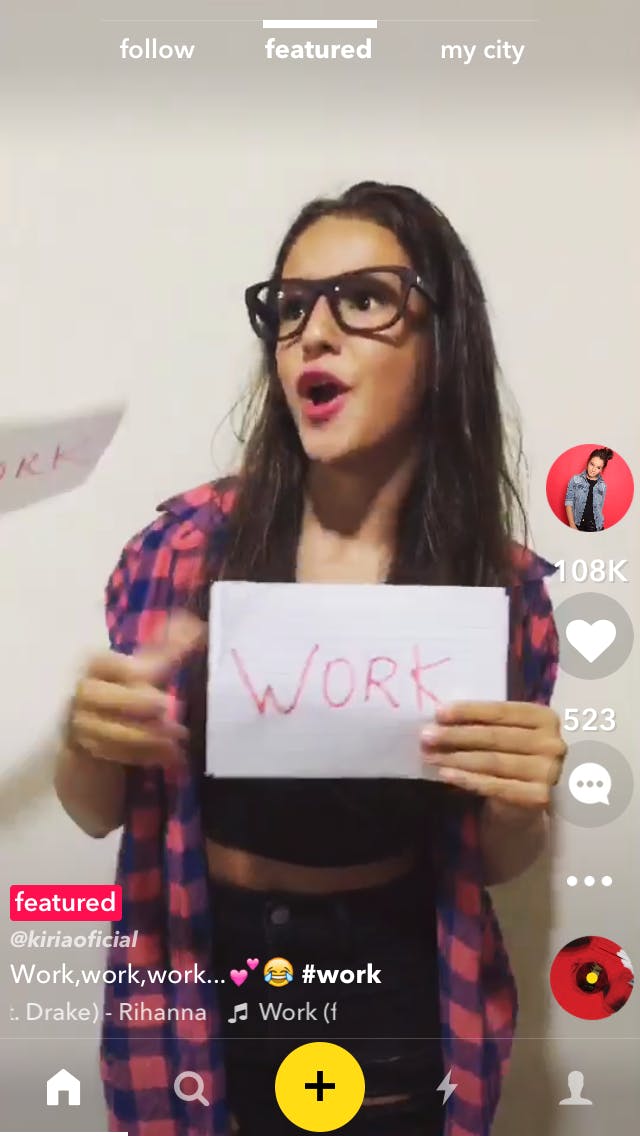
Screengrab via kiriaoficial/Musical.ly app
3) Set up your first musical
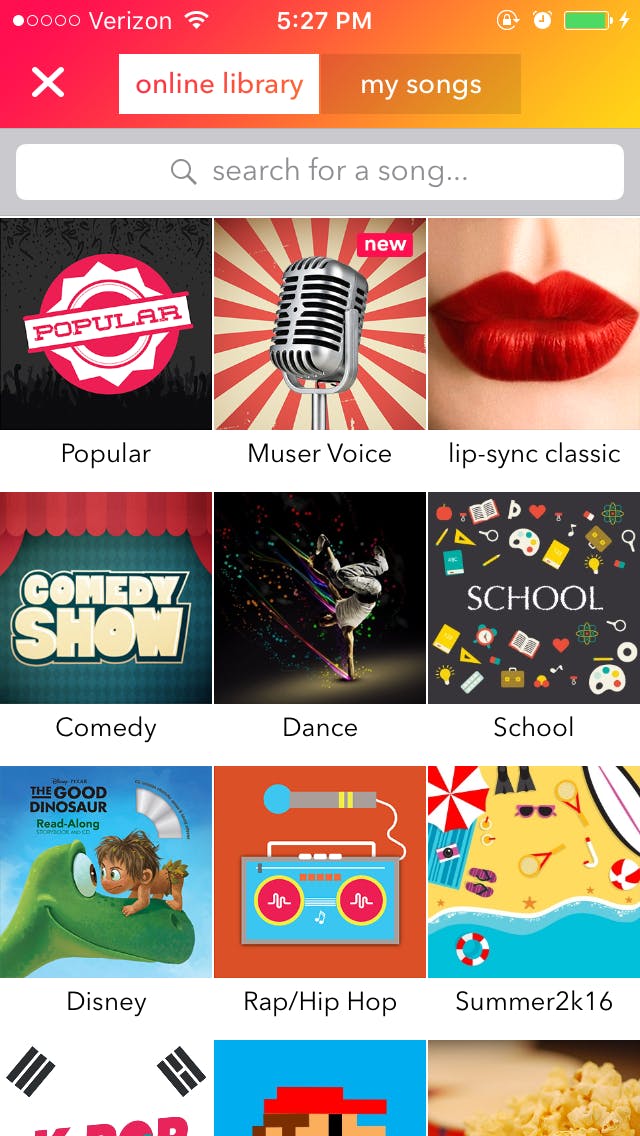
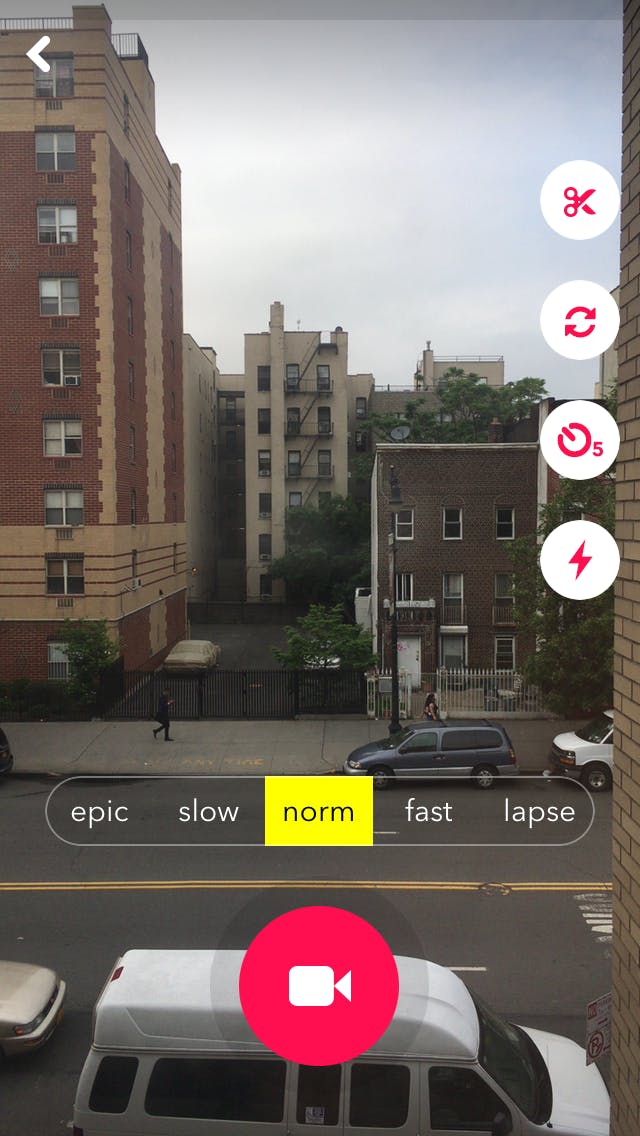
Once you’re ready to make your Musical.ly debut, tap the plus sign on the yellow button, which will bring up the option to pick music for your video, shoot your video, or import a video from your media library.
While a majority of musers create lip sync videos, you can also shoot GIFs and set them to music by tapping “shoot first” then “live moment.” You can also dub scenes from movies or television. To do so, find tracks in the app’s online library, or upload the video file to your phone’s library.
Screengrab via Musical.ly app
After selecting a track, choose how fast or slow you want the final video to play. This part is a little confusing once you start filming, but think of it as an inverse: The faster you want your video to appear on settings “fast” and “lapse,” the slower your track will play back while you’re filming.
Similarly, the slower you want the video to appear on settings “slow” or “epic,” the faster your track will play while filming.
Though your video speed might not seem to matter too much, you can create some pretty interesting hyperlapse or slow-motions videos with these features. No matter which setting you choose, you song will always play at regular tempo in the final product—only the video will appear sped up or slowed down.
Screengrab via Musical.ly app
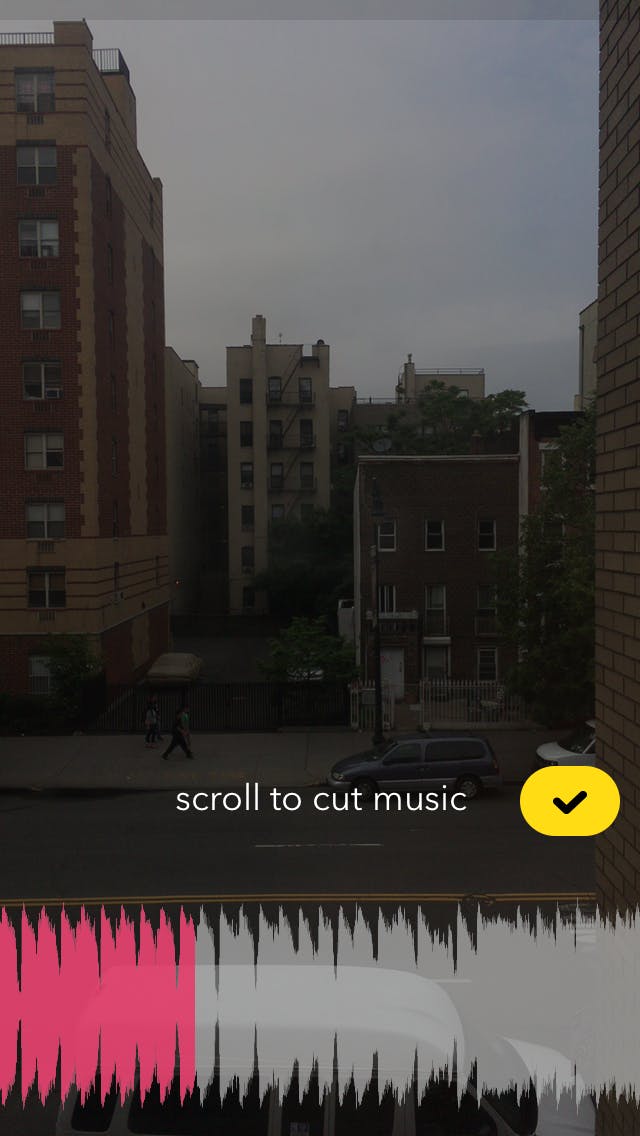
Tap the scissors icon to select which section of the track to use, dragging or “scrolling” the track left and right. While the app doesn’t allow you to select an ending point for the track, you can manually choose when to stop the track while you’re shooting.
The rotating arrows icon allows you to choose which phone camera to use. The timer icon allows you to set a five-second timer before the app starts recording automatically (so you don’t have to hold down the pink circle to record, just tap it to end the recording). And the lightning bolt on the rear-facing camera allows you to light the scene with your phone’s flash.
Screengrab via Musical.ly app
4) Start making your musical
Once you’re content with your video settings, tap and hold the video camera icon on the pink circle to start filming. To stop filming, take your finger off the icon.
When you stop filming, the music track leaves off where you paused, allowing you to switch scenes, props, or cameras before filming again. If you filmed another section of the song and messed up, tap the “backspace” icon to delete that segment and reshoot it.
When you’re done, click the green arrow that will appear in the top-right corner and view your musical. If you’re satisfied with the product, go onto editing, or tap the back arrow in the top-left corner to either reshoot the musical or delete it entirely.
5) Edit and share your musical
After you’re done shooting, you can choose to add a visual filter to your musical. You can also choose to play the video backwards, add a “time trap” (a selected point in the video that loops), or move the segment of music that’s playing in the background. (Be aware: These three options will mess up your video if you lip synced or dubbed a track.)
Screengrab via Musical.ly app
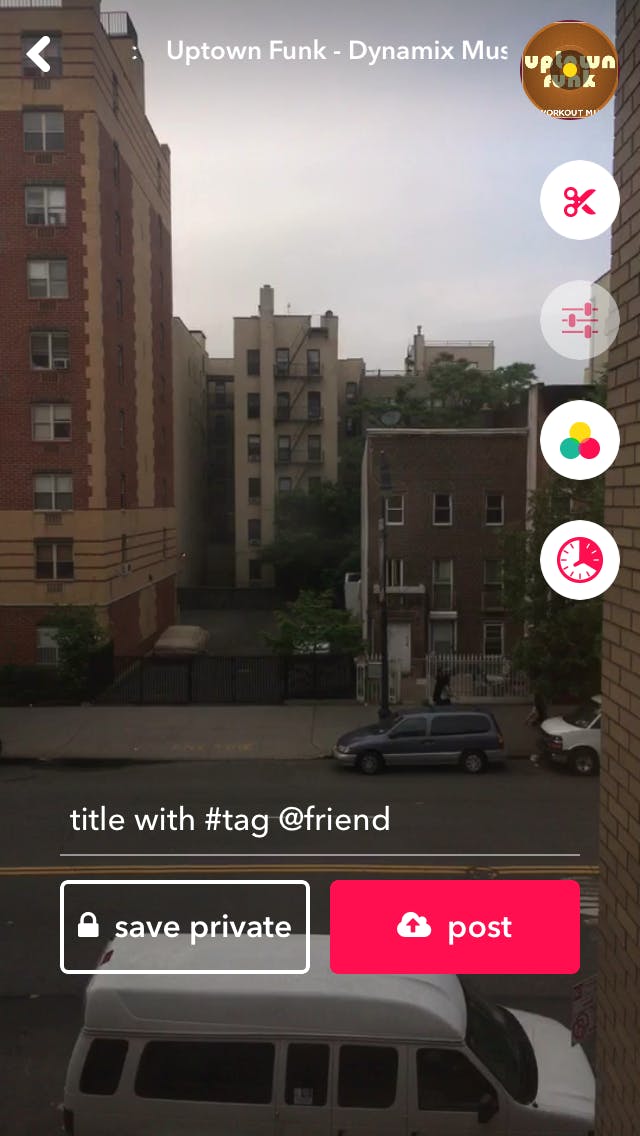
Once you’re done with your musical, add a title to it with hashtags and muser tags, and ta-da! You’re now ready to publish your first musical to Musical.ly for the whole community to see. Or, you can just share it privately—you do you.
After you upload the musical to your profile or save it to your phone, you’ll be directed to a page from where you can share the musical to other social media platforms, including Instagram, Facebook, Twitter, and Vine.
If you want to share a musical later, go to your profile, tap on the musical, then on the three dots on the right of the screen, and then tap “other share options” to be brought back to that share page.
6) Develop your muser technique
For your learning pleasure, popular Musical.ly musers such as Baby Ariel and TheyLoveArii have created their own how-to videos for making quality lip sync musicals.
But if you’re tight on time, here’s the TL;DR: Use natural lighting, choose a song with a heavy beat, make your motions snappy, and use lots of hand gestures.
