This post is sponsored by Kia.
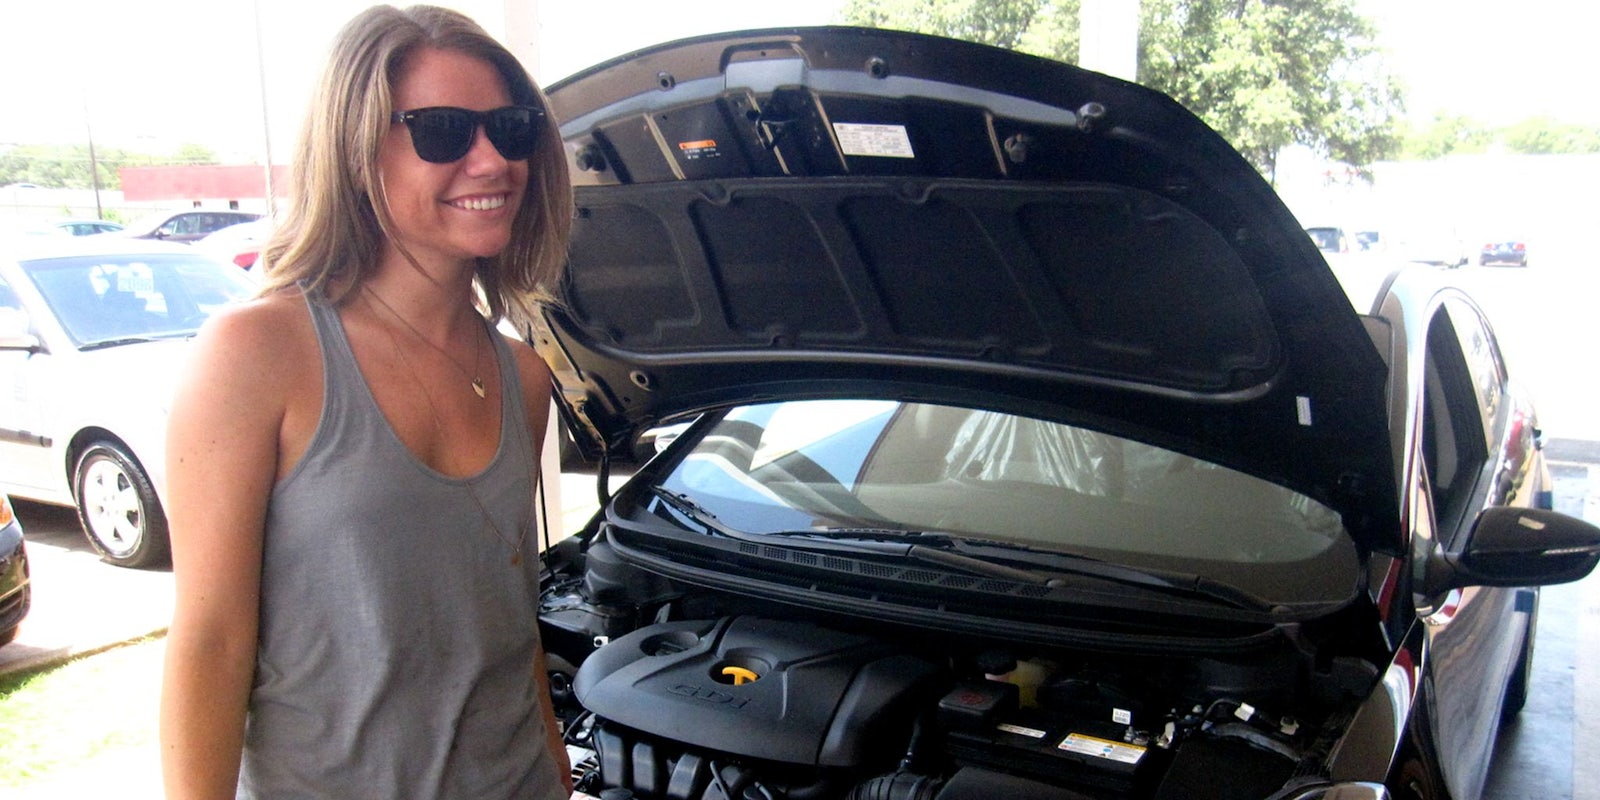
Our cars are one of the most important investments we make, and yet often we’re daunted by the task of getting under the hood and keeping our cars running healthy. Keeping up with the maintenance of your car is one of the best and easiest ways to save time and avoid serious repairs.
Instead of waiting for your car to tell you it might have a problem, here are some simple maintenance tasks you can perform to get the most out of your investment.
There’s no need to be intimidated by pulling out the manual and proactively keeping your car in top shape.
To help, we’ve laid out some basics of engine maintenance in a handy step-by-step GIF guide to keep you moving.
Checking the oil
Generally, you should change your oil about every six months or 7,500 miles under normal driving conditions, but you should check your oil level regularly to ensure your engine is running in top shape.
Make sure you car is parked on level ground. Turn off your car and allow the engine to cool for approximately five minutes before checking the oil.
Pull out the oil’s dipstick and wipe it clean, then re-insert.
Remove the dipstick once more. The level of oil on the stick should be between the “low” and “full” levels marked on the stick. If you need to add more oil, check the appropriate type of oil to use in your car’s manual, and pour directly into the opening until the level is good.
Checking the air filter
After checking the oil, you’ll also want to check your car’s air filter. The air filter is covered, but it’s easily accessed. On the Kia Forte, for example, simply flip open the clips on the cover, and remove the filter to check how clean it is.
If the filter is significantly coated with dirt, insert a new filter. Otherwise, replace the filter and relock the air filter cover.

While you’re under the hood, also check your windshield wiper fluid. It’s in the clear white container, and there’s a mark that indicates where the fluid should be. Add more as needed.
Changing the headlights
When you have a headlight go out, no need to panic or worry about getting pulled over. It’s an easy fix.
After identifying in your manual what kind of bulb you need, remove the backing by turning the cap counter-clockwise.
The bulb is held in place with a wire clip that latches to a small hook. Push the clip towards you and up to unlatch, and gently pull out the bulb and socket.
Remove the bulb from the socket and insert the new bulb, then replace the light back into headlamp. The socket frame will align for a secure fit. Re-hook the wire clip, and replace the cover by screwing in clockwise.
Jumping a car
It happens to all of us eventually. We leave our lights on and return to a drained battery and a car that won’t start. Always keep a pair of jumper cables in your trunk for precisely this moment, and save yourself or even a fellow traveler with a parking lot rescue!
To start, uncover the nodes on the drained battery, and check to make sure that the connections are clean and tight.
With both cars turned off, attach the cables to the good battery. It’s important to connect the red positive (+) cable to the positive terminal on the battery. The positive terminal is usually likewise marked with red on the battery and is the covered terminal. Next secure the negative (-) cable and terminal, which is the black cord to the exposed negative terminal.
Once the cables are connected to the good battery, don’t let the opposite end of the cables touch unless you want to see sparks fly. Connect the corresponding red positive cable to the dead batteries positive terminal. Connect the black negative cable to a piece of exposed, clean metal on the frame of the engine to ground the charge.
Once the cables are connected, start the good battery and let the car run for a bit. Then start the car that needs a jump. Once you’ve got your car running, carefully remove the cables, making sure that the ends do not touch, and replace the cover back on the battery.
You’re all set, but be sure to thank your jumper!
Special thanks to Capitol Kia in Austin, Texas, for their assistance.
