Ever dreamed of being like Willy Wonka, but drunk? Dream no more! Learn how to make beer with this quick and easy primer.
Making your very own microbrew is not only easy, it’s actually pretty affordable. And nothing beats that feeling of walking to your fridge and cracking open a homebrew made from your blood, sweat, and tears. Not literally mind you, as blood, sweat, and tears would all make beer taste mighty rancid.
Here’s a list of the beer making essentials you’ll need, and a quick step-by-step guide to turning humble ingredients into delicious beer.
The Basics
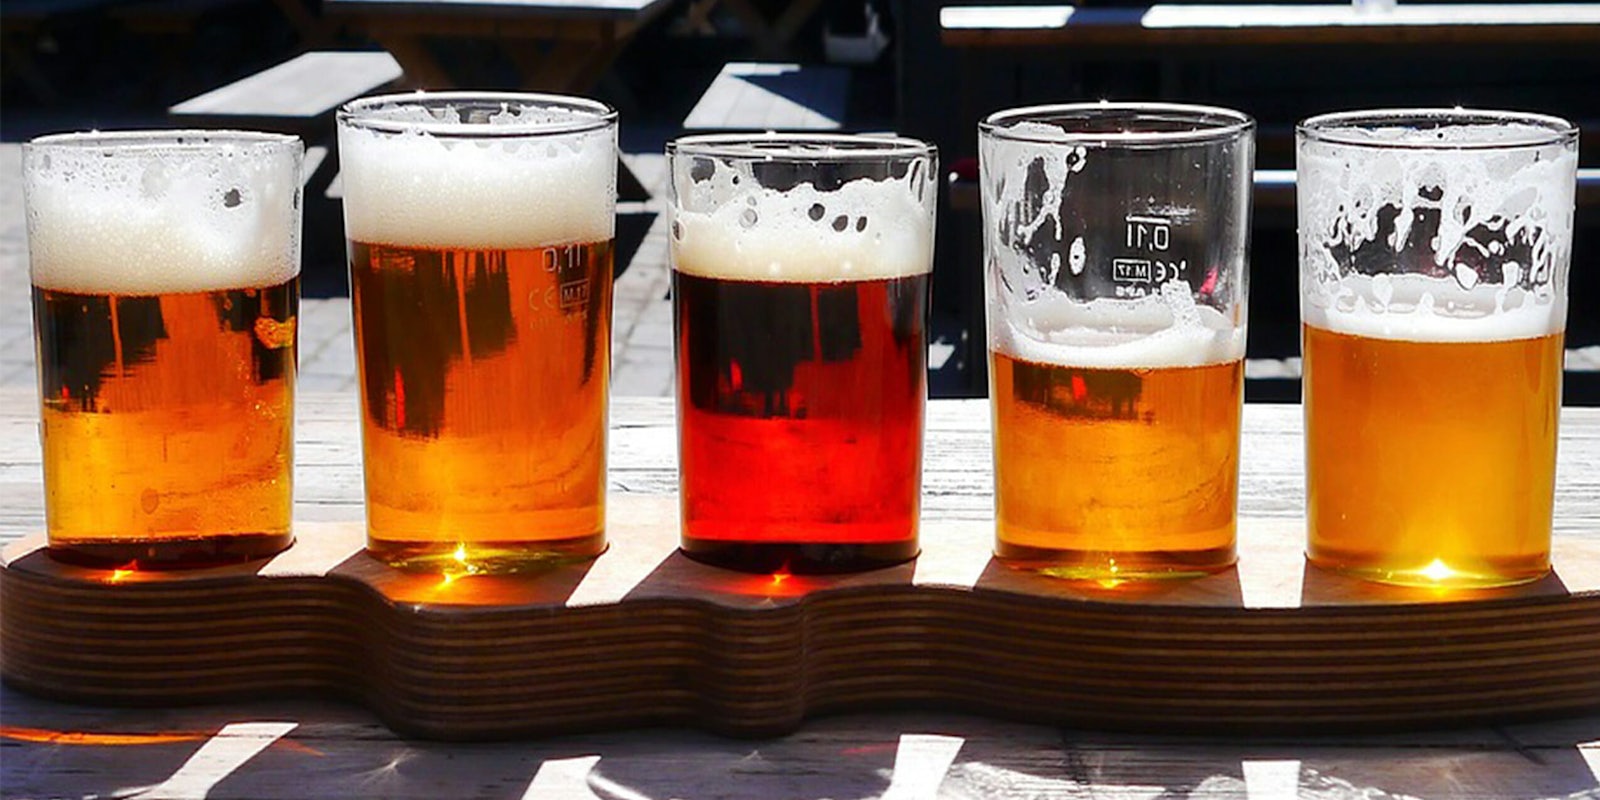
Beer happens in three steps: cooking, fermenting and bottling. First, you stew a big pot of flavor called a wort using barley and hops. You add yeast to that bad boy and ferment it to make tasty alcohol. Finally, you add a little sugar to your beer, bottle it, and let it age once more. Then, after you park it in a cold fridge, you’ll have some of the tastiest beer your lips ever touch.
It’s simple enough if you break it into small steps. And unless you’re starting a micropub, you don’t need to buy hundreds of dollars worth of tools and ingredients. But there are a few things you need.
The ingredients
1) Barley, 5 lbs.
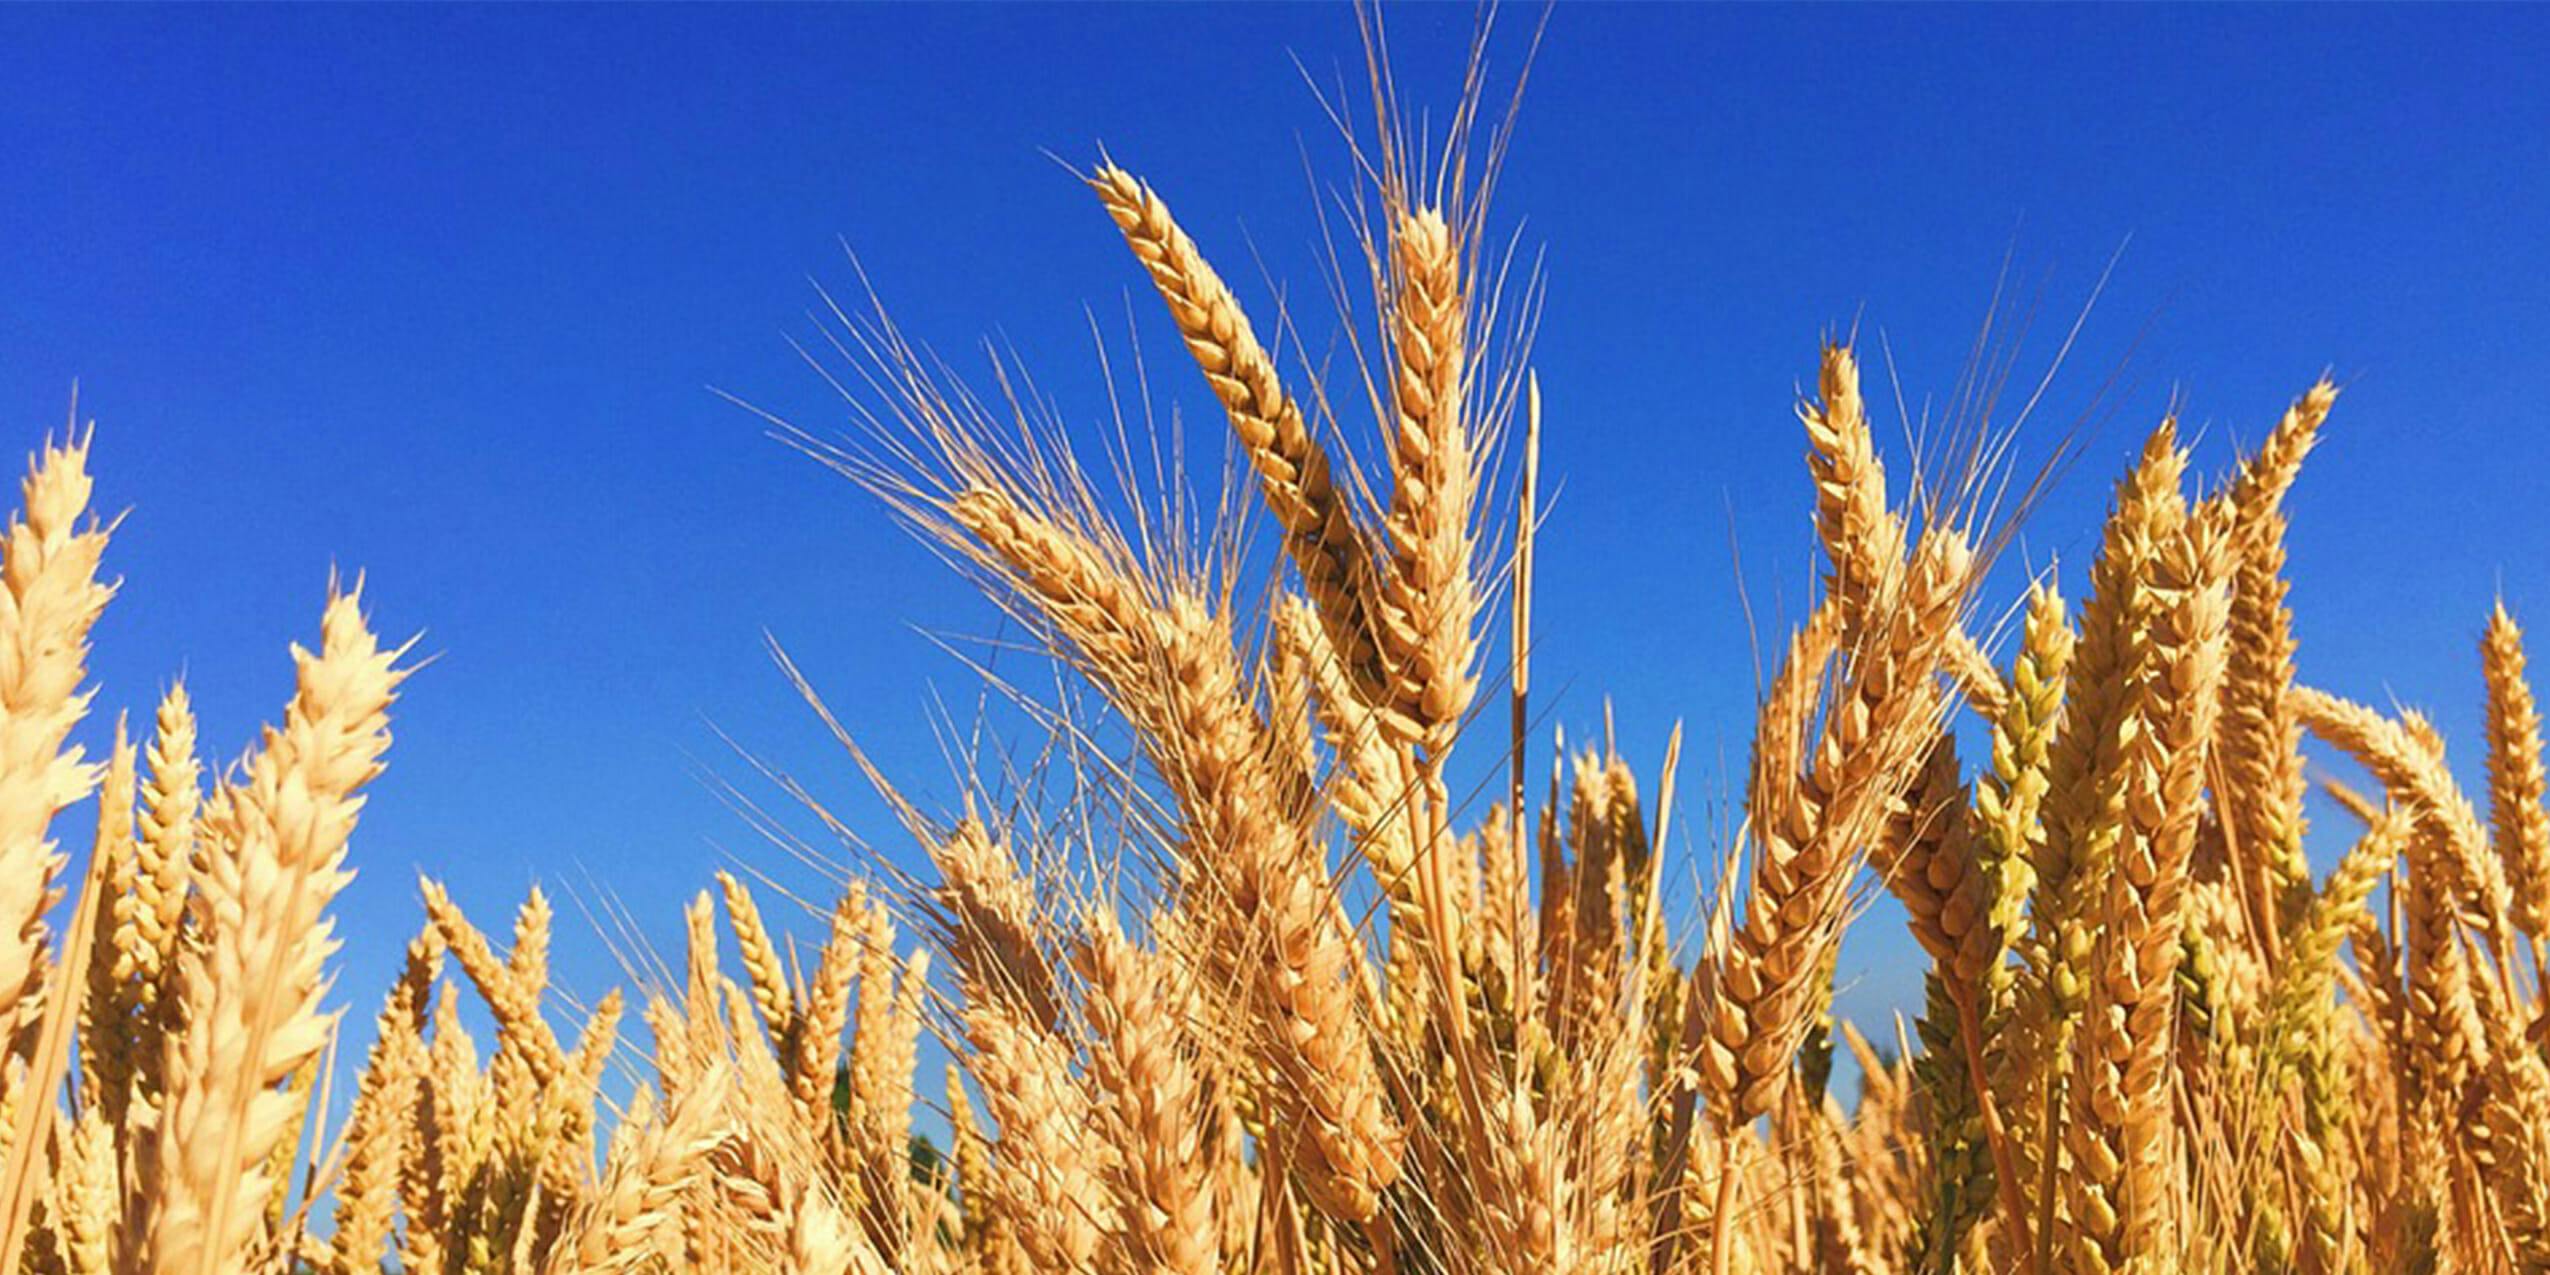
Whatever beer recipe you decide to make, one thing will remain a constant: barley. For small batches, you’ll only need a handful of it. It keeps well, so you can save by buying a lot. Store it like you store sugar and flour and it will keep for years. It’s a tasty grain too. Add it to soups, or boil it up and serve it like rice.
Price on Amazon: $15
2) Malt extract
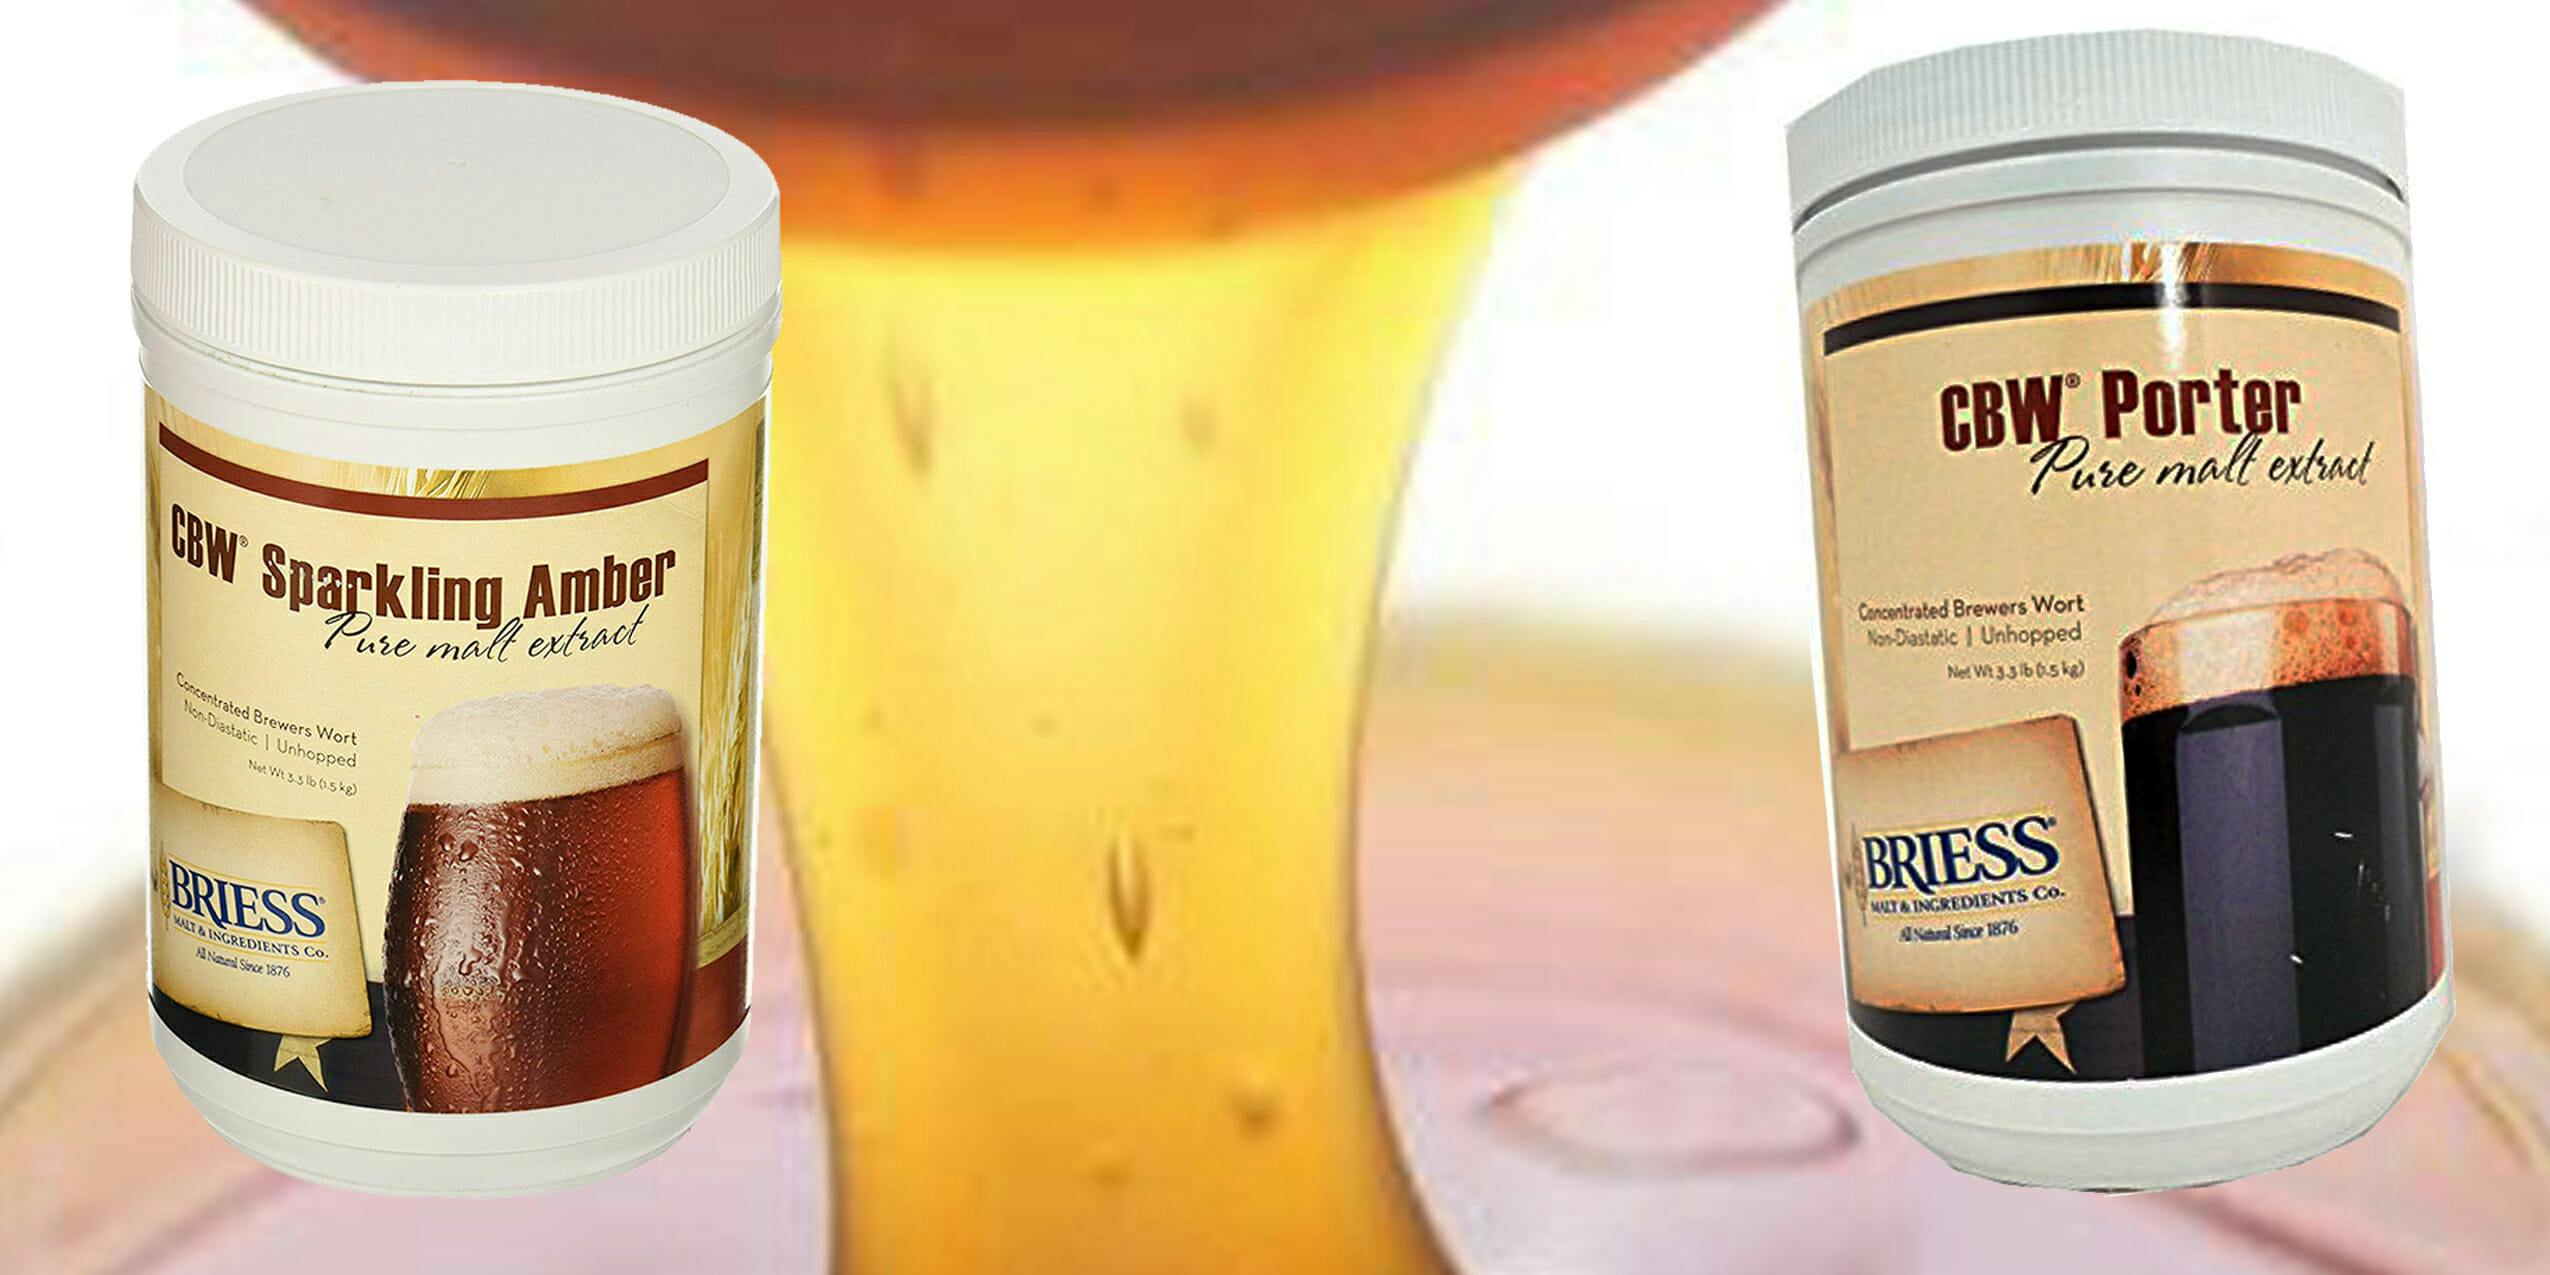
This thick, sticky, and faintly sweet syrup is one of the reasons an ice cold beer is so refreshing. Different beers use different extracts, but my favorite brand is Briess. Their malt extracts are reliable, tasty, and perfectly portioned for standardized recipes.
Price on Amazon: $14+
3) Hops

You don’t need too many hops to make beer, but its flavor would be pretty flat without them. It’s the stuff that gives beer its crisp finish, while also providing antibacterial properties. Use whichever hops your beer recipe calls for. Cascade hops are pretty ubiquitous though, and a great place to start.
Price on Amazon: $5.99
4) Ale yeast, 3-pack
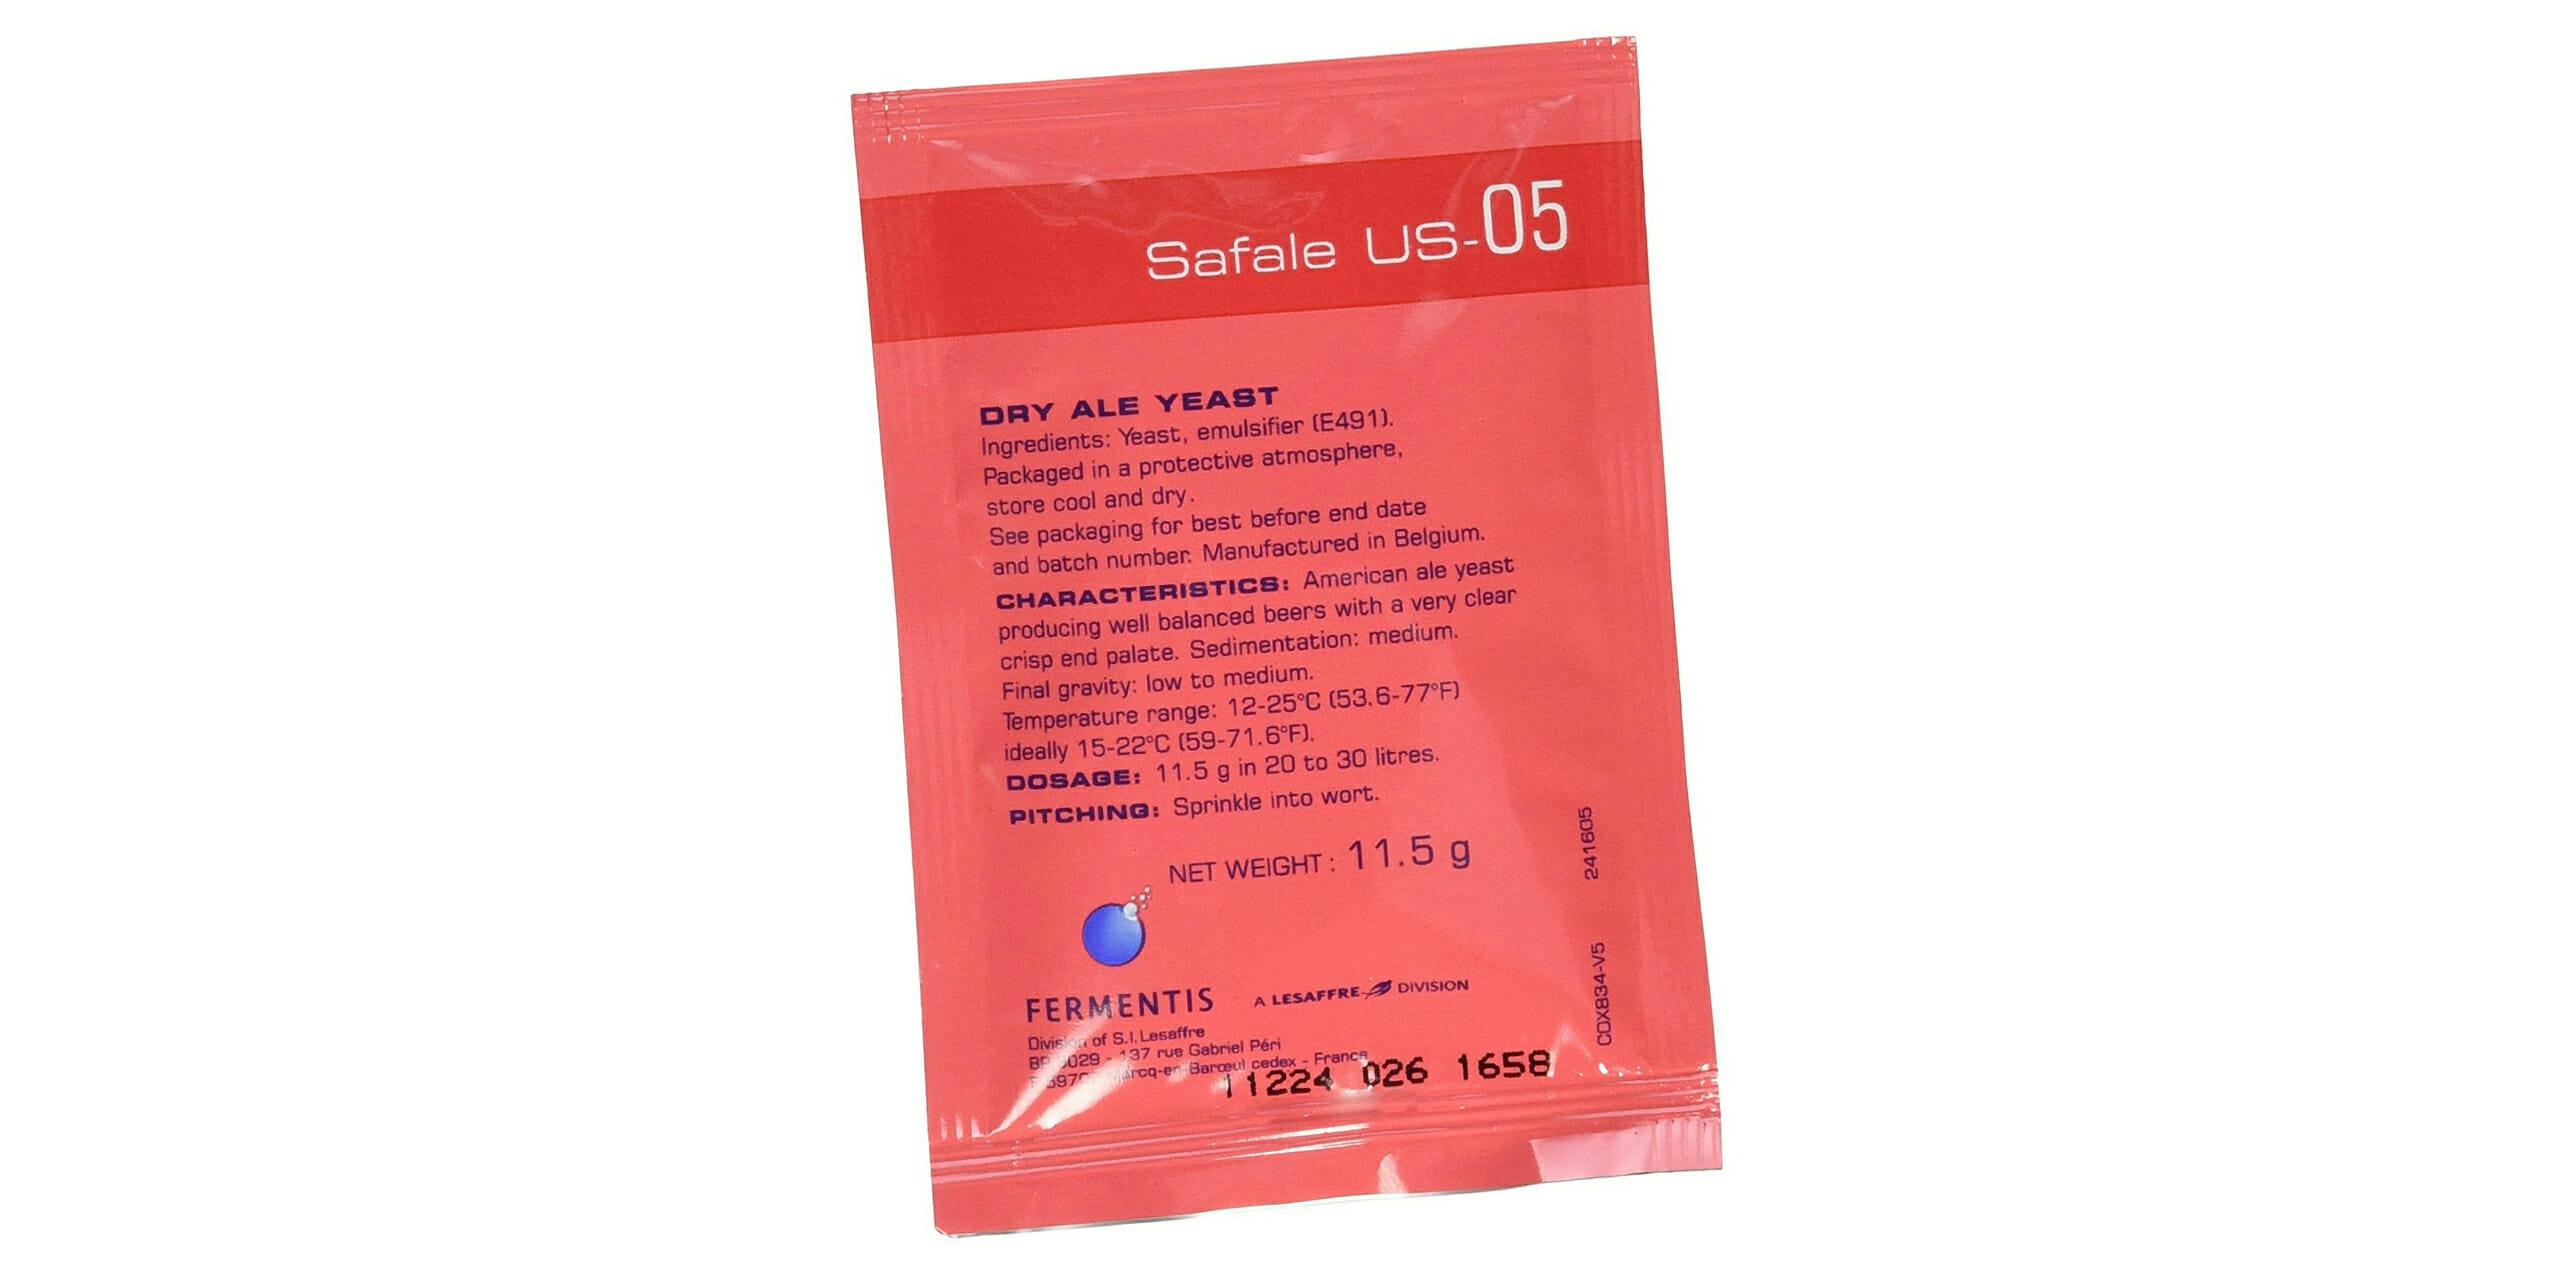
It’s alive! No really, yeast are little critters that turn those complex carbs in your wort into booze. They work slowly, but all great things take time. Once your wort is cooked and cooled slightly, you add these critters to start the fermenting process. Smaller batches only need about half a packet. Don’t worry: these single-celled organisms stay fresh in the fridge for about a year.
Price on Amazon: $10
5) Corn Sugar, 1 lb.
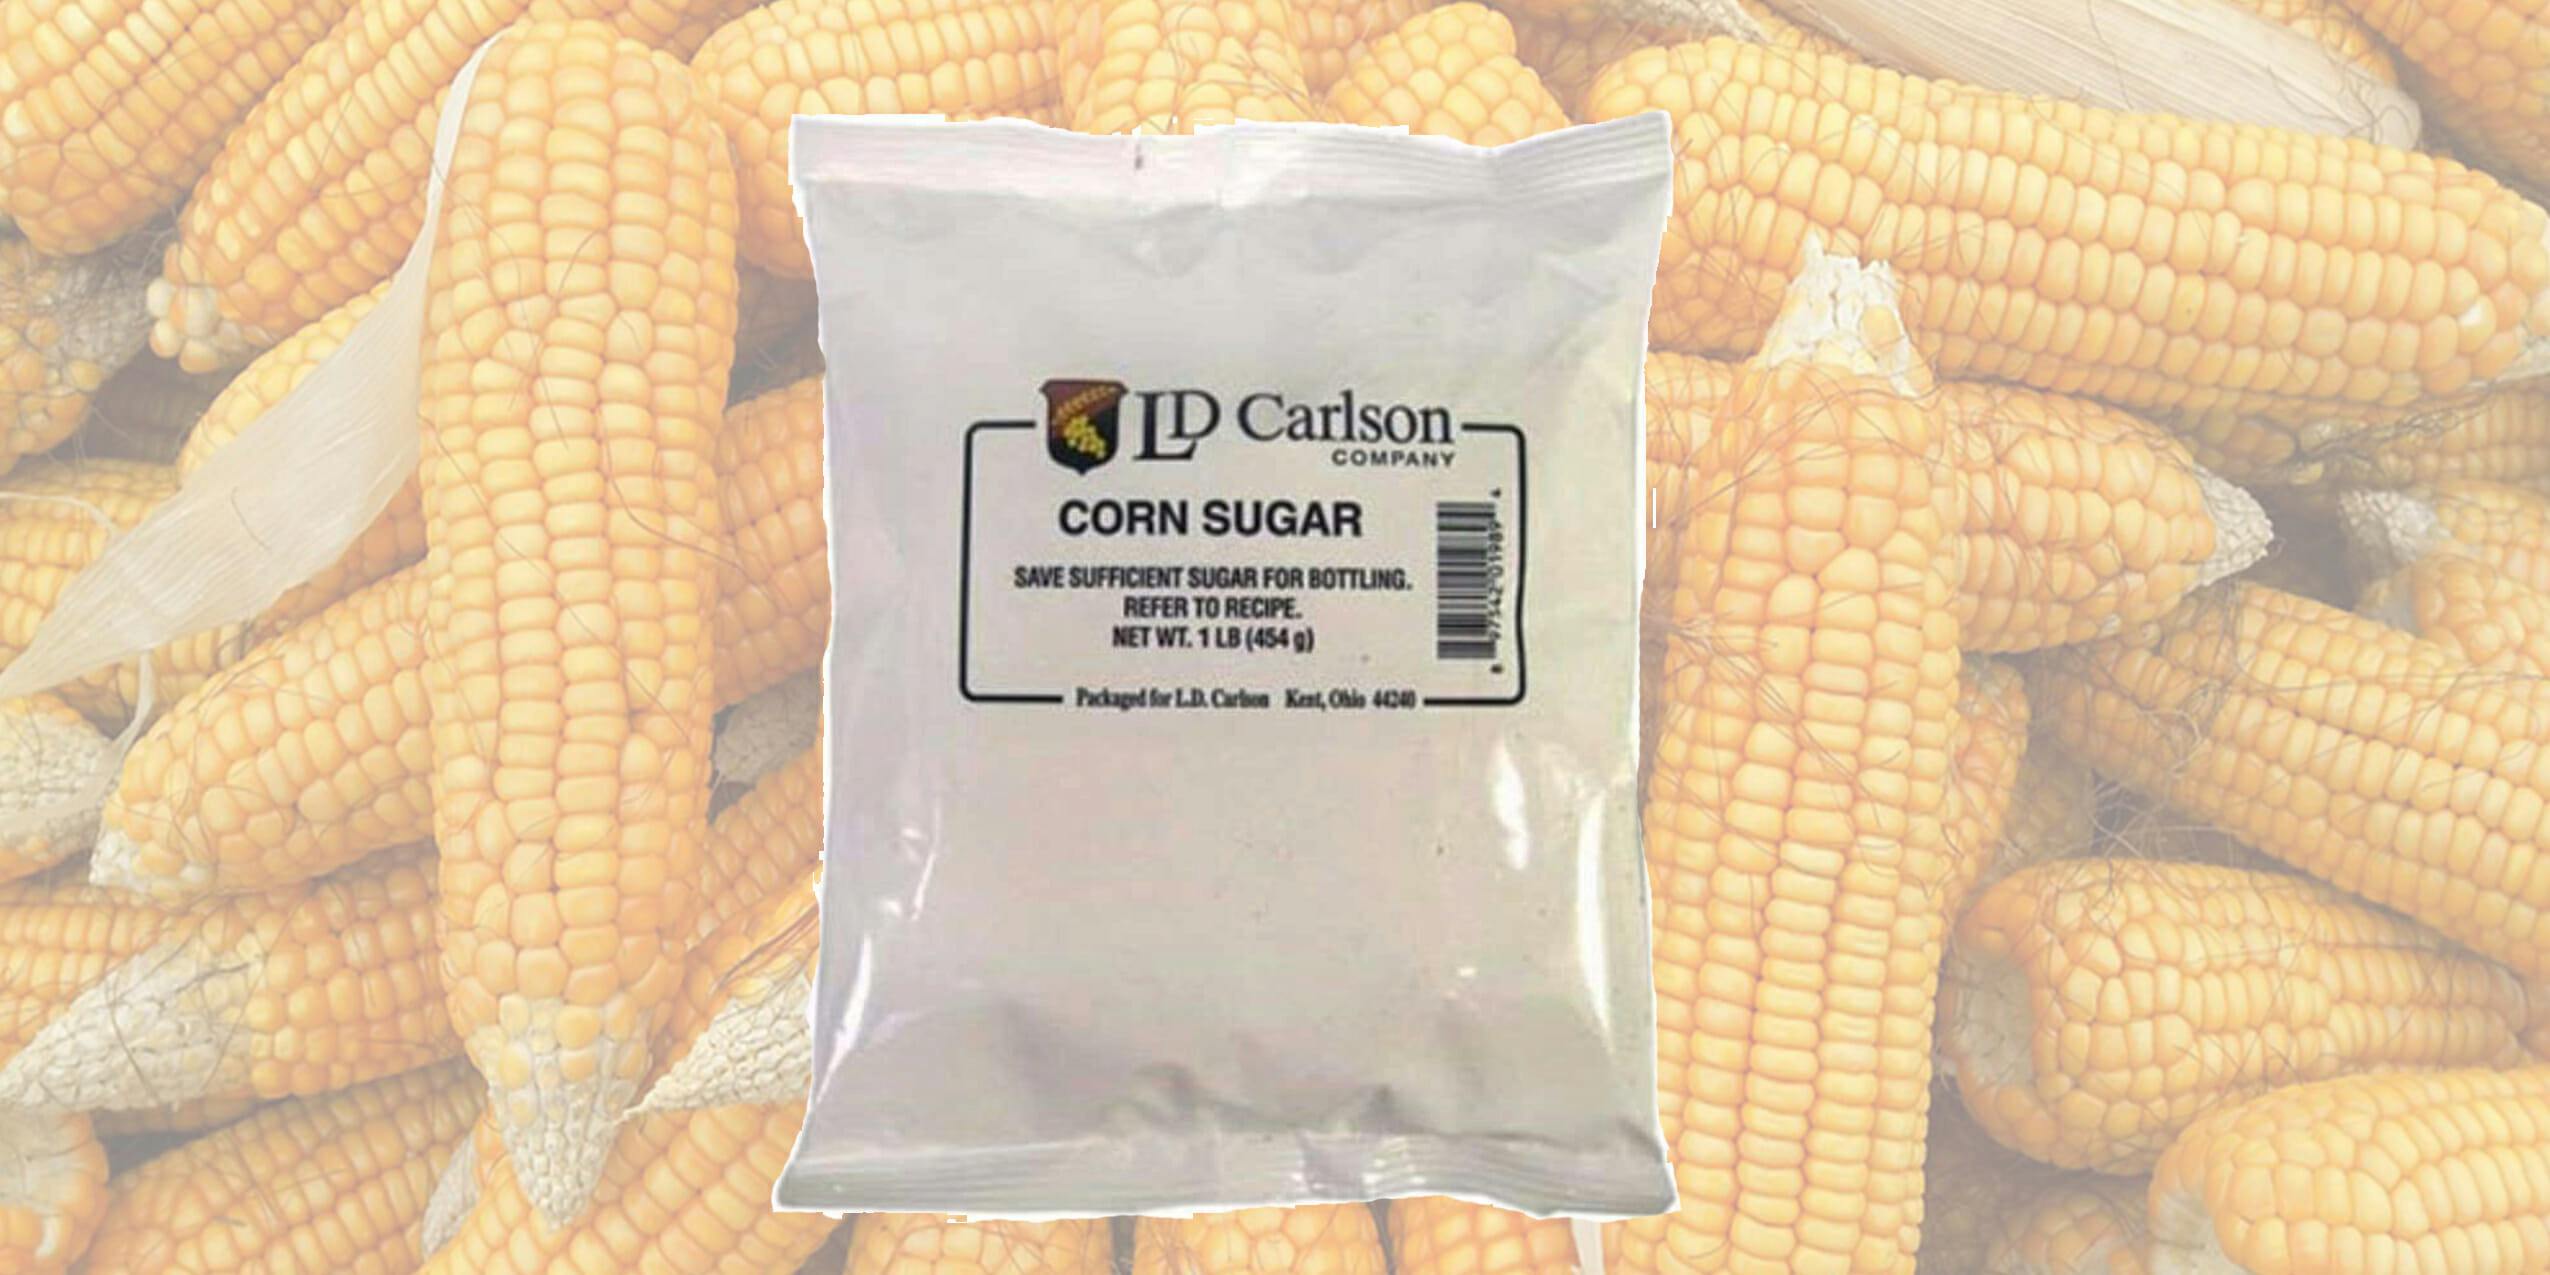
Once your beer is done fermenting, you’ll need to carbonate it. You can run it through a kegger or other C02 machine, but that’s pretty expensive. Boiling a little corn sugar with some water and adding it to your wort before bottling lets your yeast carbonate your beer naturally. Regular sugar works okay, but corn sugar is even more neutral in flavor and won’t give any off flavors to your brew.
Price on Amazon: $6
6) Bleach
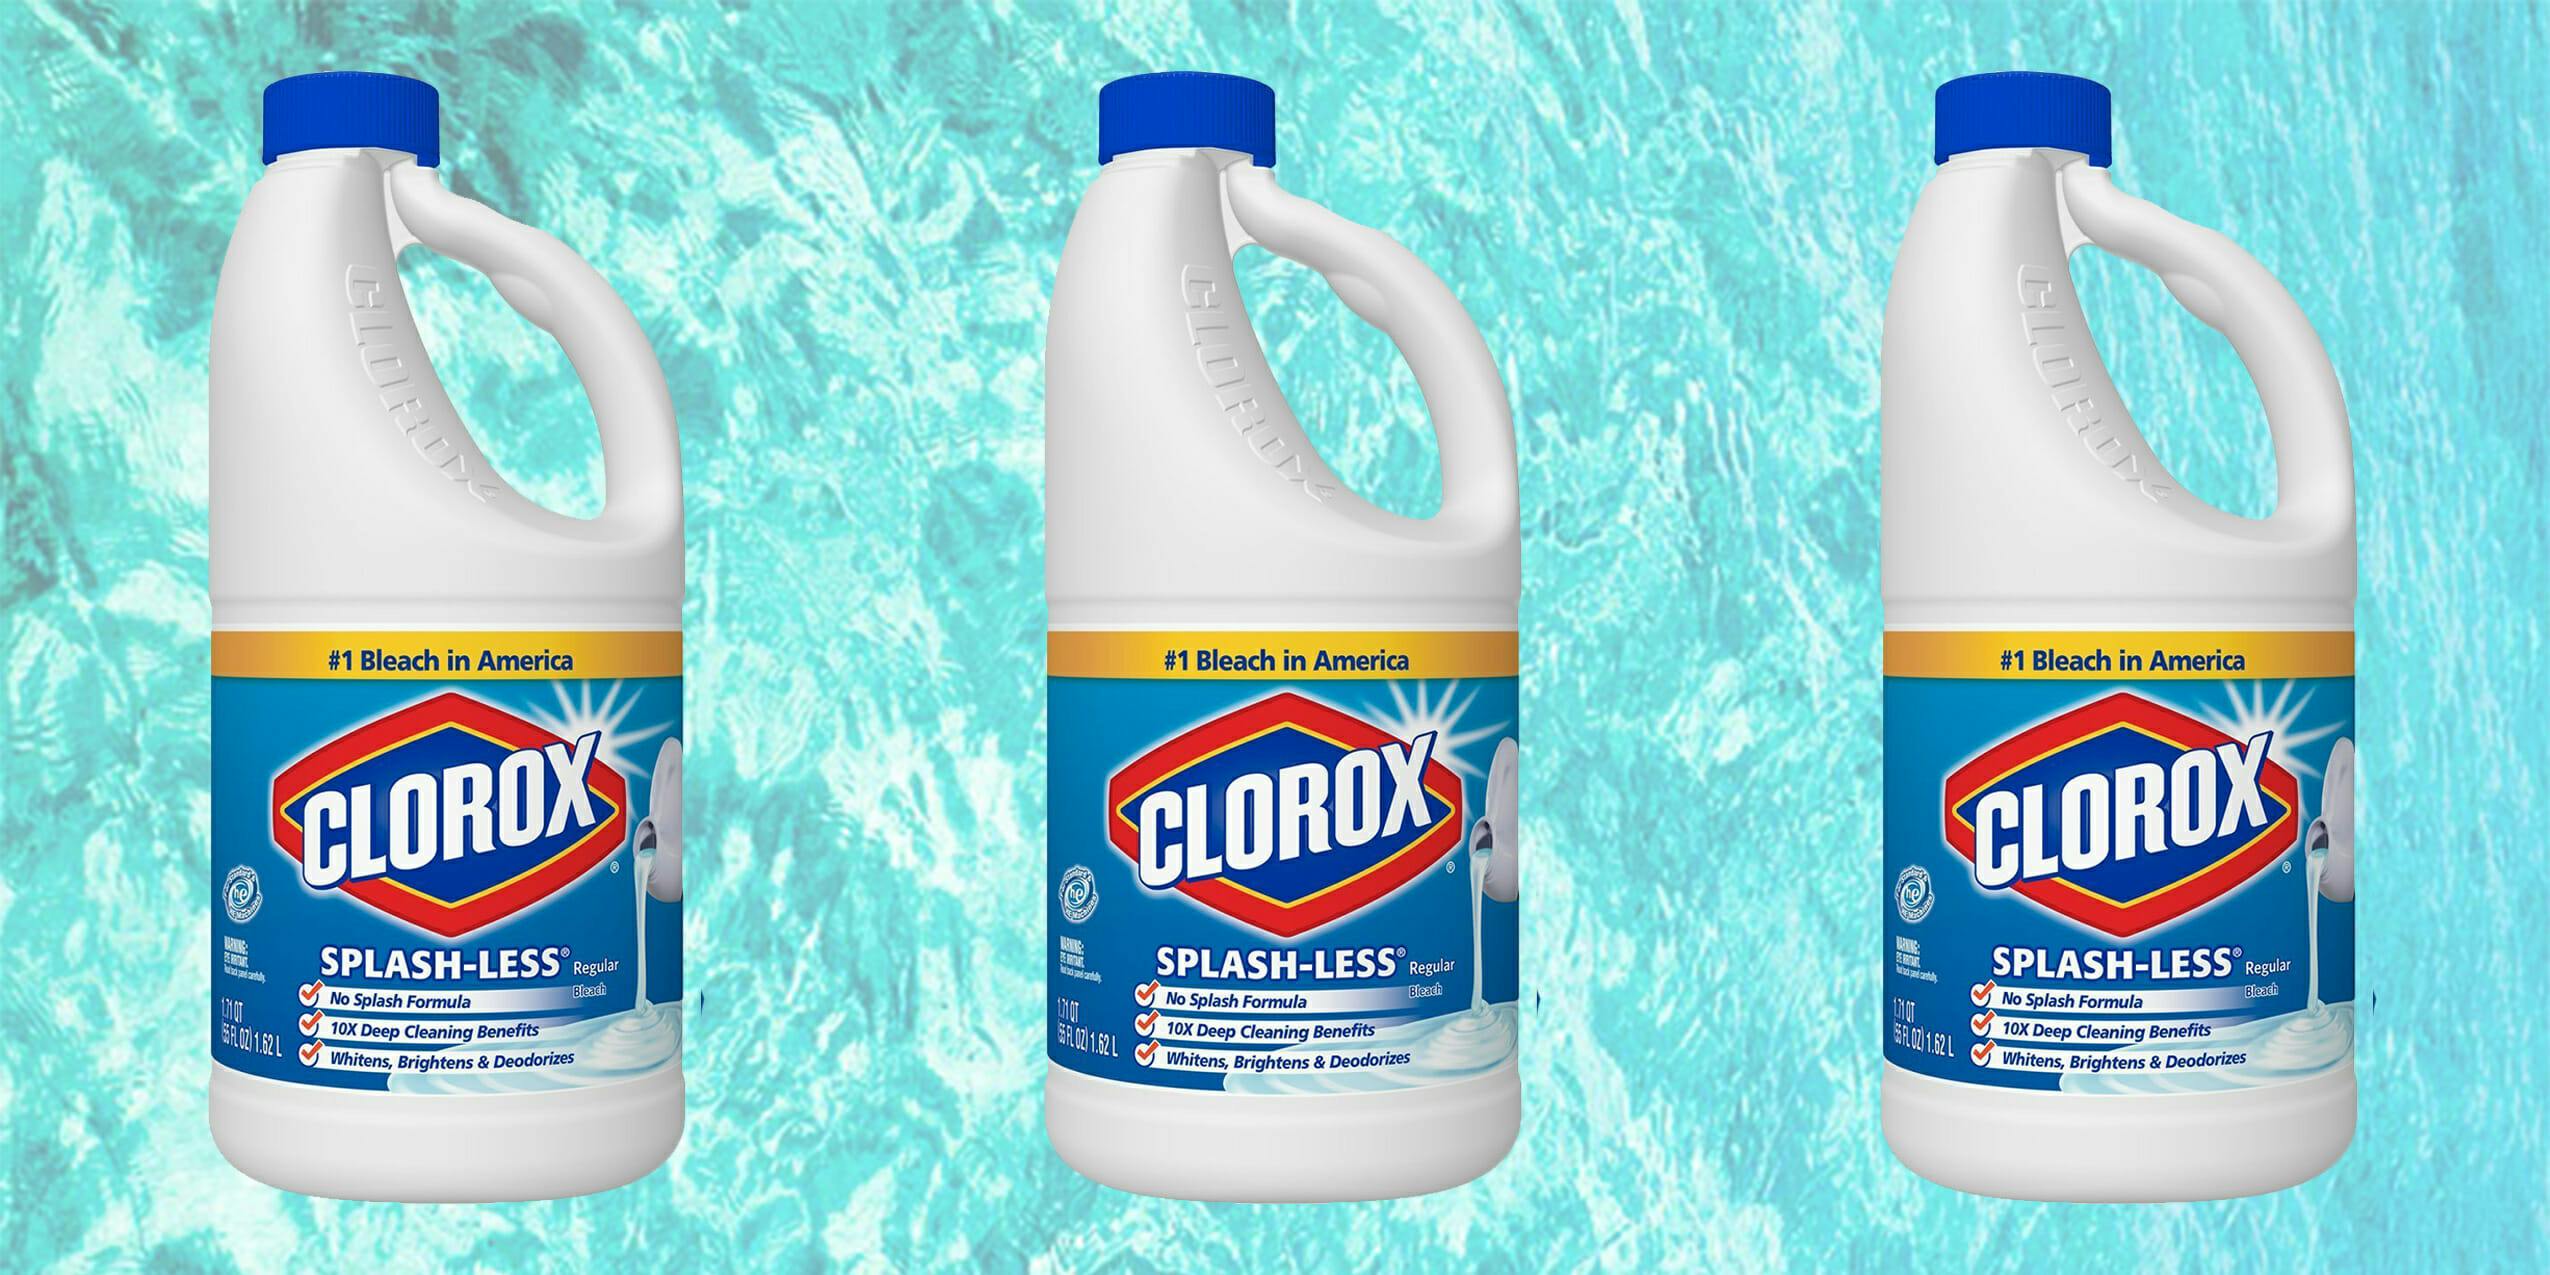
No, we’re not putting poison into your beer. But bleach is a necessary ingredient in sanitizing all your tools to ensure your beer comes out as tasty as possible. Keeping everything clean is the only truly challenging part of beer making, and the most crucial.
BUY ON AMAZON
The tools
1) 5-gallon stockpot
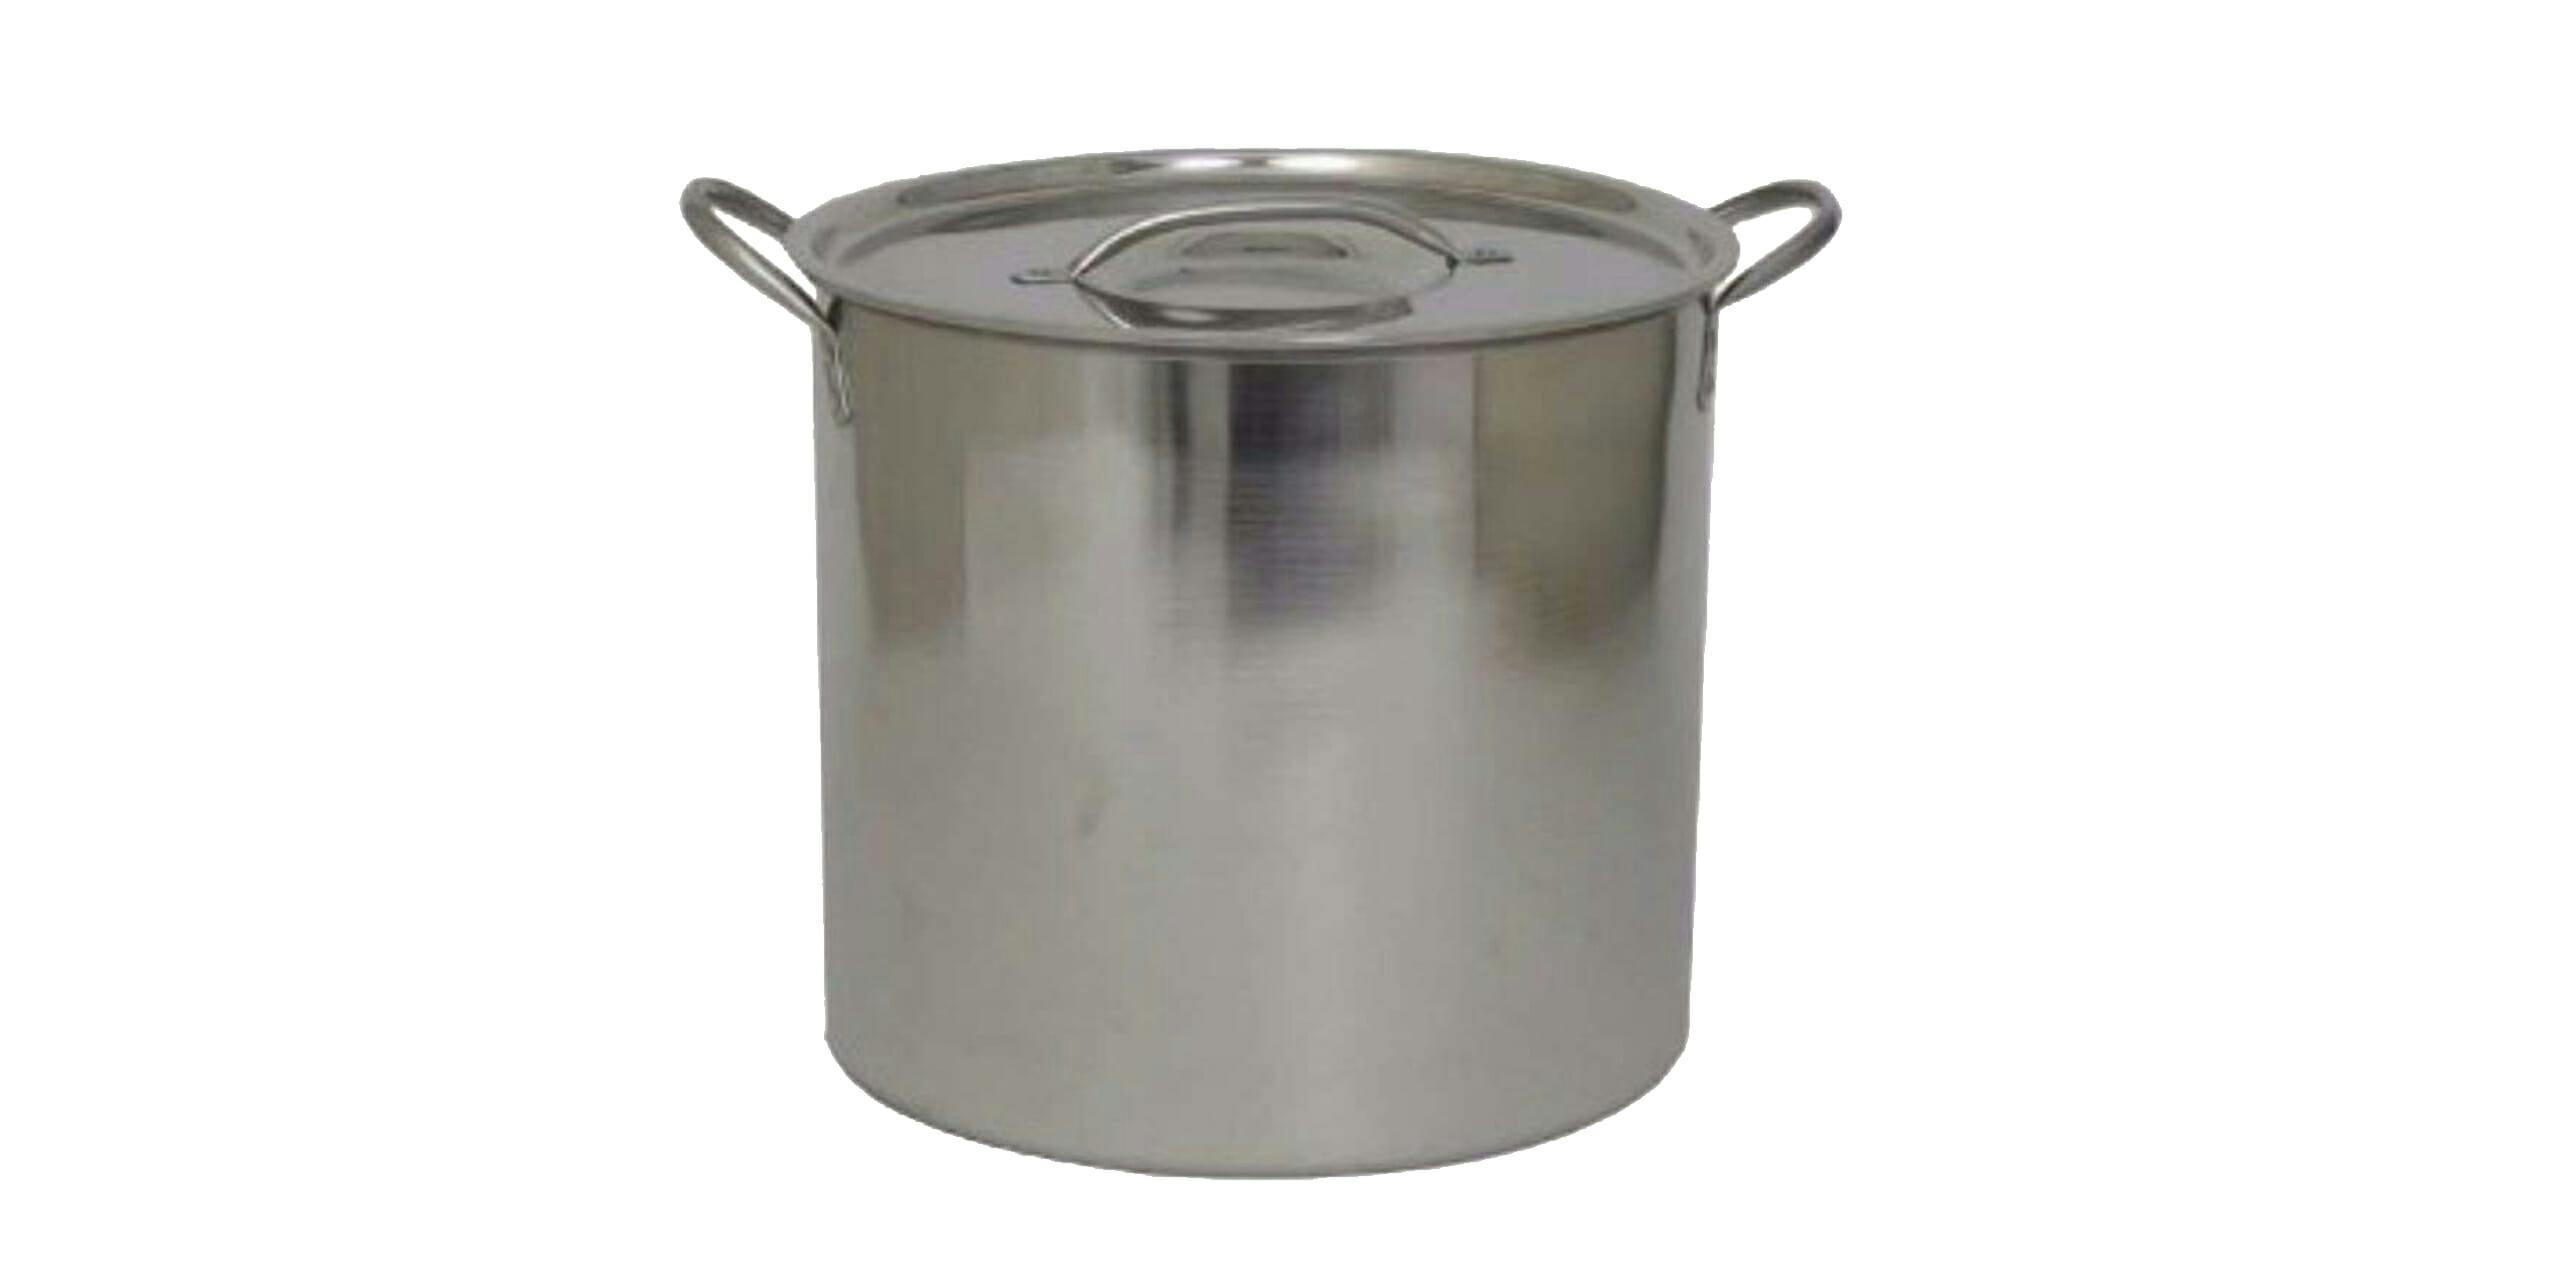
You’ll need a massive pot to make your wort. Get one that’s bigger than you’ll think you need. It keeps spills in check, and if you can prevent spills, you can prevent germs. If you can prevent germs you can prevent skunky beer.
Price on Amazon: $27.99
2) BrewDemon Conical Fermenter
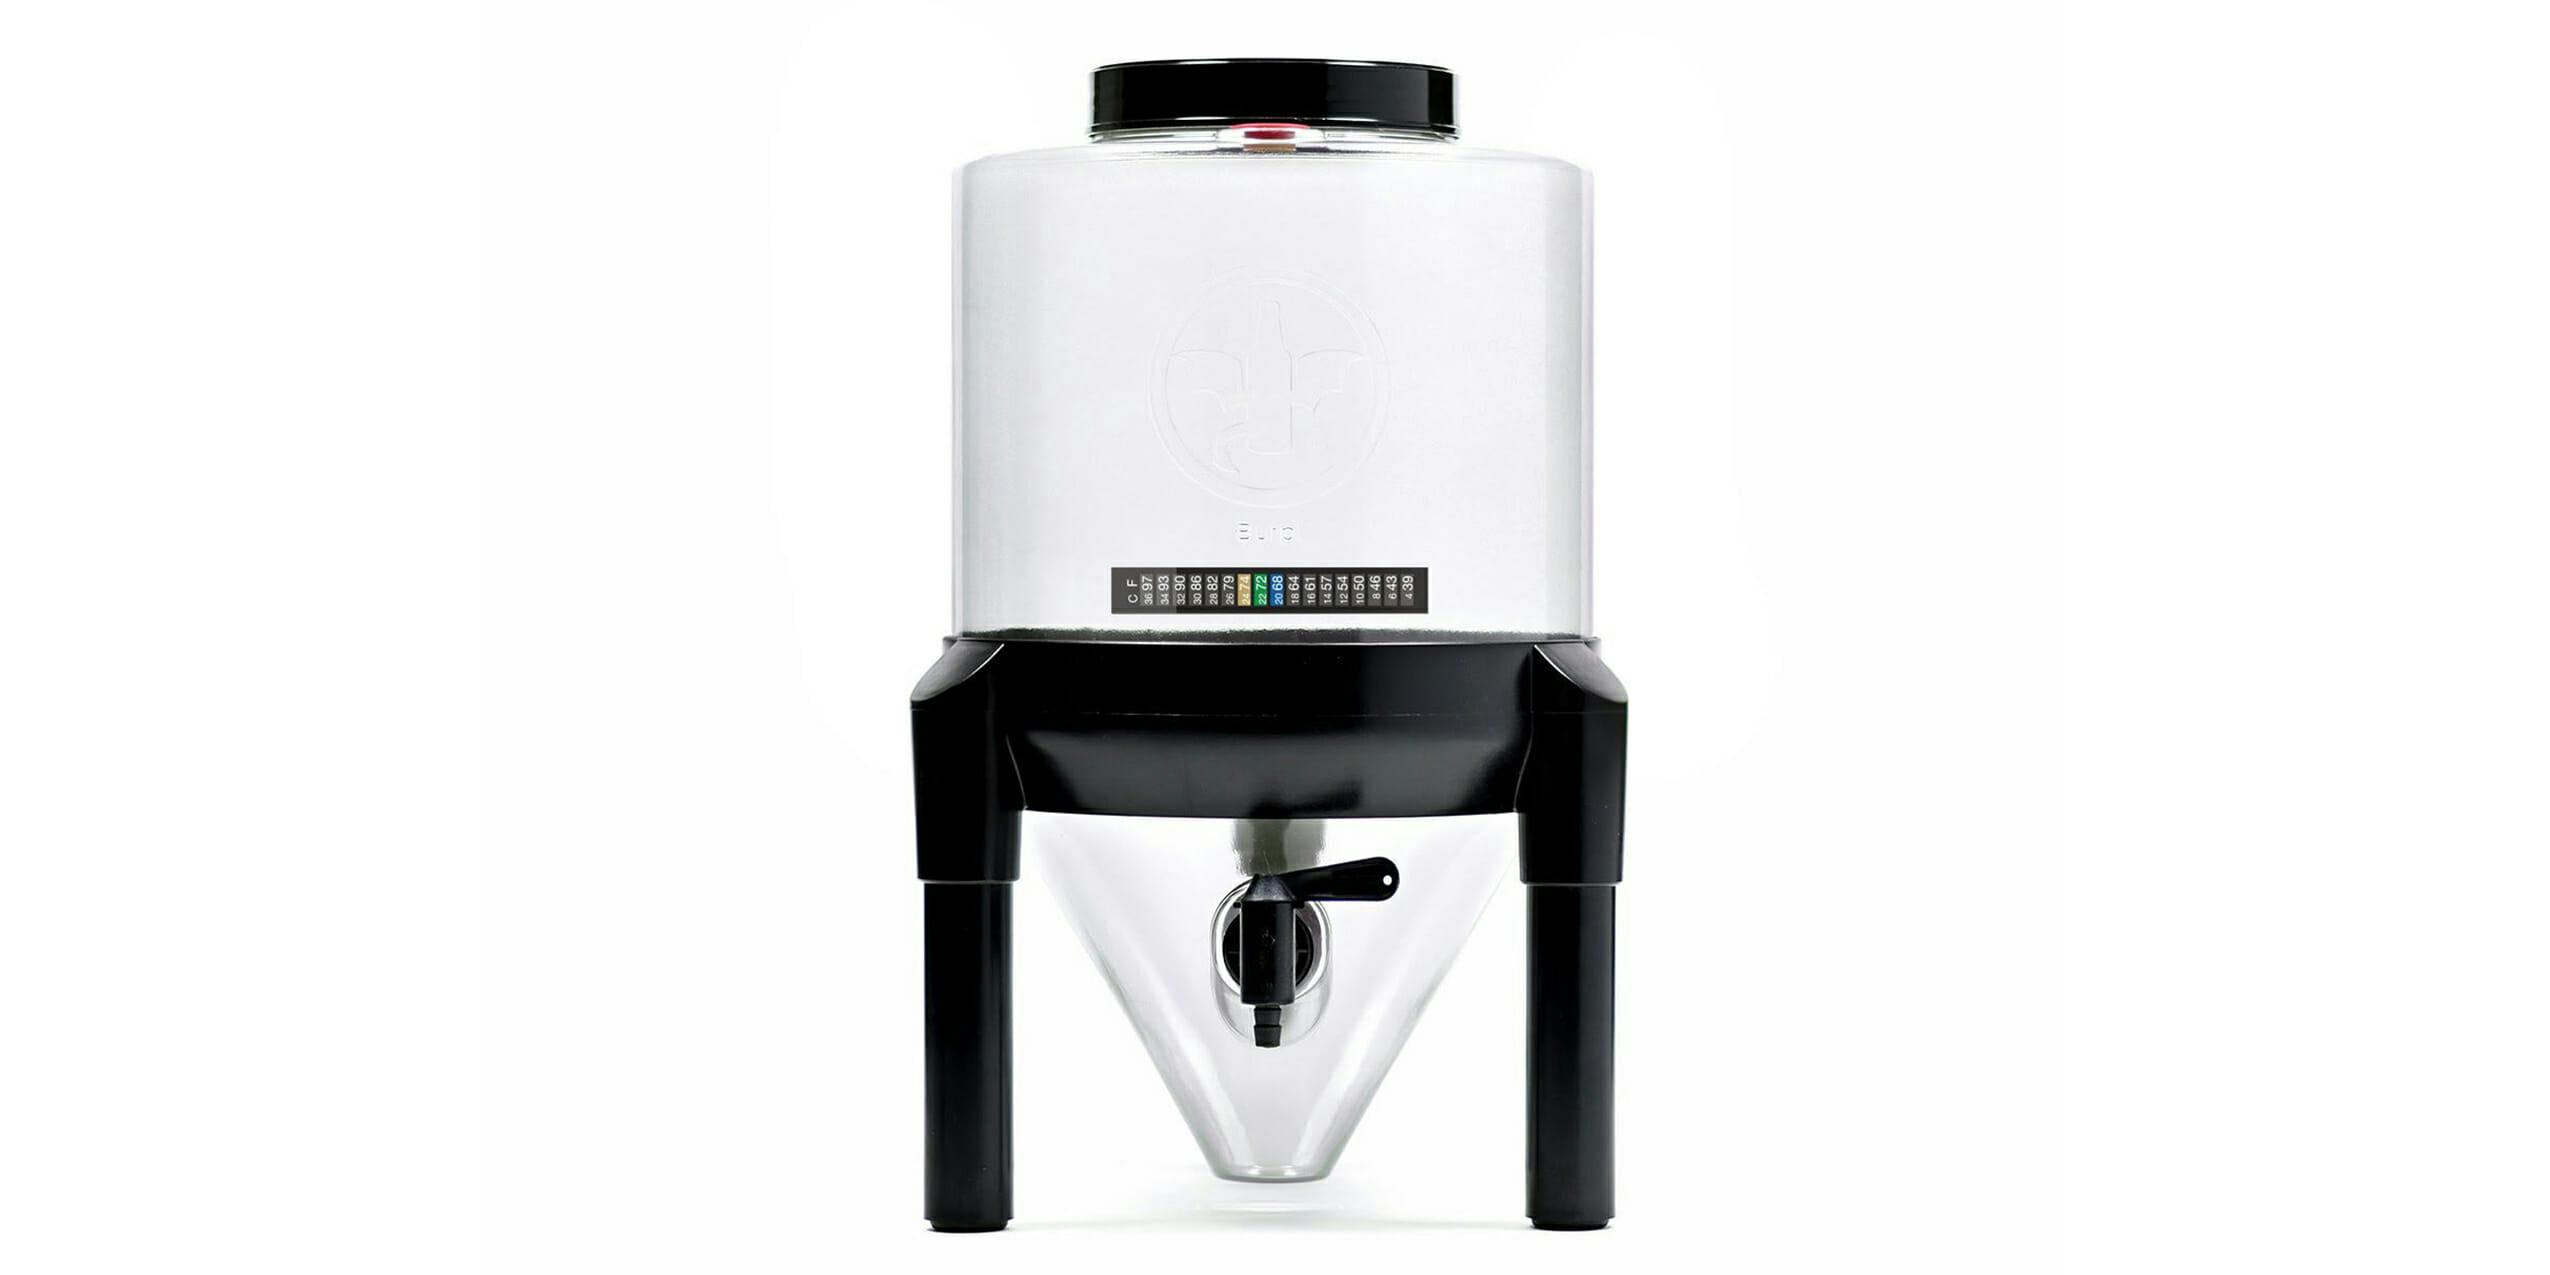
This is where your wort will age for about a week. It’s got a bunch of fancy additions that come in handy. The cone shape doesn’t just look cool, it keeps you from adding spent yeast into your finished product so your brew stays crystal clear. There’s also a built-in C02 venting system and easy to use tap. Plus, the built-in thermometer helps keep your beer out of the danger zone. It’s truly a homebrewer’s dream.
Price on Amazon: $40
3) Strainers
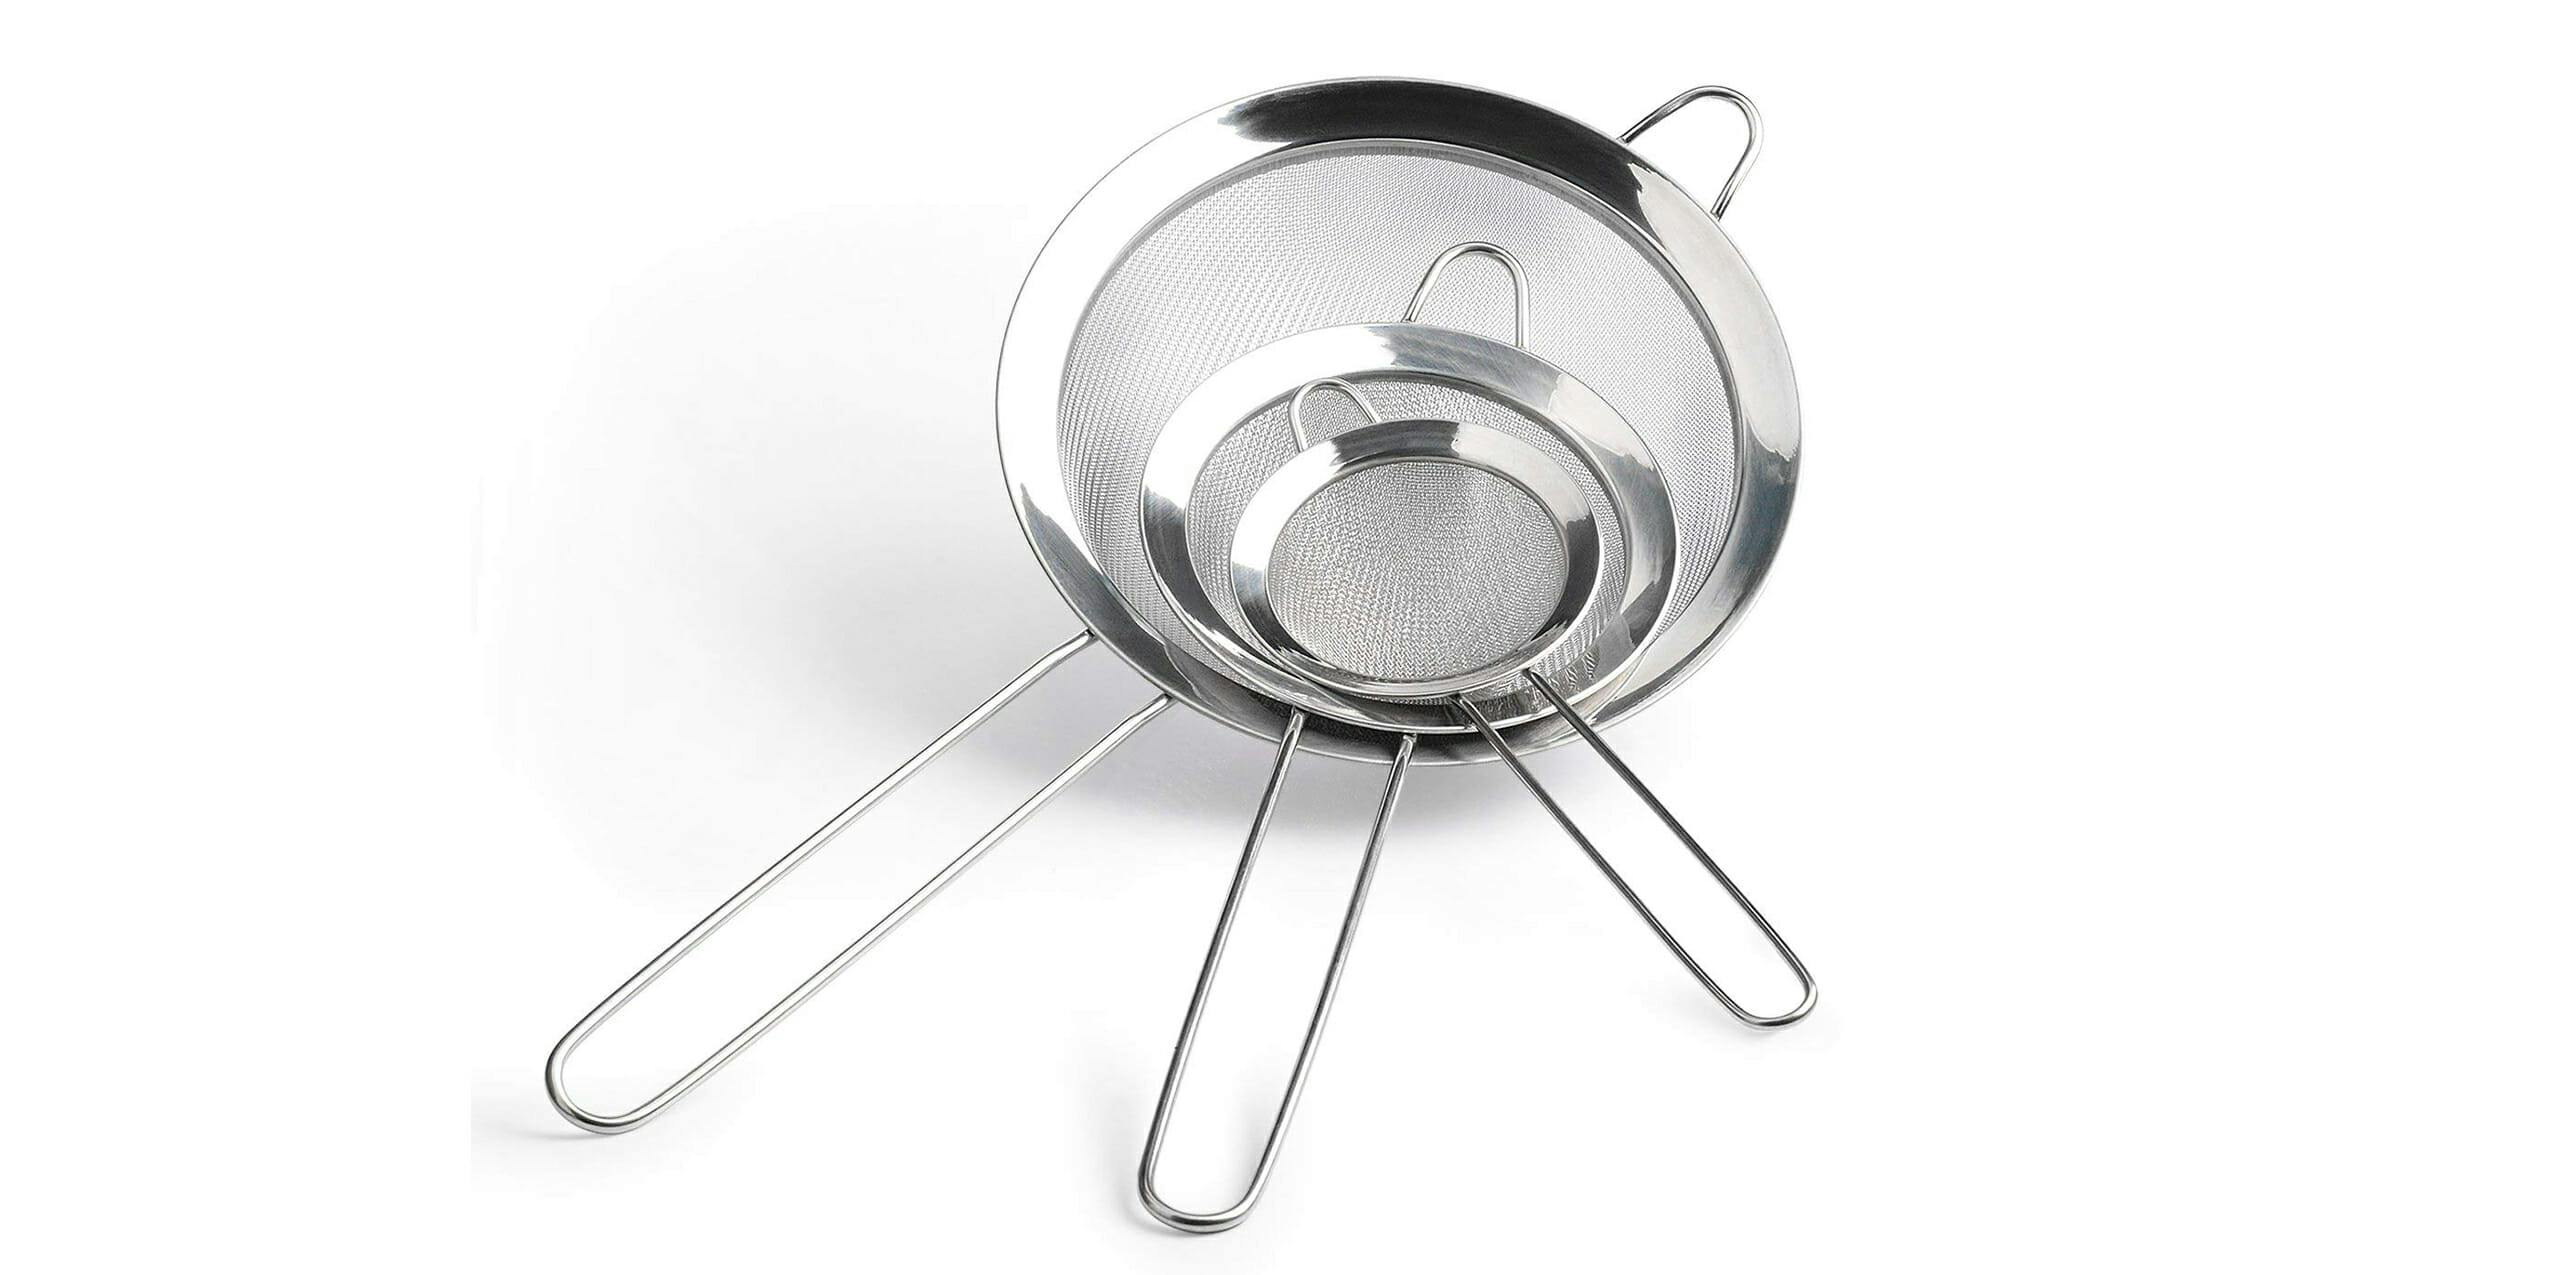
Nobody likes their beer chunky. At the very least, I’ve never met anyone who does. To get all the barley and hops out of your wort before you ferment it, you’ve got to run it through a strainer. You might already have one, but if you don’t, make sure you grab one.
4) 16 oz. flip-top beer bottles, 6-pack
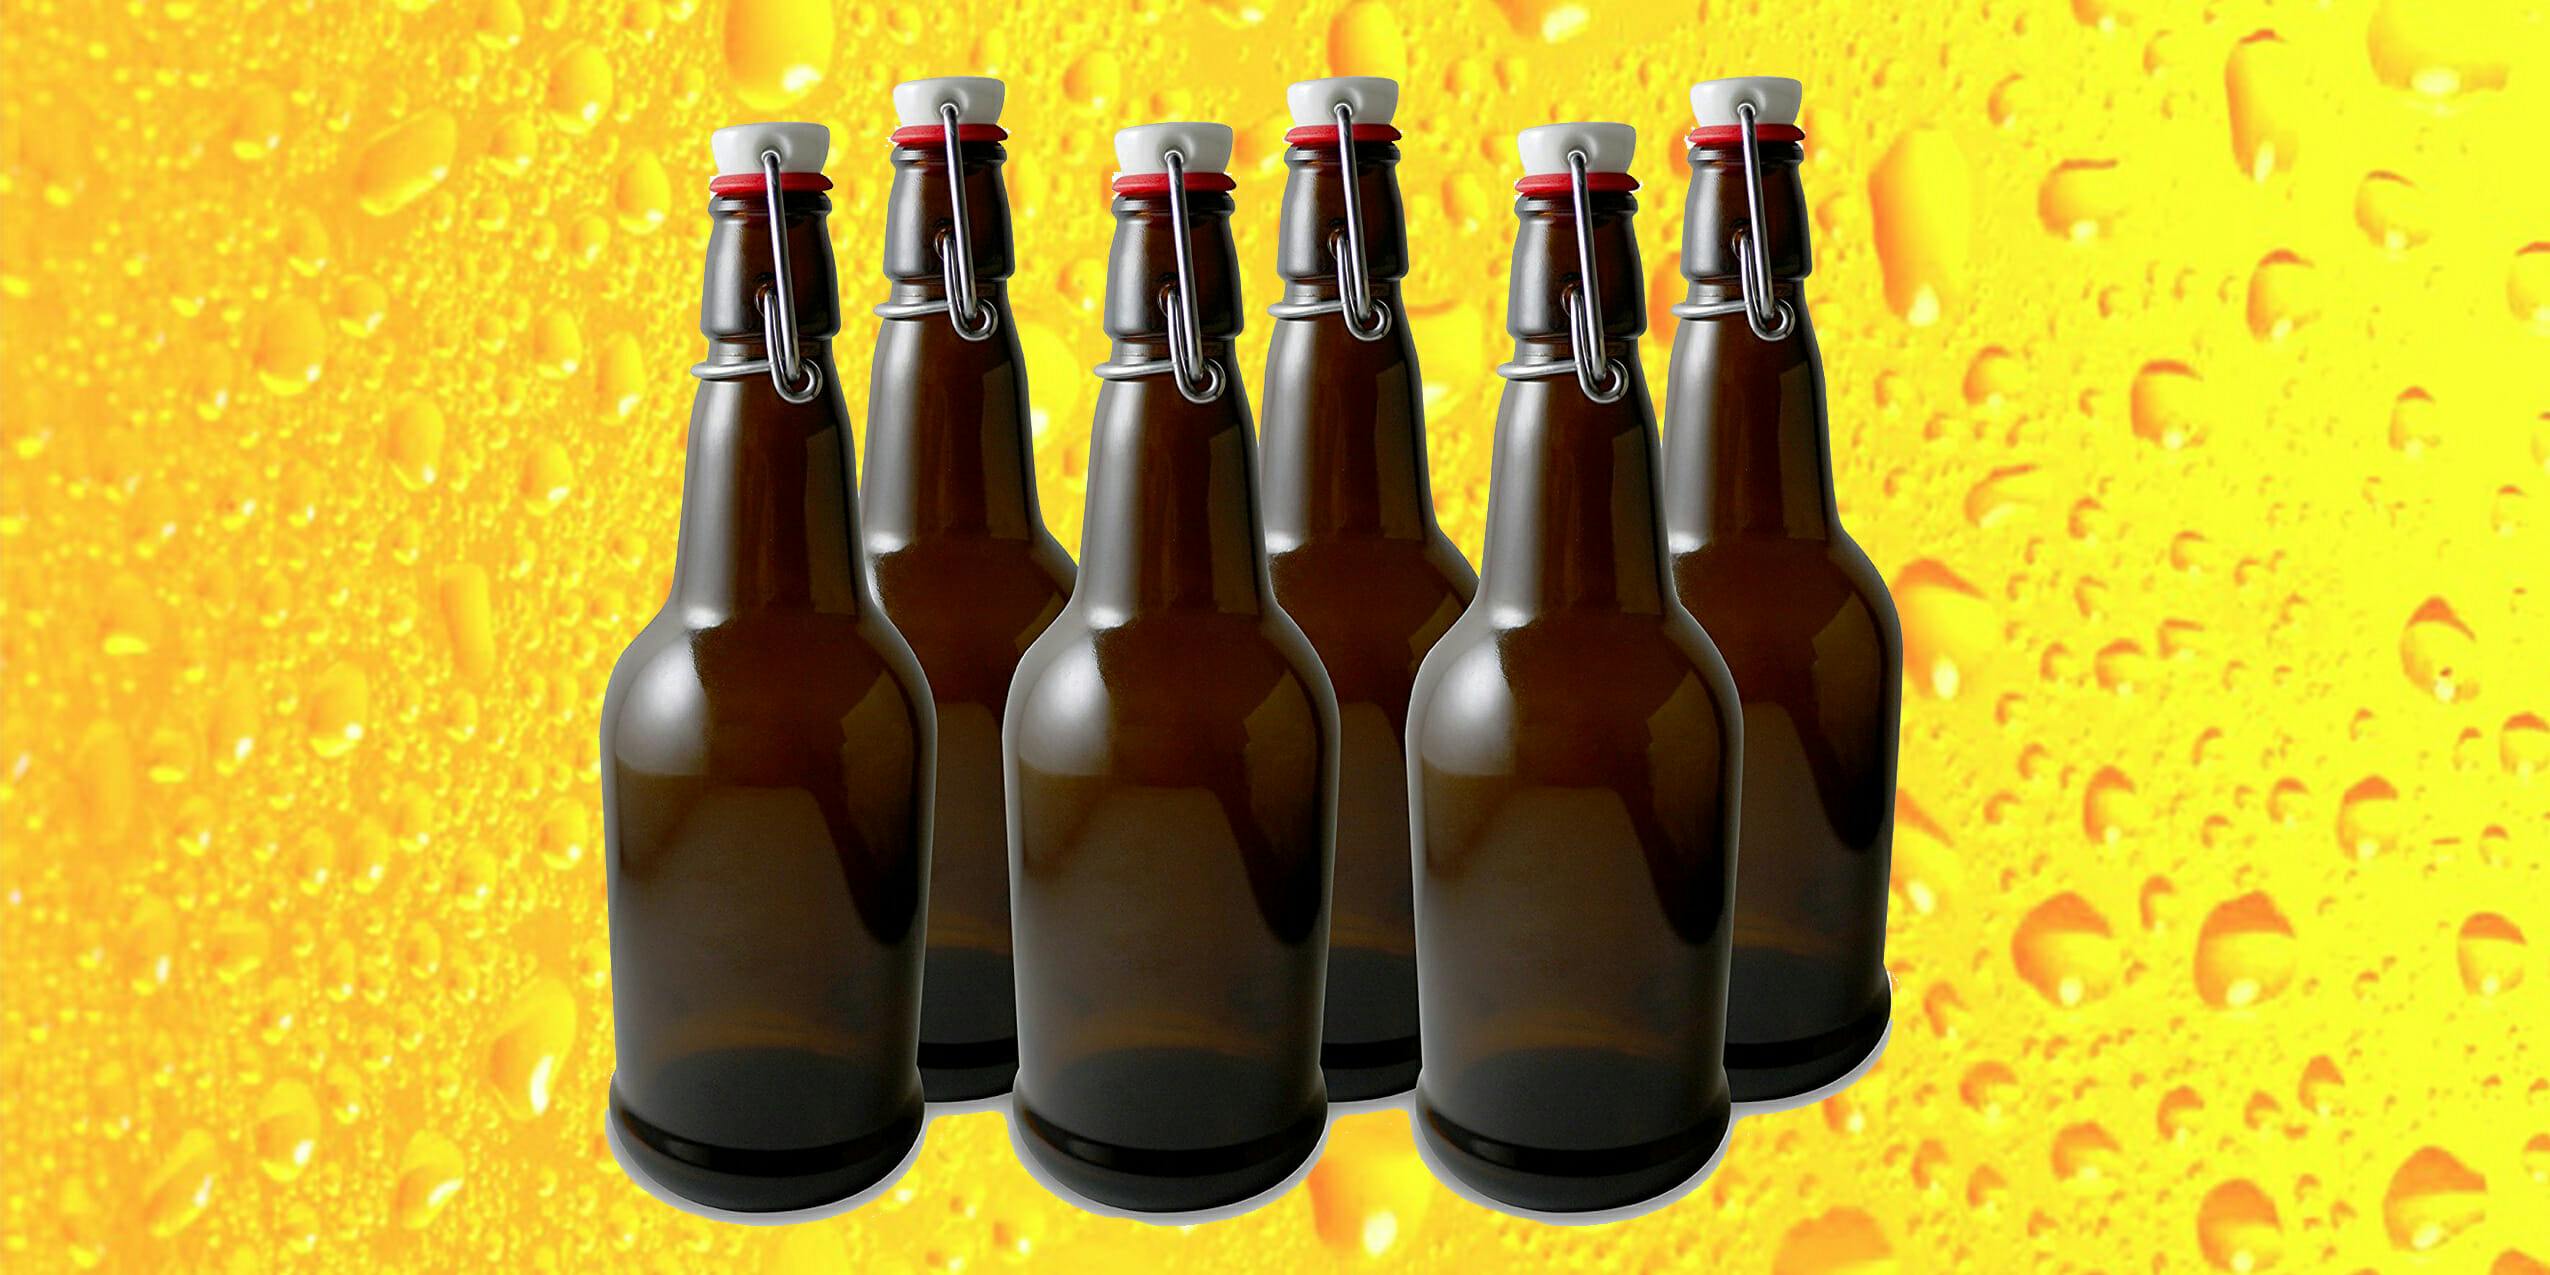
Don’t bottle your beer in some cheap plastic bottle. These bottles are not only made with thicker glass, but the flip-top design is great because you don’t have to futz with bottle caps.
Price on Amazon: $25.99
5) Neato blank beer labels
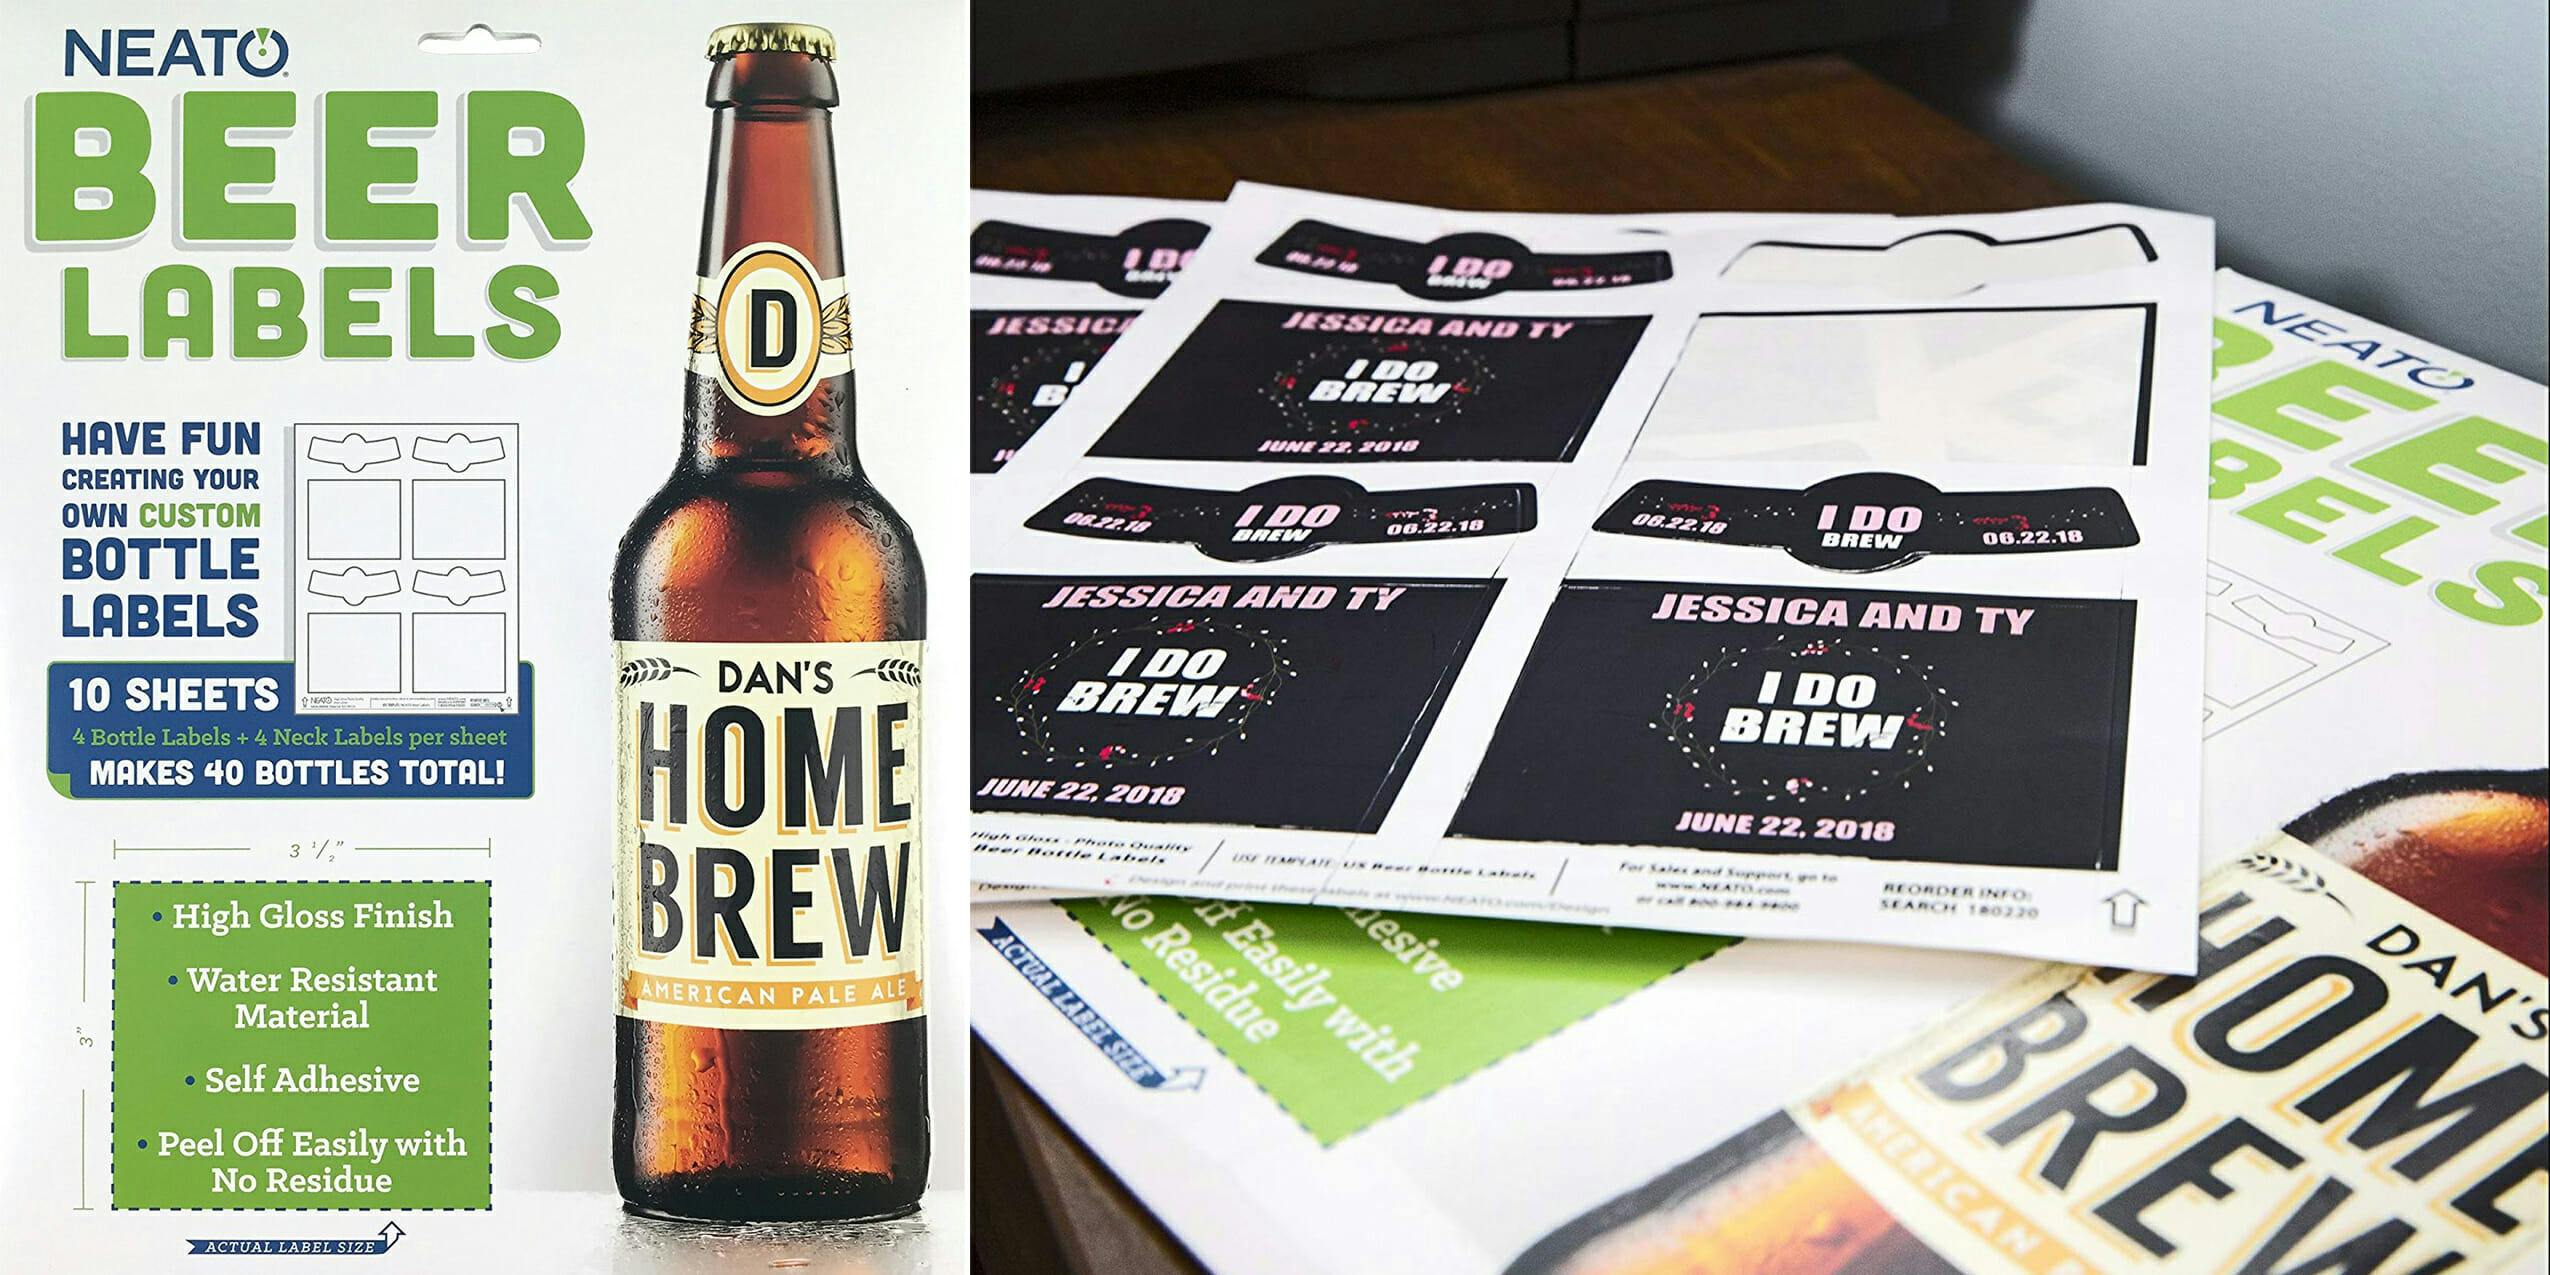
If you’re going to go through the trouble of making your own beer, you should brand it with a fancy design. These labels work with most inkjet printers, letting you mark up your bottles with whatever aesthetic you’re feeling at the moment. And because they’re water-resistant, they’ll keep for batch after batch.
Price on Amazon: $14.99
How to make beer
You can find countless recipes for different beers on the internet. Let them guide you to the precise measurements for everything. However, most beers under the sun follow these same surprisingly basic steps. No matter the recipe, remember this: don’t use tap water. Spring for spring water and you’ll be happy you did. Also, make sure half of that water is ice. The stuff from the freezer section at your local gas station will do nicely.
1. Sanitize everything.
Fill the pot where you’re going to make your beer with water, and bring it to a boil with a few spoonfuls of bleach. Then, submerge your bottles and let them boil for about ten minutes. Metal spoons used to stir your beer should be sanitized too. Don’t forget your strainer! If it’s touching the beer, it’s getting sanitized. Don’t forget to fill your fermenter with this sanitizing liquid too, and run it through the dispenser. This step is the most annoying, but totally necessary.
2. Cook your wort
In your cooking pot goes half the water for your recipe and barley. Make sure the barley is milled so it’s cracked. You can perform this in most kitchen bar blenders if you bought your grains whole. Simmer this mixture for about 30 minutes. Remove your malt extract from the fridge and nuke it for about 30 seconds with the lid off. This makes it easier to coax it out of the container. Add what you need to the cooking liquid. Bring to a rolling boil, add 2/3 of your hops, then reduce to a simmer. Cook for 10 minutes. Add the remaining hops. Turn off the heat. Cover and allow the beer to steep for five minutes. At this point, you can add different extracts or flavorings if you’re feeling adventurous.
3. Ferment your wort
Pour the remaining half of your water (the ice) into your cooling wort. Stir until all the ice is melted. Carefully pour your beer over your strainer into your fermenter. Check the temperature of your wort on the side of your fermenter. It’s got a built-in thermometer. If it’s anywhere from 70-88 degrees Fahrenheit, you can sprinkle on your yeast. Close your fermenter and allow your beer to ferment in a cool, dimly lit place for anywhere from half a week to two, depending on your recipe and amount of beer you’re making.
4. Carbonate it
To carbonate your beer, boil corn sugar with a little water in a small saucepan. Allow it to cool slightly. Add to your fermented beer. Then, you can dispense it into sanitized bottles. Seal them up and place them in a cool area for 7-14 days.
5. Store it and adore it
Refrigerate your beer until totally chilled. Keep in the fridge. Bust it out when company visits or horde your precious brew to yourself.
MORE BAZAAR DEALS:
- 10 ‘As Seen on TV’ products that actually work
- Cook like Chrissy Teigen all summer with Blue Apron’s new menu
- What is Raspberry Pi? A DIY retro gaming console waiting to happen
The Daily Dot may receive a payment in connection with purchases of products or services featured in this article. Click here to learn more.