
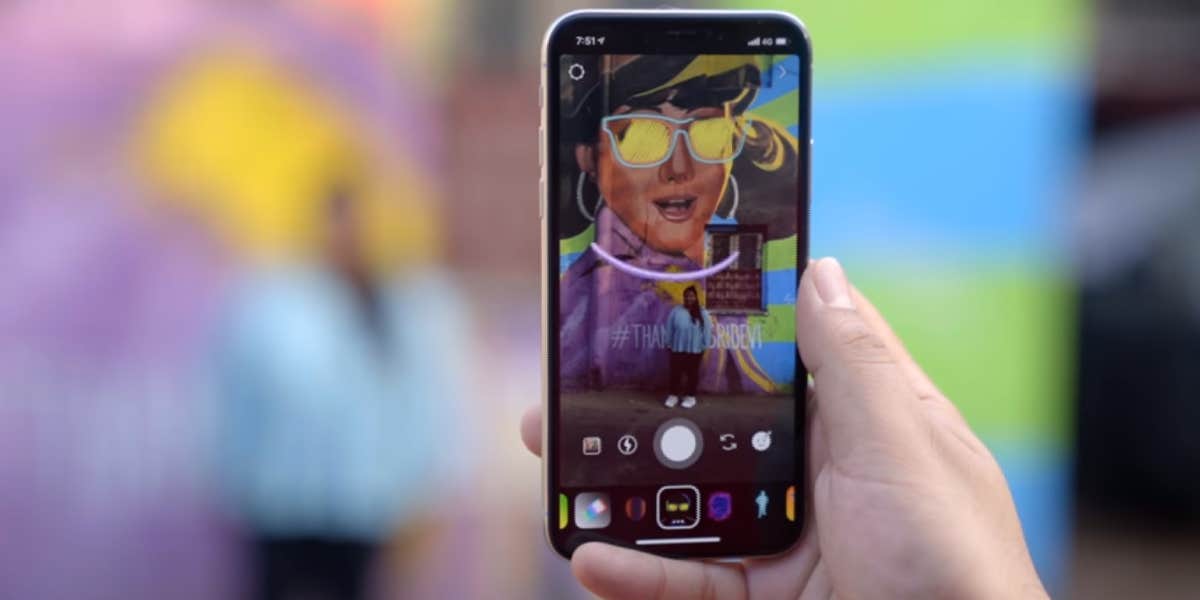


AR effects have been a popular feature of Instagram Stories for a while, but soon they’ll be taking over.
Thanks to Facebook’s decision to open its augmented reality tool, Spark AR, to the public, anyone interested can now create custom filters and effects. These filters have been rising in popularity for more than a year, but with the newly granted access, more users will be getting in on the fun. Creating a filter or AR effect is easier than you may think; here’s how to make Instagram Story filters and Instagram Story effects without any coding experience, whatsoever.
How Spark AR works
For starters, some background: Facebook first introduced Spark AR to Instagram users back in May of 2018. Initially, it was open only to approved creators. In order to add a new effect to their in-app camera, users only needed to follow the original creator. A simple follow would deliver the desired effect immediately to their Stories camera effects. This is still how the filter system will work, but it will be hugely expanded.
To ensure that the original creators get the credit they deserve, Instagram is now adding an Effect Gallery tab which will allow users to browse their new filters. Once the desired effects have been added to the user’s camera effects, they can use them to their heart’s content.
How to use Spark AR to create Instagram Story filters
Once you download Spark AR to your device, you should take some time to explore all its options. You can change the lighting, add objects from a library or ones that you’ve created yourself, and rearrange layers to create the effect you’re looking for all without knowing a lick of code. The app is simple and streamlined, thankfully, but with so many options, you will need to familiarize yourself with them in order to start making your own Instagram Story filters and effects.
Scenes and layers
To begin with, you’ll want to decide if you are working in a 3D or 2D space. The lighting, which comes pre-equipped, is set up to make 3D objects more realistic. If you are working with a 2D object, however, the lighting will make it look strange. Luckily, you can turn it off before you proceed.

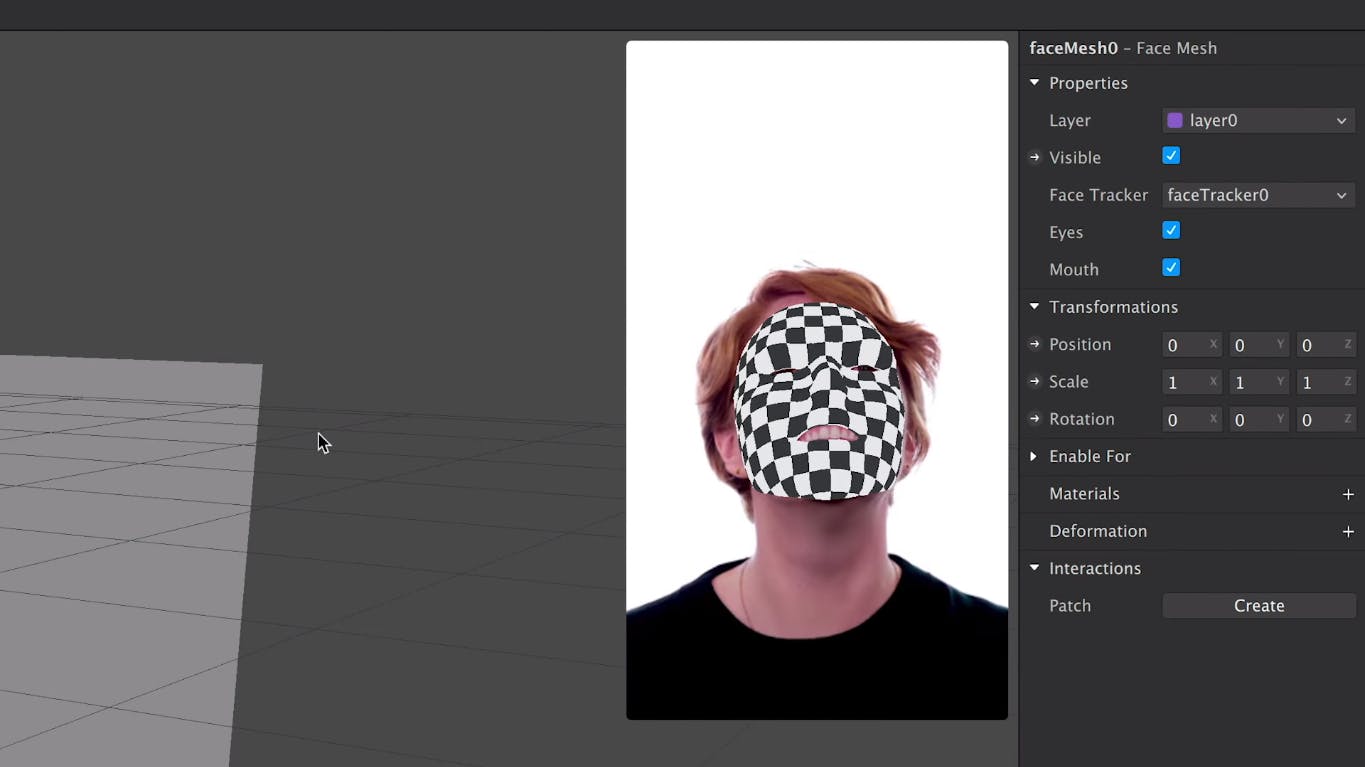
There are two places from which you can add objects to your scene. The menu bar houses an Add button, or you can click the Add Object button at the bottom of the Scene Panel. From there, you can play with layers to make objects rearrange to the front or back of the picture. You can add effects like a face tracker, which allows an Instagram Story filter to follow a user’s face via the camera so you can overlay an effect on it as they move.
Adding objects
To add a 3D object to the project, you can use pre-made objects by clicking the Add button in the menu bar, or you can add your own creations by clicking Add Assets in the Assets Panel. To get some new objects on your Assets Panel, just click Import From Computer, and select the image you want to add. This adds an object to your project, but it’s not in your scene quite yet. To add it to the scene itself, just grab the object from its panel and drag it into the scene. Piece of cake.

Now you can edit or alter the assets you’ve added to your scene. To change an existing object, use the Inspector to change its position, size or angle in the space. Once an object is selected, you can use the manipulator to adjust it. Arrows and lines will indicate how you can make objects bigger or move them closer to the camera.
Simulate your effect
The simulator will allow you to preview the effect you’ve made as it will appear on different devices. You can view it through the front or back cameras, and even simulate someone touching the screen. This allows you to view how an interactive effect will react to someone tapping their phone when they’re using your Instagram Story filter.
Textures
Now for the fun part—textures. Adding textures to your objects will give them more depth in the space, as well as allow you to play with how each object will look. You can add shading to make an object look more realistic, or highlight an object using the Specular tool. There is even a slider to adjust the amount of shine, highlight, or shadow you wish to use.
Patch Editor
The Patch Editor will be one of your final steps before uploading your effects for the world to use.

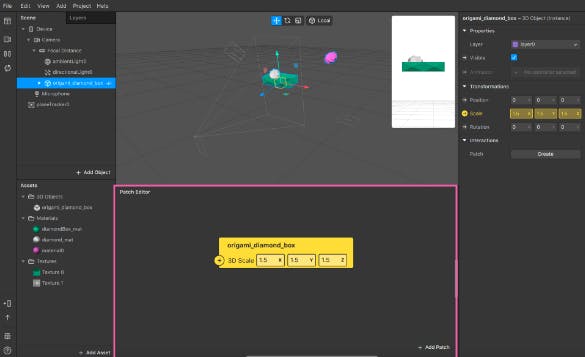
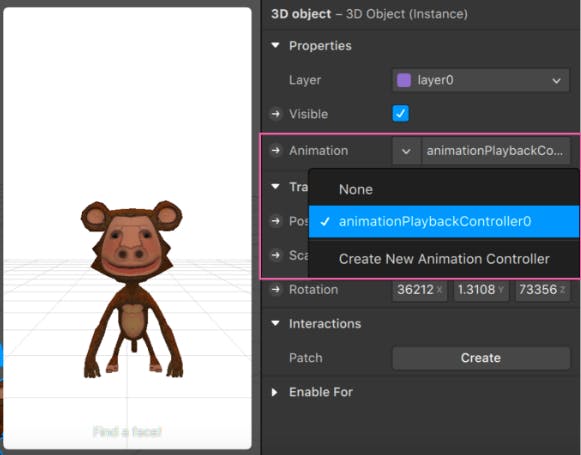
This is arguably the most complex tool Spark AR comes equipped with, but thankfully it’s still fairly easy to use. It will add interactivity and animation to your scene, and even let you create textures and make changes to materials. Just select View in the menu bar and then Show/Hide Patch Editor. Once you have it open, you can drag objects onto the editor to fiddle with.
Preview and Export
Before you complete your new effect, you’ll want to preview it to ensure it is working properly. Using the Spark AR Player app, which you can download in your app store (Apple, Android), you can preview your work. Once you’ve made sure everything functions as expected, it’s time to export.
Click the Export button on the toolbar. You’ll get a quick summary of how big your file size is—if it’s too big, it won’t work, so make sure you’re paying attention. The website for Spark AR recommends that users experiment with different compression settings so that they understand how they affect different objects and materials. Also, the better compressed your file is, the less space it takes up. Once it’s been exported, you can submit your file to the Spark AR Hub. They will preview it, ensure it adheres to their guidelines, and publish it. Then, you’ll see it end up in the Instagram Story filter scroll bar.
Keep in mind that this guide will help you create very basic effects. As you become more familiar with Spark AR’s inner workings, you’ll be able to make more and more complex and interesting effects for your Instagram uploads.