
Toddlers and expensive smartphones really aren’t a great mix. So it’s typical that, apart from sharp objects and permanent markers, there’s
nothing your little rugrat likes to play with more.
Add in the fact that there are some pretty decent apps available for toddlers, and you just have to bite the bullet and hand
your shiny iDevice over to Junior now and again.
There are a few measures in the iPhone’s Restrictions menu you can activate to ensure your little one doesn’t FaceTime your boss, download the entire ABBA back
catalogue, or install Game of War. We suggest you take them.
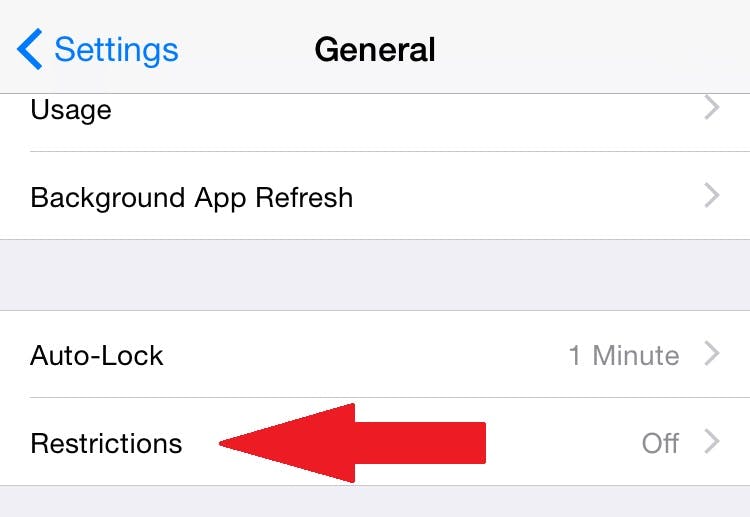
1) Turn on restrictions
You can turn on Apple’s built-in Restrictions, or parental controls, on your iPhone to stop inquisitive fingers accessing apps
and features.
Apple/Amy-Mae Turner
Head to your iPhone’s Settings menu and select General. Scroll down to see the Restrictions option.
Apple/Amy-Mae Turner
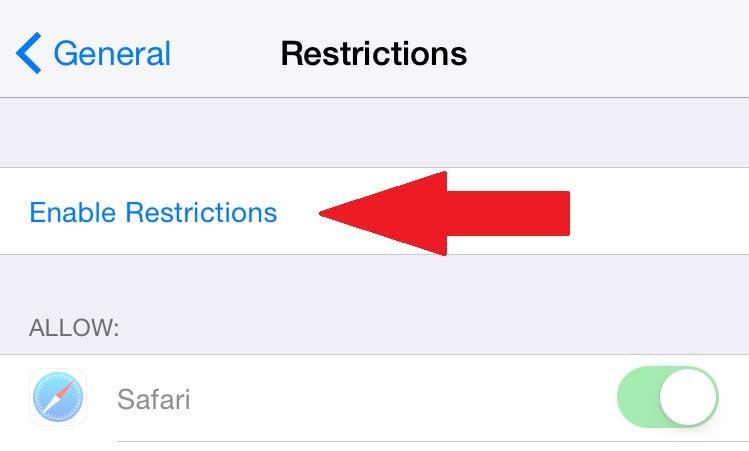
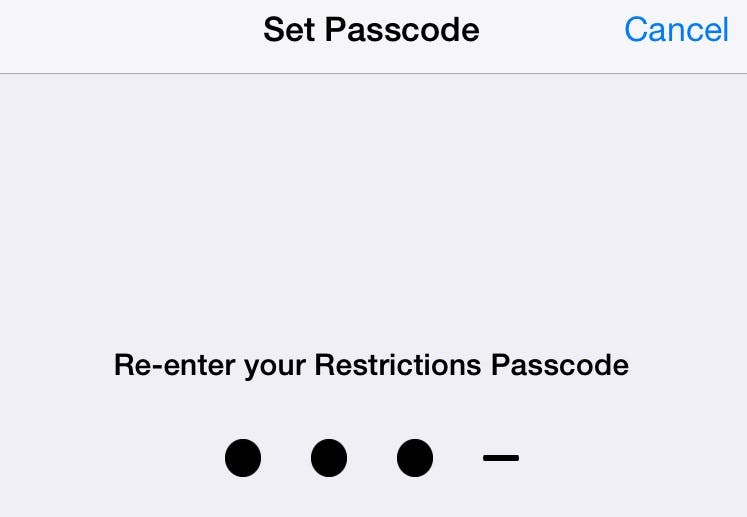
Once you tap on “Enable Restrictions” you’ll be prompted to set up a four-digit passcode.
Apple/Amy-Mae Turner
Do ensure you will be able to remember this code. If you forget it, you’ll need to erase your iPhone and set it up as a new device to remove the passcode. That’s not fun.
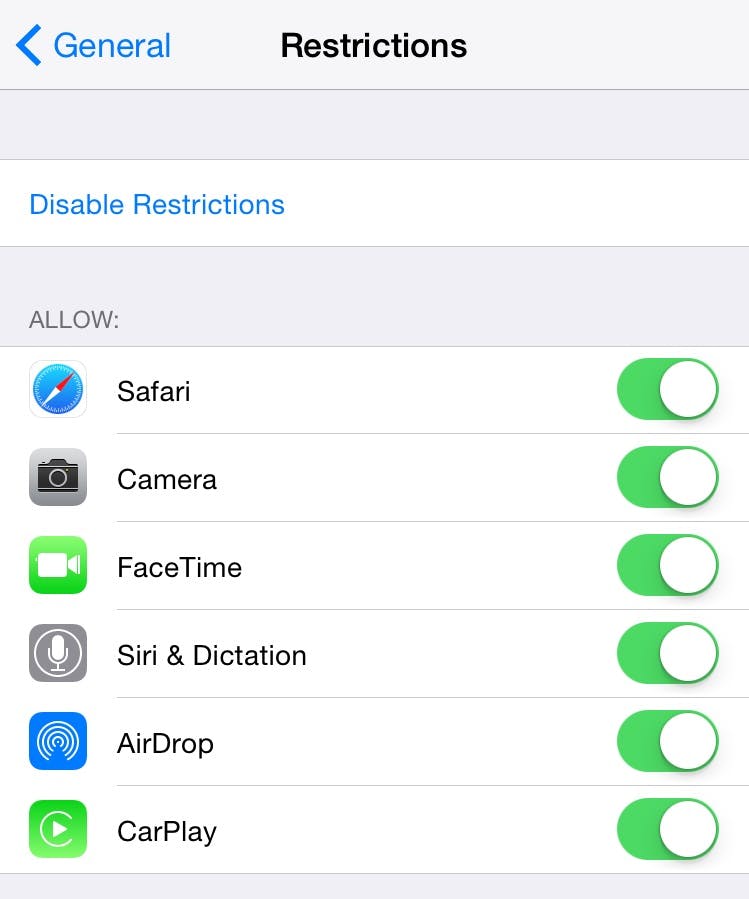
2) Revoke access to certain apps
You’ll now see a list of apps and features you can choose to disable before you hand your iPhone to your offspring. By
default, the list has access granted to all, which is shown by the round button on a green background in the toggle option.
Apple/Amy-Mae Turner
You need to manually select each thing you’d like to restrict access to. When you’ve restricted an element, the toggle
button will be grayed out.
In our screengrab below you can see that, by restricting the iPhone’s camera, FaceTime is turned
off.

Apple/Amy-Mae Turner
Back on your homescreen and in your app folders, icons for restricted items will be hidden, or the in-app functionality won’t work.
3) Stop purchases
The next section down in the Restrictions list deals with potential purchases.
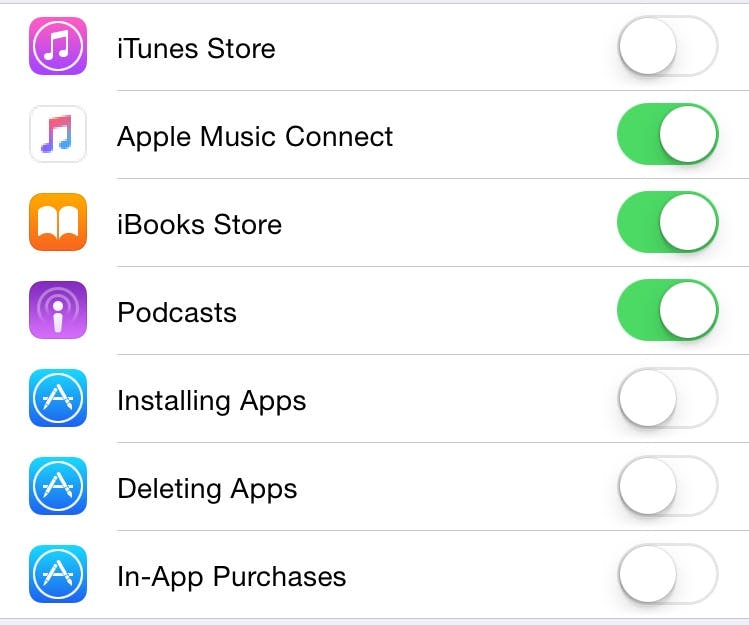
Apple/Amy-Mae Turner
You can stop Junior from making any purchases in the iTunes and iBooks Stores, as well as ensure that in-app purchases, installing new apps, and deleting existing apps aren’t options.
4) Manage ratings
The section after this is more useful for those with older children who are given a little more free rein. You can set rating restrictions for media so they don’t stumble over something adult by mistake.
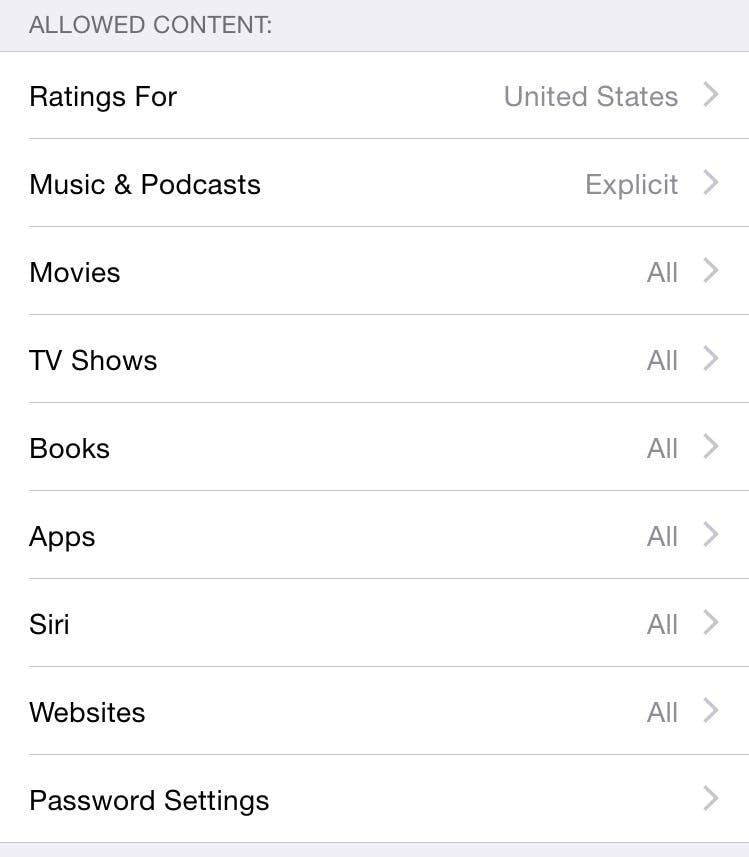
Apple/Amy-Mae Turner
The Websites option takes this even further with the ability to restrict access to all but a select few sites.
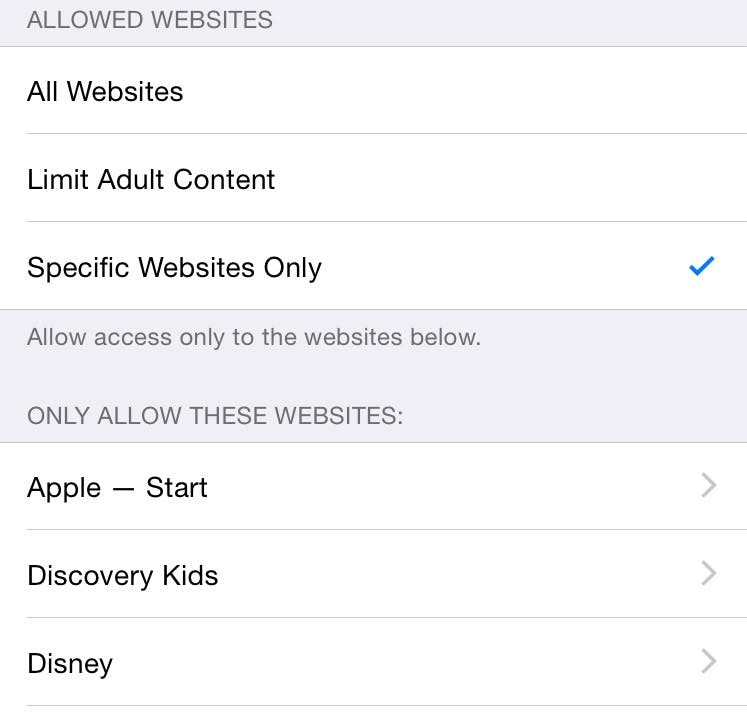
Apple/Amy-Mae Turner
5) Privacy options and changes
You also have the ability to stop someone using your iPhone from making changes to your Mail, Contacts, Calendars, Twitter, Facebook, iMessage, etc.
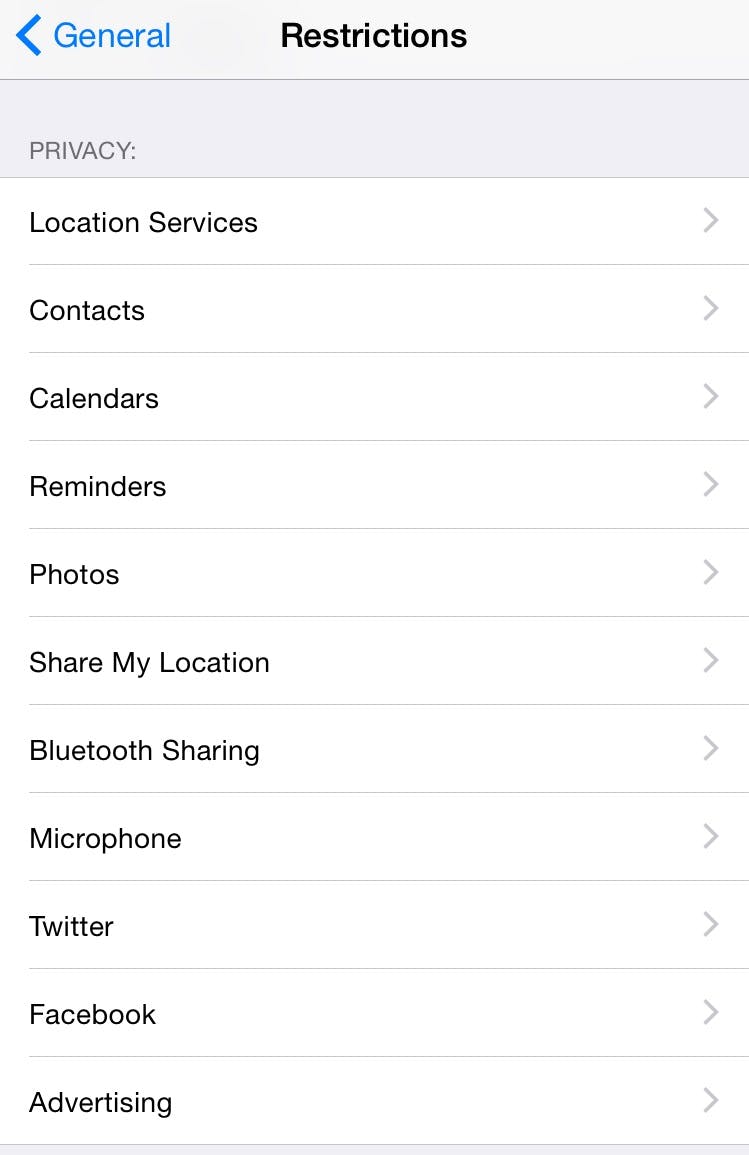
Apple/Amy-Mae Turner
There’s also the ability to keep your iPhone’s volume at a level you’re happy with.
6) Game Center
Finally, and again more for those with older children, the Game Center restrictions mean you can say goodbye to multiplayer gaming options and stop your child from being able to add buddies in-game.
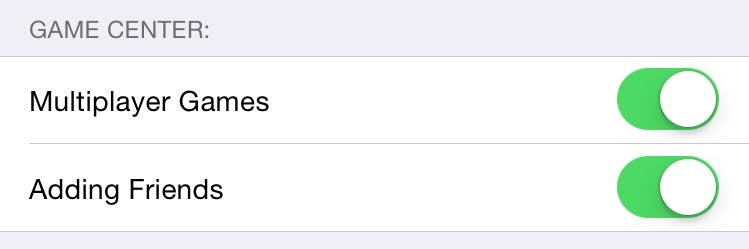
Apple/Amy-Mae Turner
7) Ending restrictions
When you’re back in control of your phone, you can kill all restrictive settings by going back into Settings, General, and Restrictions to disable all your safeguards.

Apple/Amy-Mae Turner
You’ll be asked to enter your Restrictions passcode and then your iPhone will be back to its old, toddler-unfriendly, lovely self again.
Photo via Gordon/Flickr (CC BY-SA 2.0)