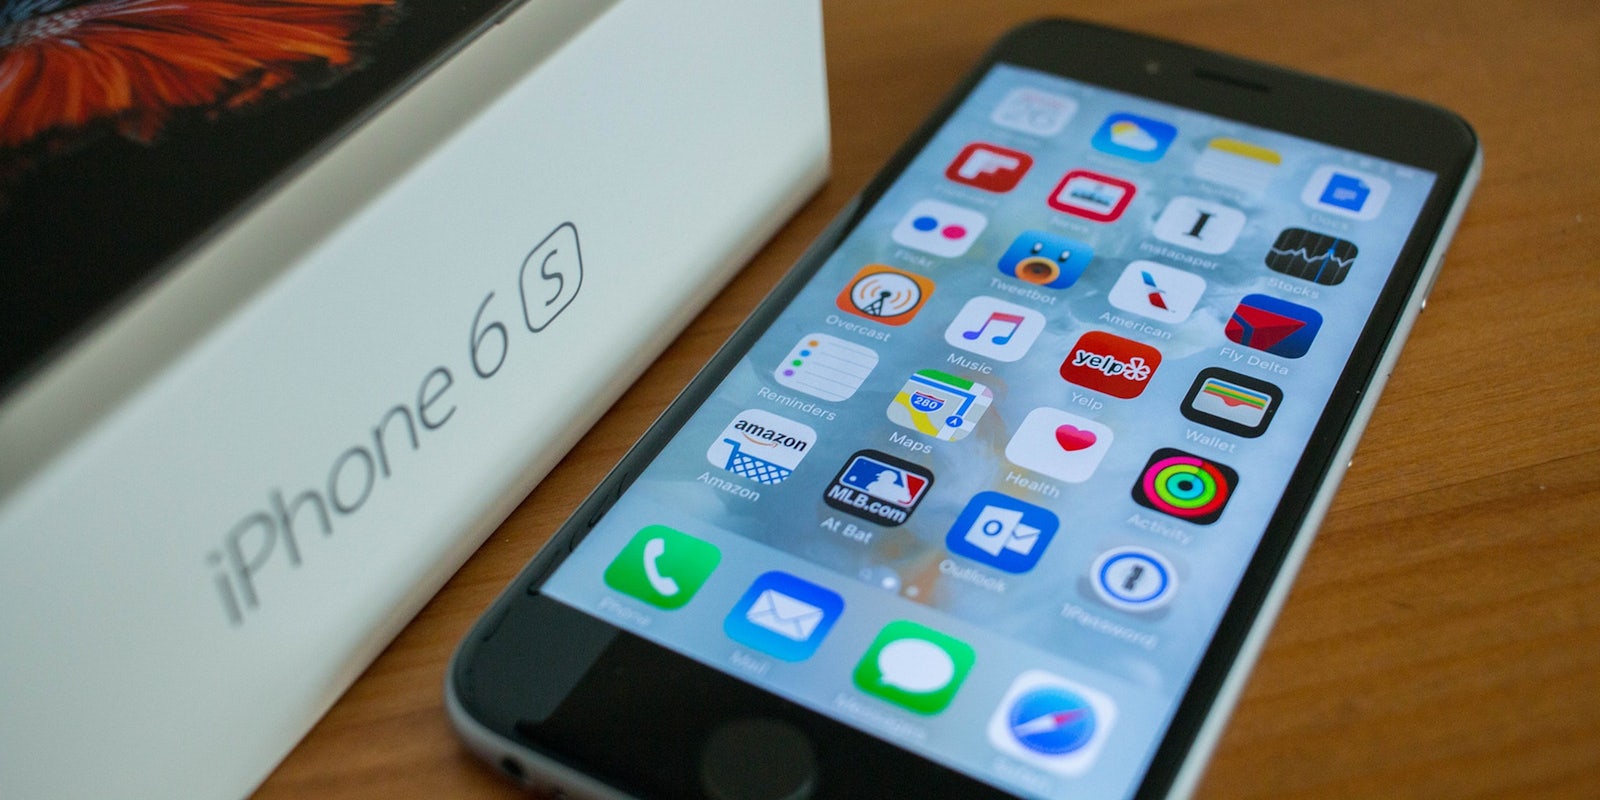
If you are the proud new owner of an iPhone 6s or iPhone 6s Plus, you’re going to want to hit the ground running.
Happily, Apple has made it (nearly) painless to move from one iPhone to the next by letting you set up a new phone from an iCloud or local iTunes backup of your current device. That process should transfer your data, apps, and settings over without any trouble—and we’re going to tell you how to do it.
Still, there are some snags you may hit during the process, so we’ll walk you through it. When you receive your new iPhone, don’t immediately rip it out of its packaging and rush through setup. Instead, you want to take a few steps to be sure you have a good backup of everything on your current iPhone to transfer to your new iPhone.
Here’s what you should do with your current phone before unboxing the new one:
1) Upgrade to the latest version of iOS
Having an old version of iOS can cause problems if you attempt to move your data to a newer version of iOS. If your current iPhone is capable of supporting the latest version, it’s worth upgrading before you back up your data. Go to Settings > General > Software Update to see if there’s a new version available. If so, download and install it.
2) Back up any content you didn’t get from Apple
While this transfer will restore all Apple content—anything from the App Store or iTunes—just fine, it can be hit or miss with any non-Apple content, like music imported from other services. If you have iTunes Match and have uploaded your music collection previously, music is no worry, though you may have to re-download anything you want available offline. To be safe, make sure you have local copies of everything before you transfer to your new device.
Elizabeth Harper
3) Unpair your Apple Watch
If you have one, you’ll want to disconnect your watch from current iPhone before moving to the new one. (Don’t worry: doing so automatically backs up your watch.)
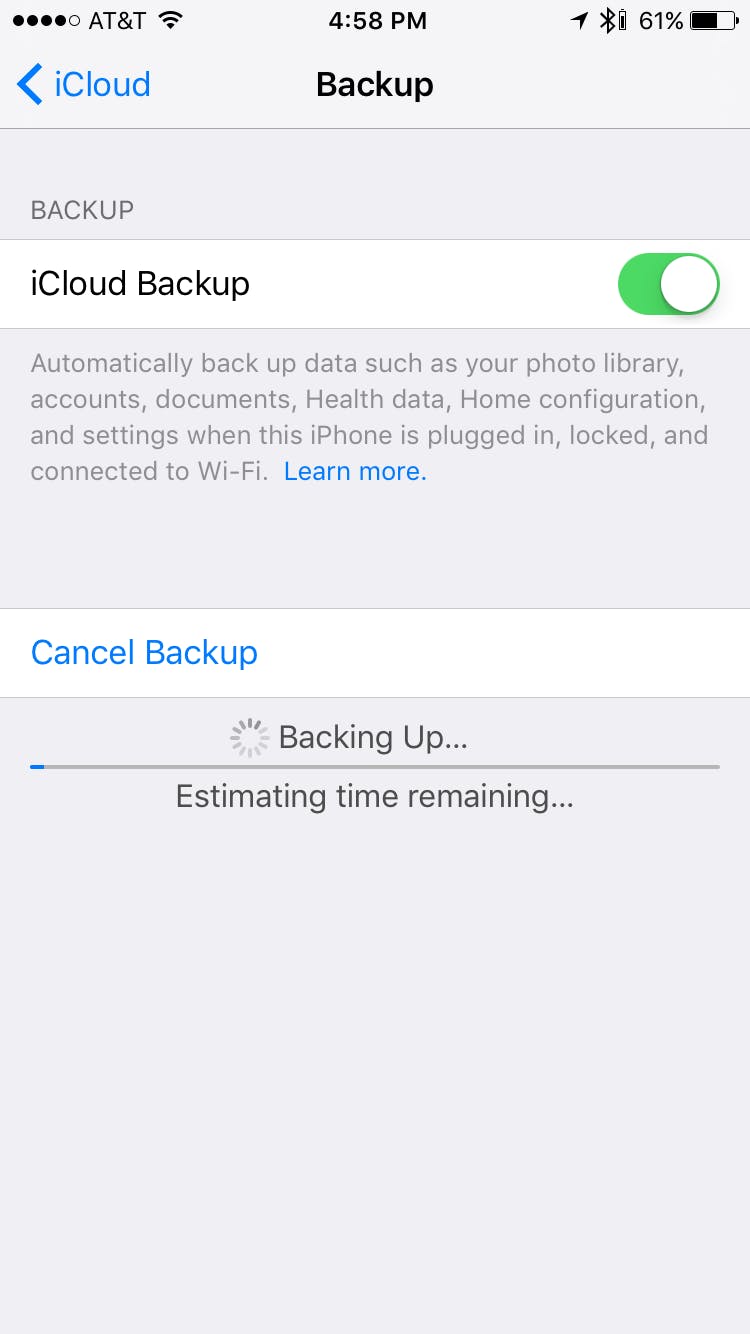
4) Make a backup of your iPhone
You can choose to back up locally using iTunes or online using iCloud. Either works, so stick with whichever backup method you typically use. For iCloud backups, go to Settings > iCloud > Storage & Backup on your iPhone, then click Back Up Now. For iTunes, connect your iPhone to your computer, select your device, select File > Devices > Transfer Purchases to be sure all purchases on your phone are also on your computer, then check the Encrypt box (required to back up health data), then click Back Up Now.
Depending on how much data you have on your device and where you’re backing up to, it may take some time. My phone takes 15 to 20 minutes to back up to iCloud.
Elizabeth Harper
5) Confirm your backup
Be sure your backup was successful by checking the time of the last backup on your phone or in iTunes.
Now you can set your current phone aside and get to ripping open the packaging on your new phone. Once you’ve pulled it out and powered it on, you’ll be greeted with a Hello screen. Follow the onscreen instructions until you get to the Apps & Data screen, where you’ll want to select restore from backup. Choose whether you’re restoring from iTunes or iCloud and select the most recent backup from the options available. If you have backups of multiple devices, be sure to select the correct one!
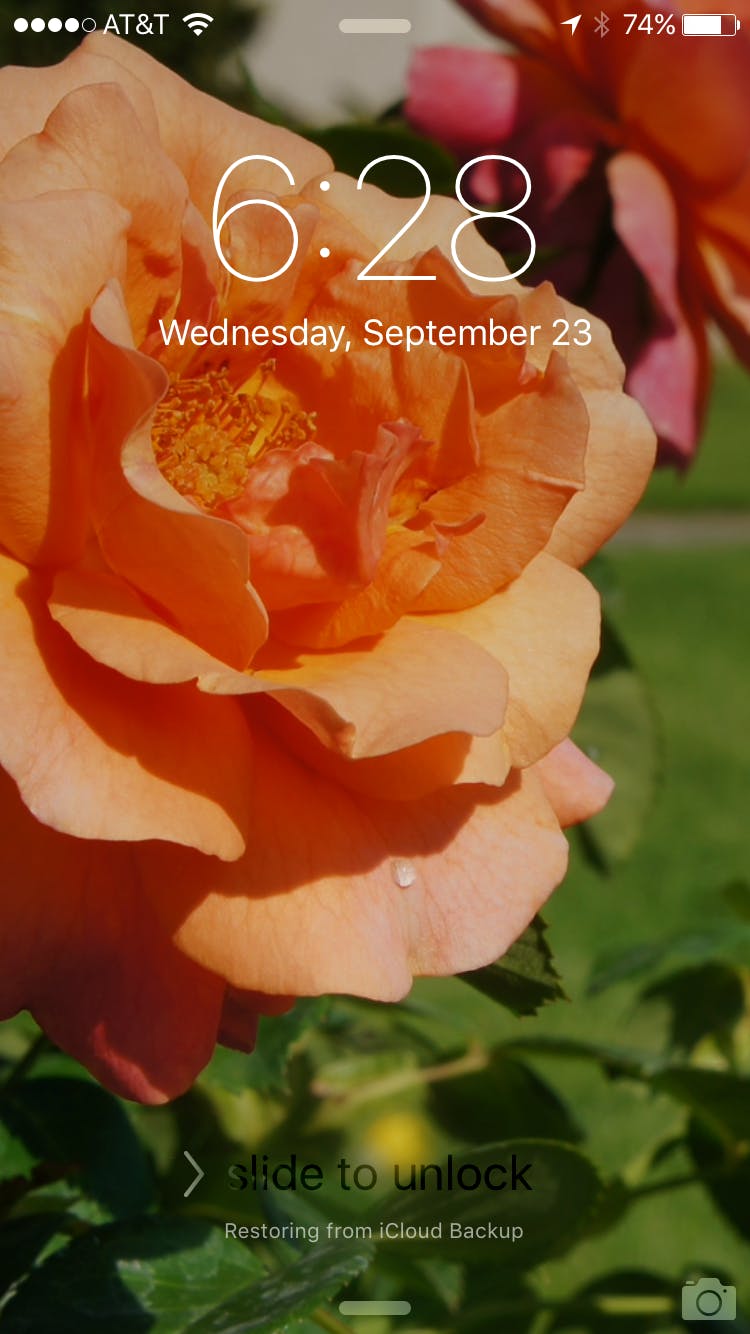
Now all you have to do is wait. Though your phone should come to life with all of the default apps within a few minutes, it will take longer to restore all of your other apps and data (depending on how much you had on your phone). While it’s restoring, leave it plugged into power and connected to Wi-Fi; if it drops below a certain battery level or loses its internet connection, the restore will pause.
While it’s restoring, apps will be shown on your home screen just as they were before, though any greyed out apps have not yet been installed. It’s easy to see progress on apps, but music, photos, and other data are likely to take more time with little indication of how much is left to transfer. While it’s restoring, you’ll see a tiny message at the bottom of your lock screen that indicates it’s restoring from backup, but no progress meter. Just be patient and wait it out.
Elizabeth Harper
What you need to reconfigure
Though this process should get most of your previous apps and settings working just as they were, there are a couple of things you’ll need to set up manually:
Apple Watch
Just follow Apple’s instructions to pair it with your new phone.
Touch ID
During setup, you’ll be asked to configure one fingerprint, but if you’d like to configure more you’ll need to go to Settings > Touch ID & Passcode and click Add a Fingerprint.
Problems?
While this process usually just works, if it doesn’t you may find yourself banging your head against the wall.
Here are a couple of common problems you might run into:
If, for whatever reason, you’re restoring a backup from an iPad to your new iPhone, some data simply won’t transfer: you won’t get photos (unless you’re using iCloud Photo Library), messages, voice memos, or any apps that aren’t compatible with a phone.
Elizabeth Harper
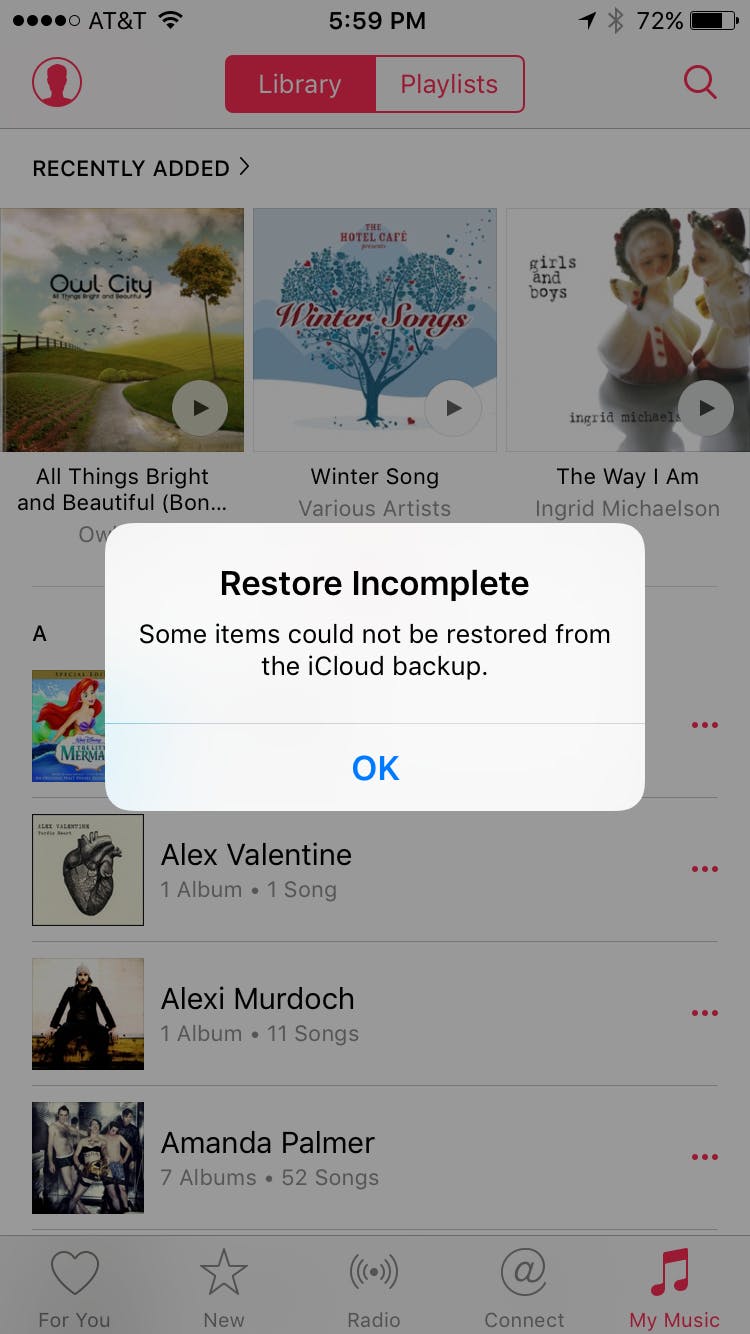
If you get a restore incomplete or items could not be restored error, that means some items couldn’t be restored automatically. You might get this error if you’re trying to restore content that no longer exists on iTunes or if you lost Wi-Fi connectivity while restoring. Reconnect and wait out the rest of the restore or transfer items manually—the latter is likely to be required for any non-iTunes content.
If you’re missing files, with or without an error message, it’s likely to be data you have on your computer rather than any iTunes content. In this case, a sync with iTunes will often fix it, though you may need to specify what you want transferred to your new phone.
That just about covers it. Setting up a new iPhone might be a huge pain, but at least if you do it right, you only have to do it once.
Photo via LWYang/Flickr (CC BY 2.0)